It took a bit of time, but the loom is finally put together. I started by stabilizing the castle so it would stand on its own.
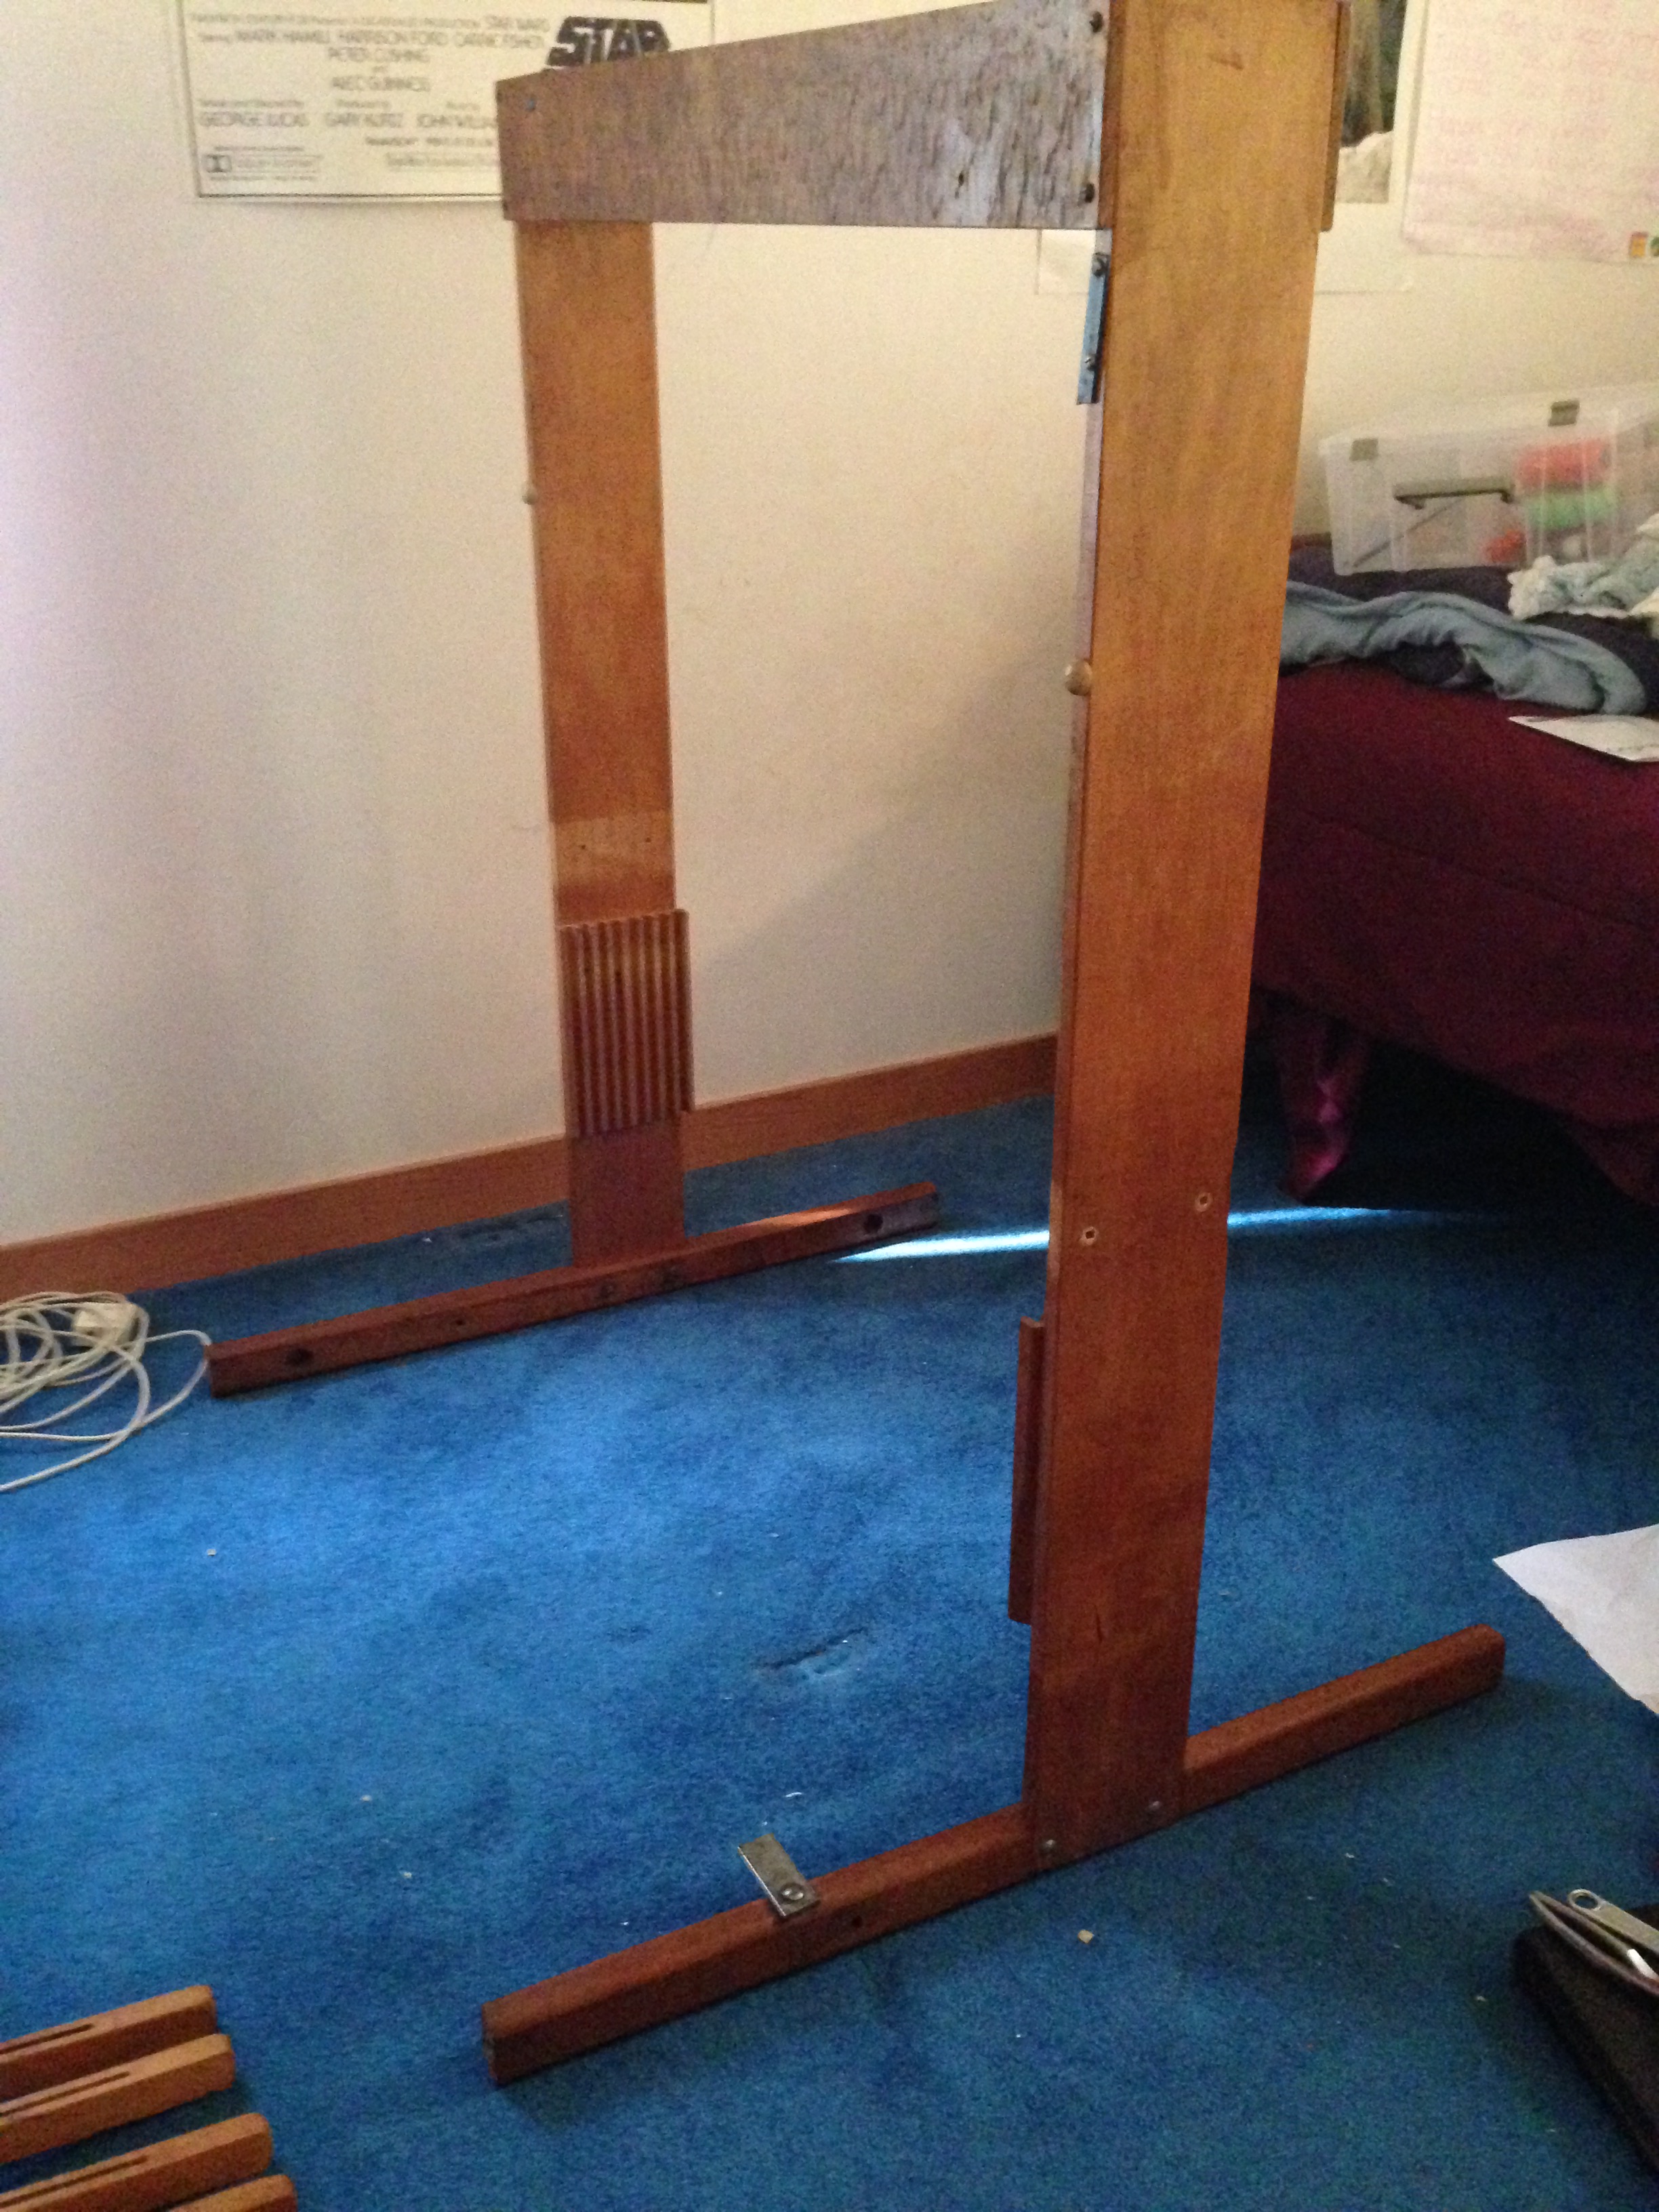
The castle is stabilized
Then I re-inserted the jacks. They’re held in place with two long bolts going from the front of the castle through holes in the jacks and fastened at the back of the castle. It took some time to make sure I had them configured correctly before I put them in. I turned them back and forth in as many directions as possible until I realize there was only one possibly way they would fit and have the hooks hanging in the right places.
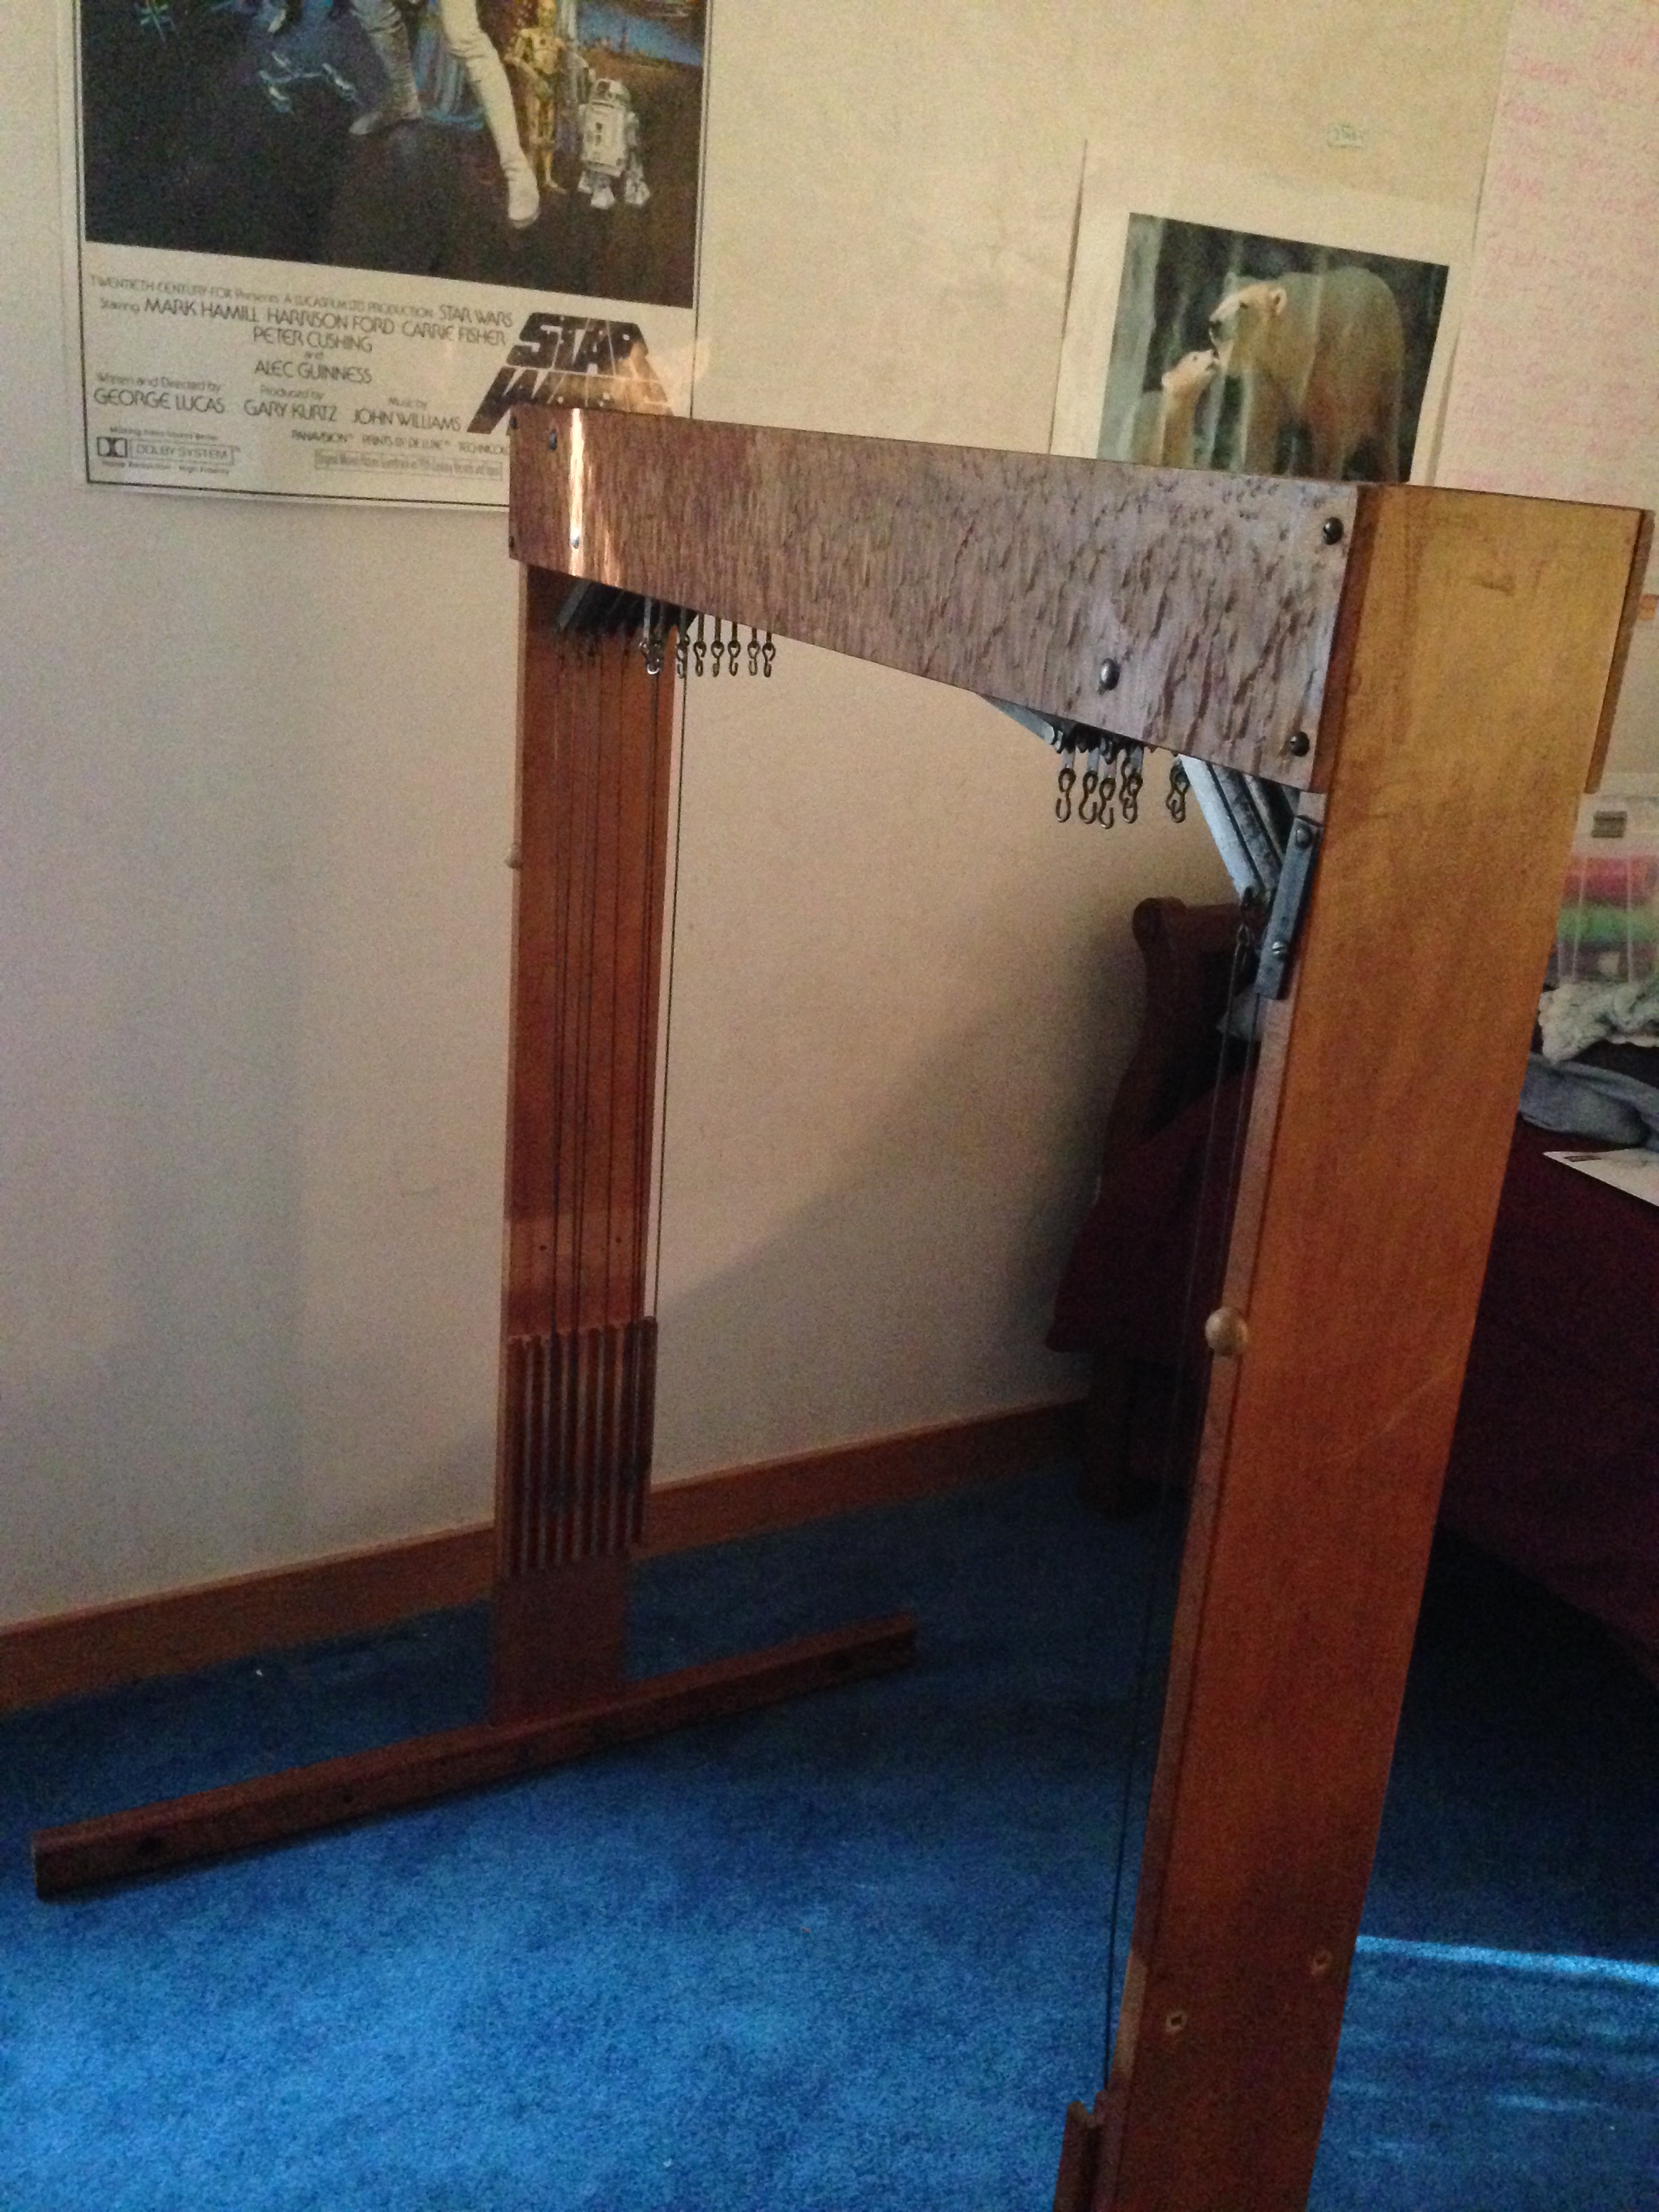
The jacks have been installed in the castle.
Once that was done I could add the side pieces and the cloth beam. The metal piece hanging from the cloth beam is part of the pawl and ratchet brake. I also installed the lower warp beam at this point (it is not in the picture).
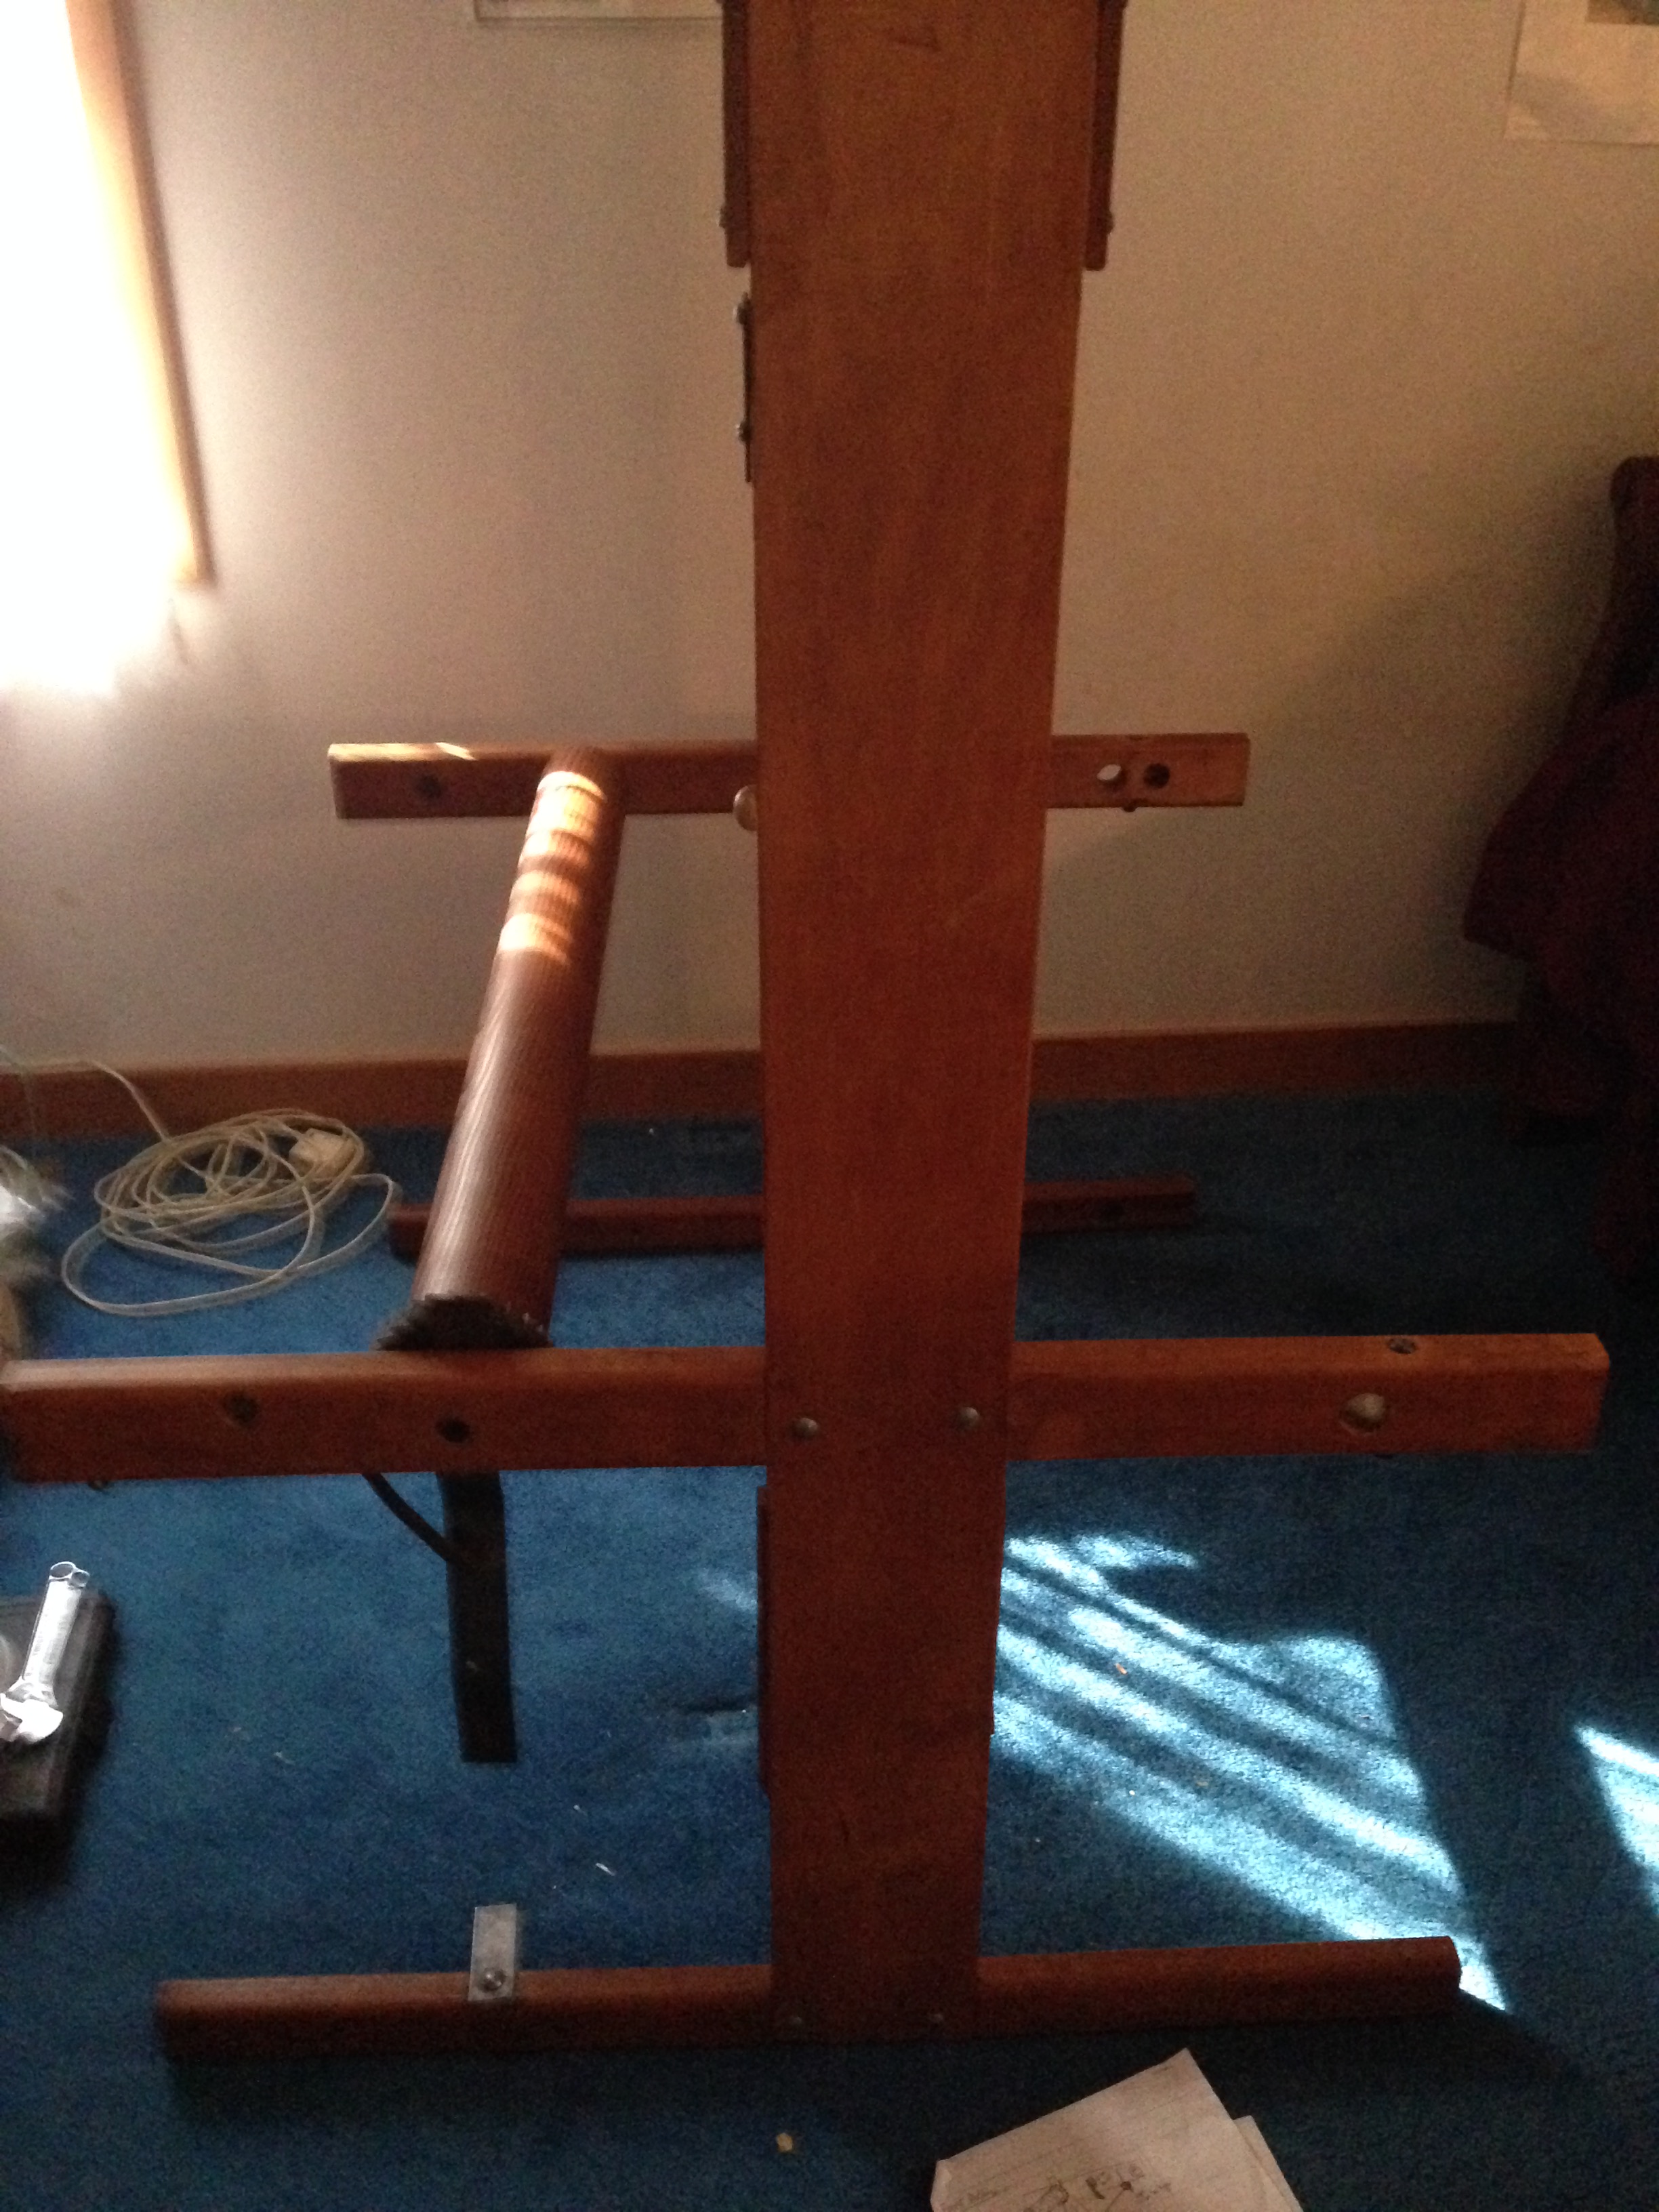
The cloth beam is in.
I put the treadles back onto the front piece, and then could install the breast beam and rear beam. Once I was ready to put the front and rear pieces on I realized that I would have to lift the loom an inch or two to fasten them, since the lower side piece is actually off the floor in the finished loom. I took the warp beam that I had installed off again to make the loom a little lighter and easier to lift.
The breast beam, treadles, rear beam and beater are attached.
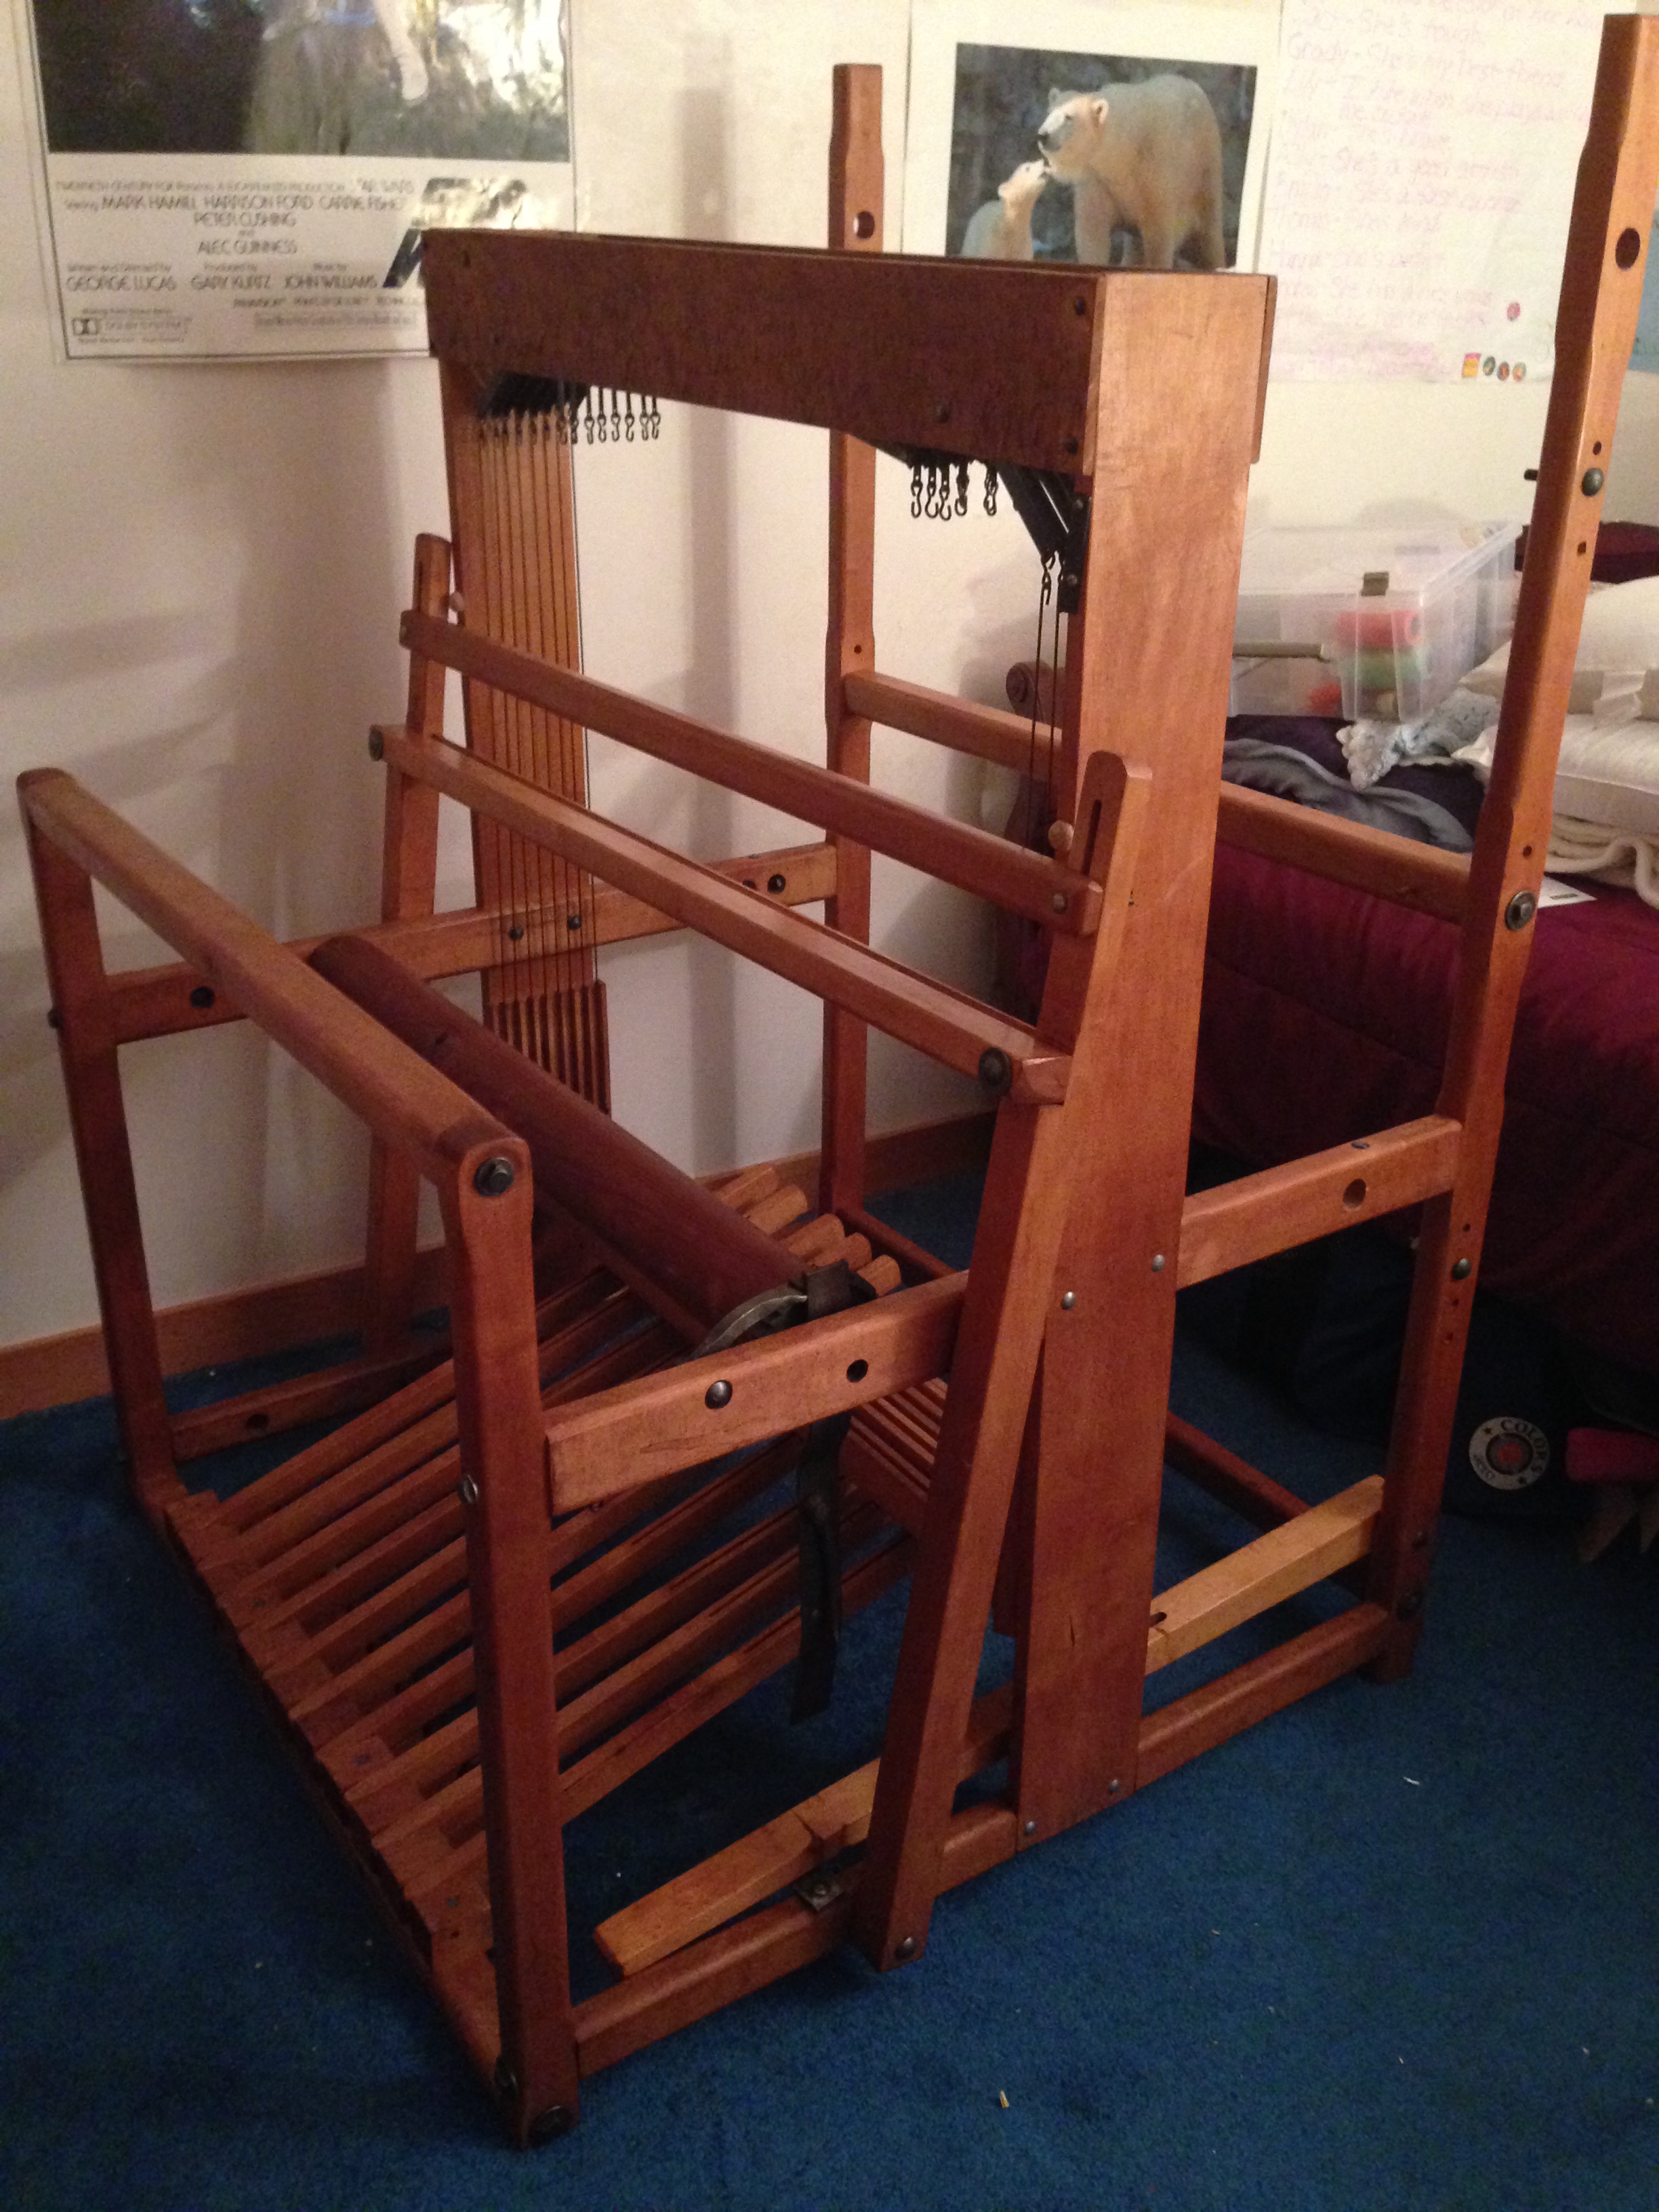
Finally I put the warp beams on, and set up the friction brakes. It was a little tricky to balance each warp beam with one arm while trying to thread the iron pipe through it with the other, but not impossible to do. Once I was done, though, I discovered a couple pieces of metal (rods with a 90 degree bend at one end and a tapered end at the other). As I was thinking about what they might be for, my husband asked me what would keep the pipes from being jostled out of place during the weaving. Together we discovered holes at one end of the warp beams that corresponded to holes in the pipes. The rods fit through perfectly to hold the beams and pipes in place. The 90 degree bend in the rod nestles against the warp beam, so these are not visible in pictures.
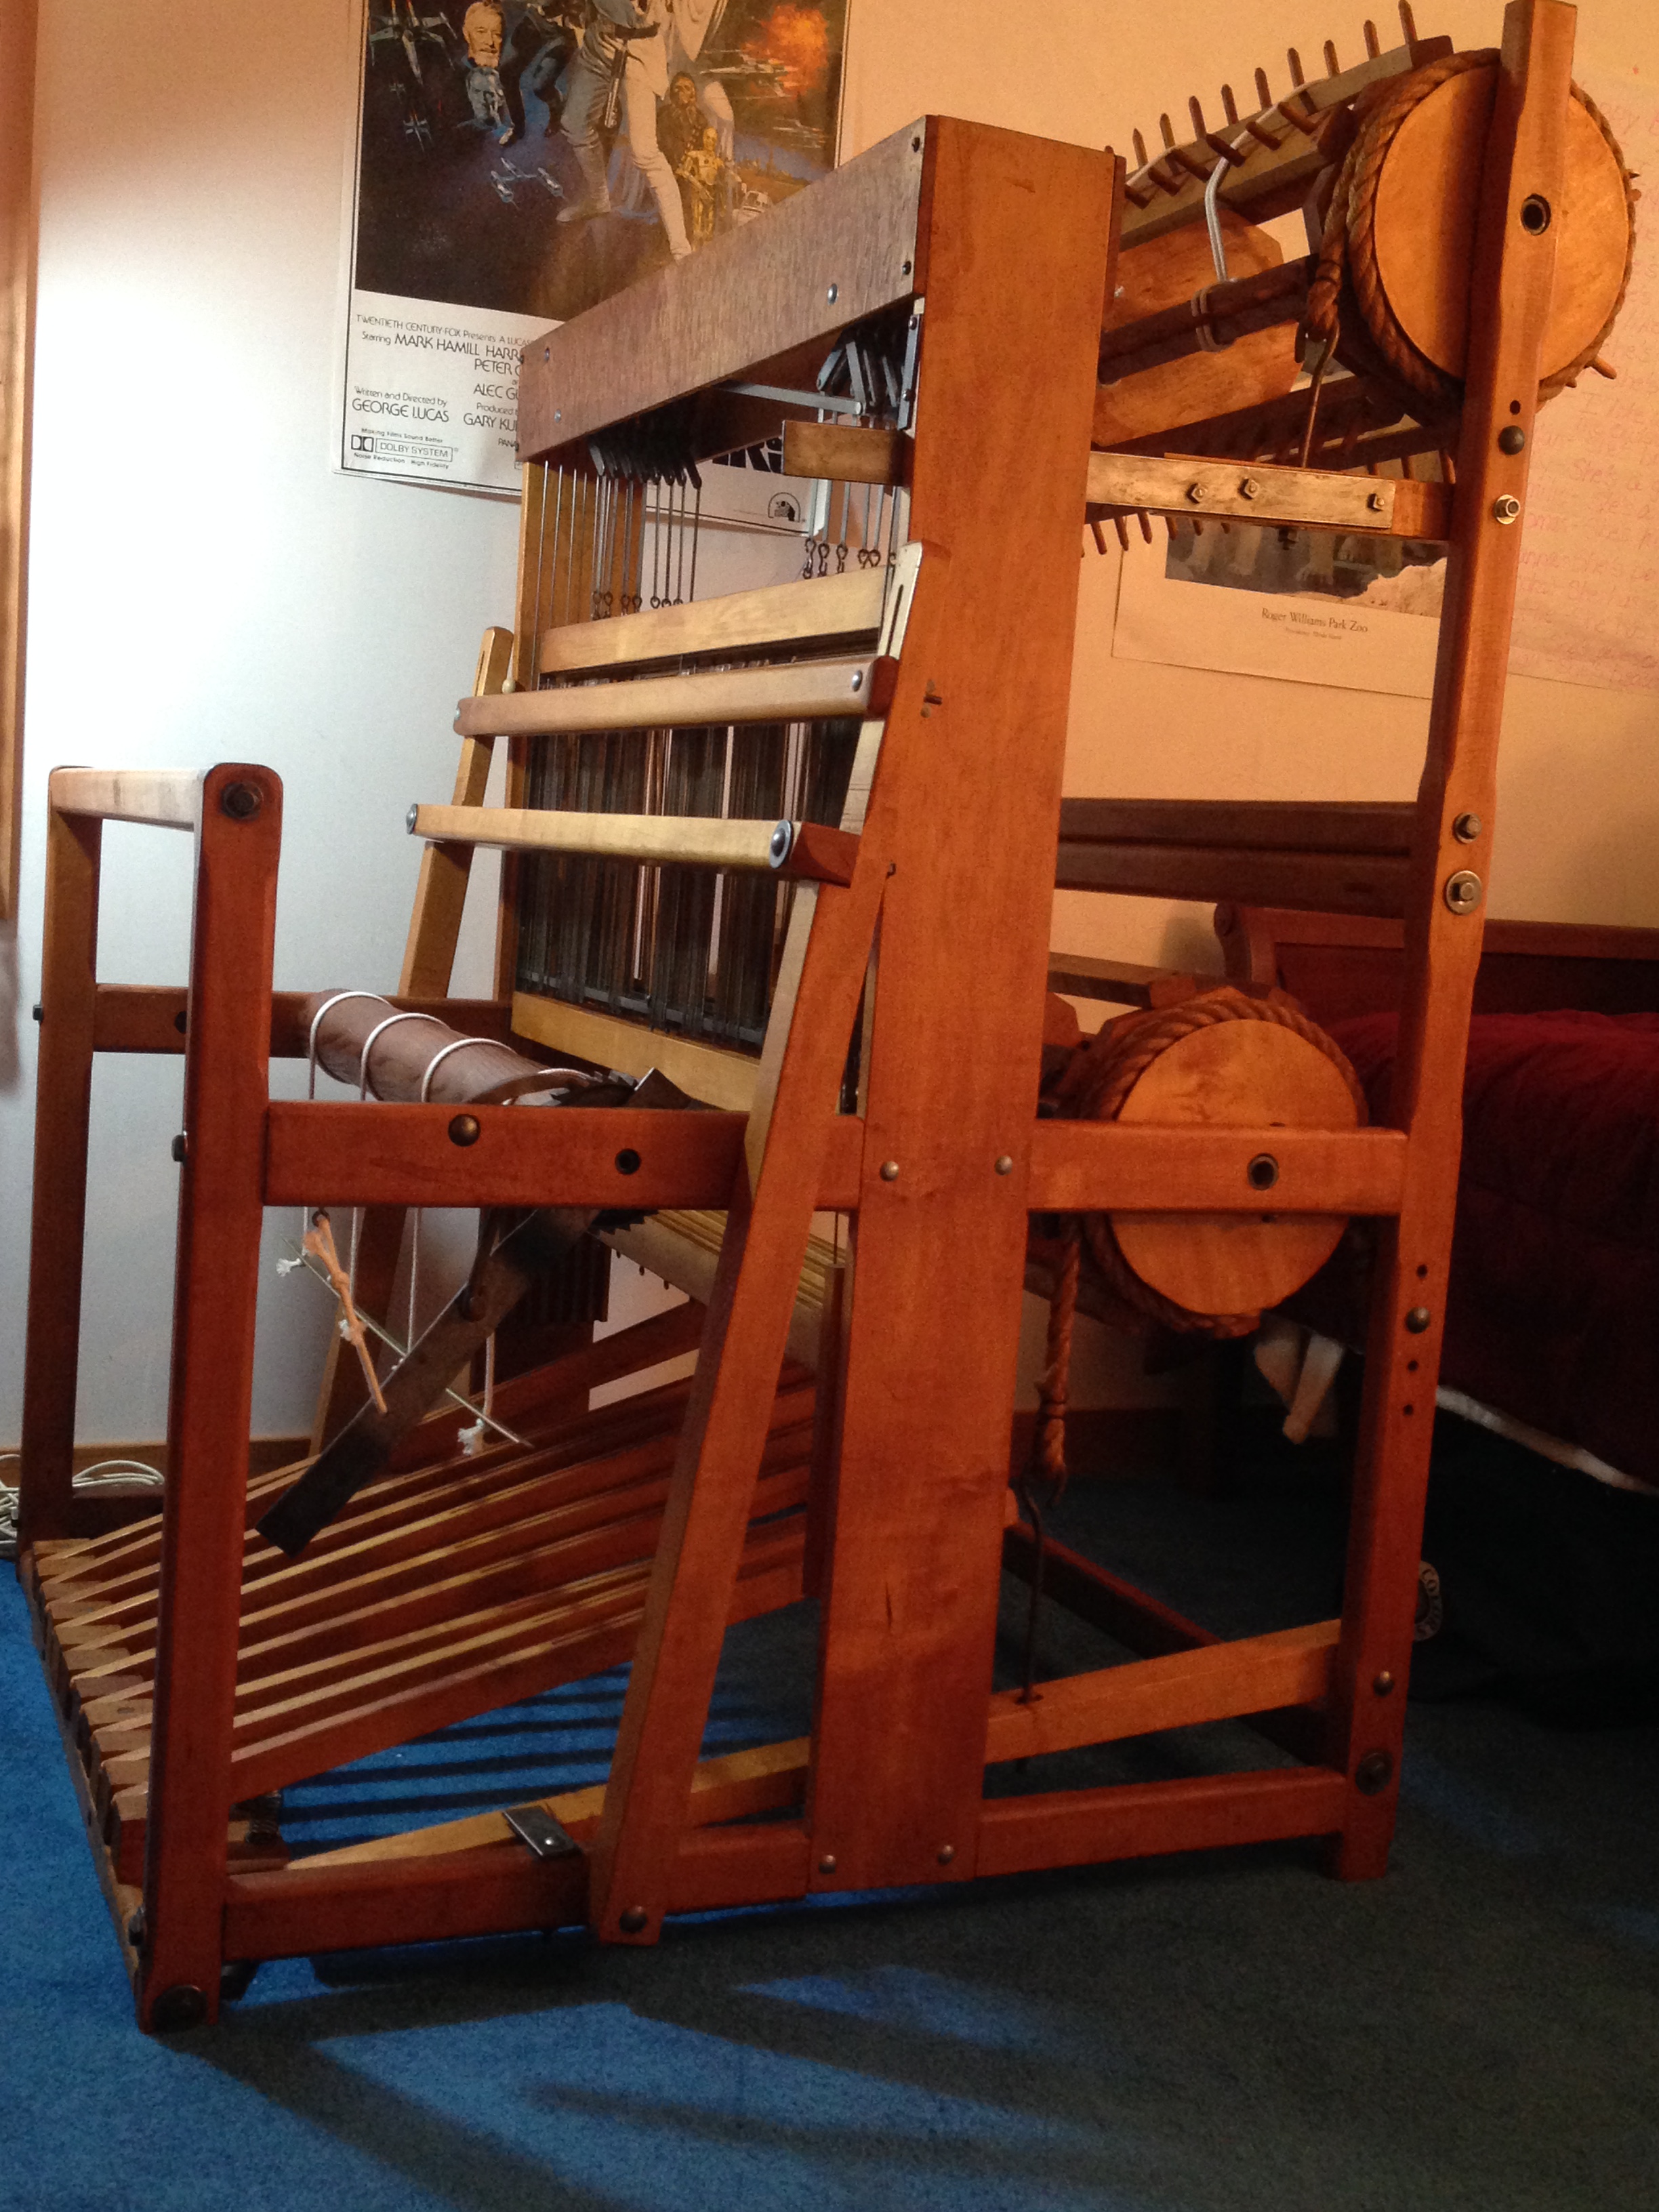
Both warp beams are attached, and the friction brakes are set up. Ta da!
The friction brakes have release handles. When the brake is on the handle is held in place by a metal plate (the lower plate is visible in the picture, just in front of the beater). To release tension on the brake one slides the handle out from under the plate. It was a little tricky to figure out how the upper handle was held in place, when installed with the “pretty” side out the handle wasn’t near the metal plate. It worked once we turned the handle around, though.
Now to see if everything really works! I’m getting a warp prepared and hope to have it on the loom this weekend.
