Here are the photos you requested. I hope these help. If you need more detail or detail of other parts of the loom, do let me know!

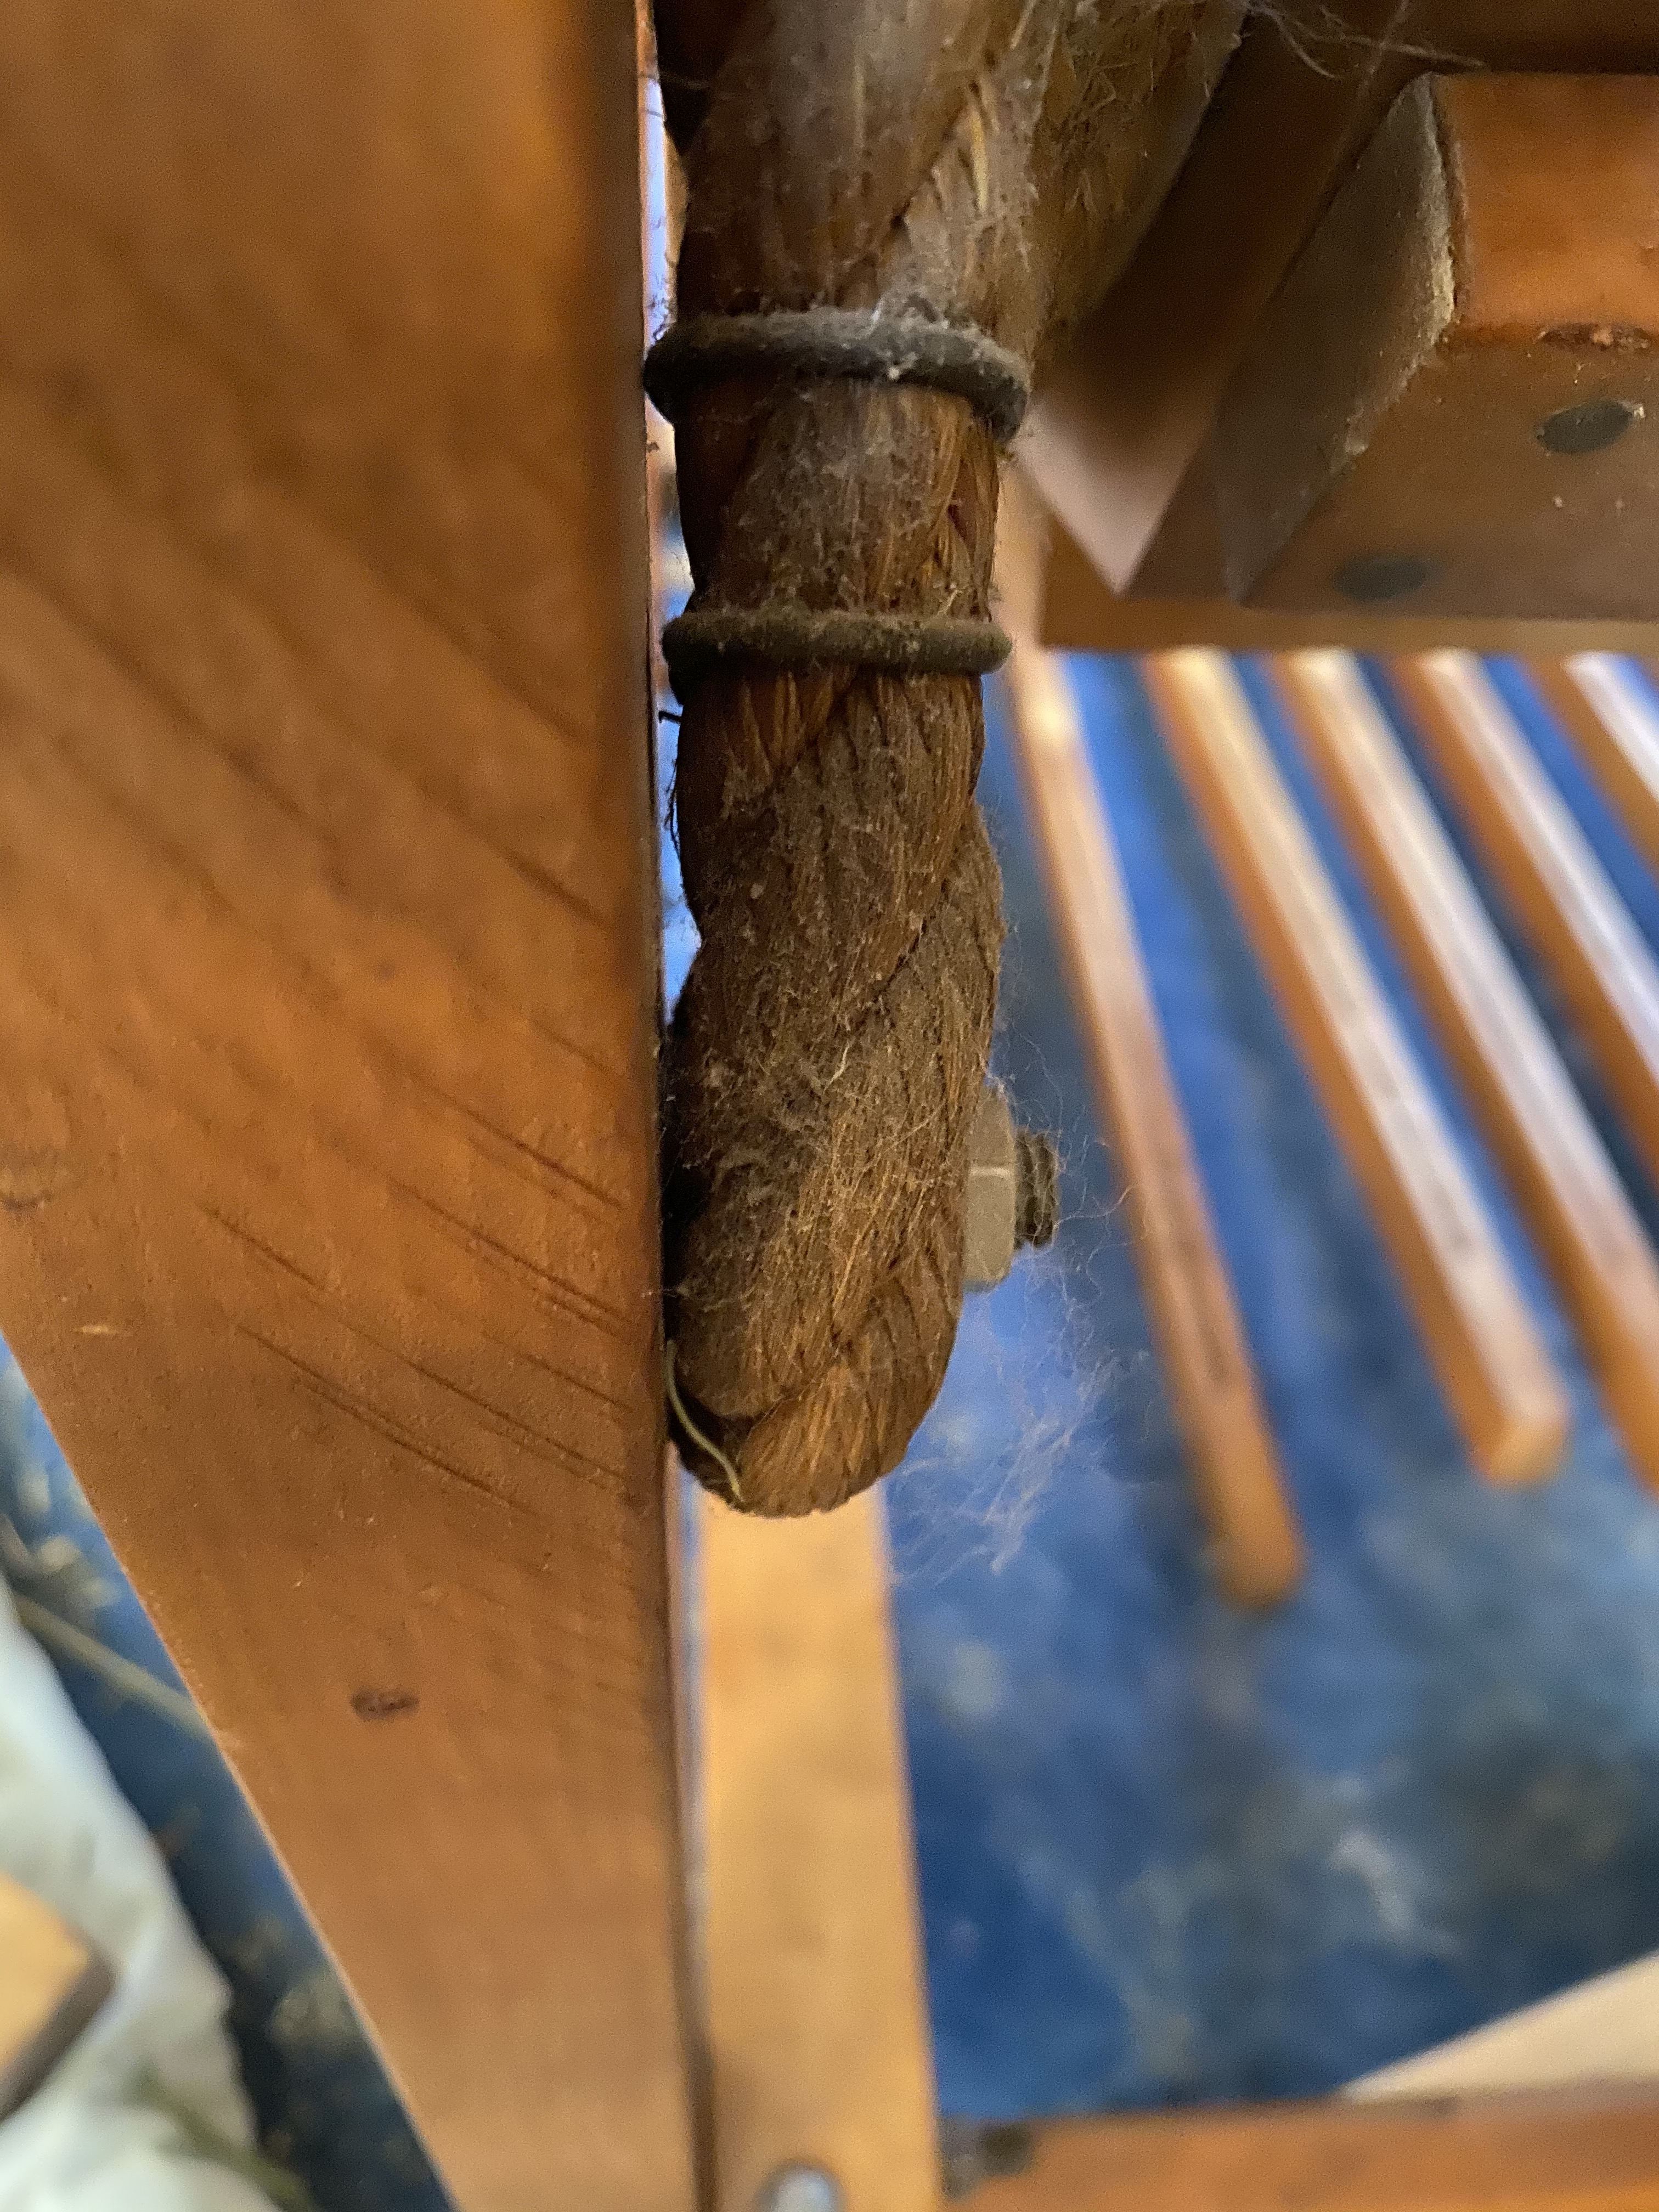
The rod that attaches the warp beam to the inner pipe. This is the upper sectional beam.


Here are the photos you requested. I hope these help. If you need more detail or detail of other parts of the loom, do let me know!
I’ve just taken the first project off the Binder loom, and am processing it to be ready for Christmas gifts. It’s been interesting getting to know the loom. More on that another time.
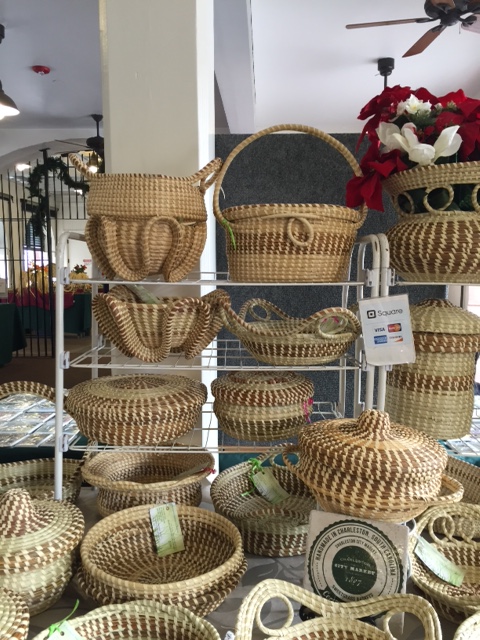
My eldest daughter recently went on a business trip to Charleston, SC, and while she was there sent me some pictures of baskets she saw for sale along the streets. She thought I would enjoy seeing them, and I did. I was also curious about the origins of these baskets. I’ve done some basket weaving and I am aware that some basket styles (the types I wove) are Native American in origin. My daughter said that the sewn grass baskets she had taken pictures of were being sold by African American women, so I wondered if these might have an origin in some part of Africa. I did a little Internet research.
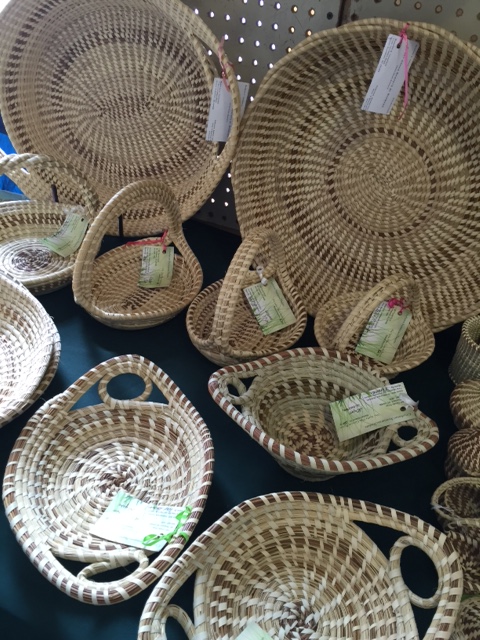
Apparently the South Carolina sewn grass baskets are very similar to baskets made in Sierra Leone. It is believed that slaves brought the knowledge of these baskets with them to the US in the seventeenth century. The baskets were made by both male and female slaves; males made large baskets to use in the fields, and females made smaller baskets for the house. In the early 20th century embellishments began to be added to the baskets and they started to take the decorative form they have today. According to www.SCIWAY.net (South Carolina Information Highway) the baskets are the South Carolina State Handcraft.
I found these baskets very moving. I thought about the people who brought this skill to the US, people whose lives had been torn apart, whose world had been turned upside down. They had been violently handled, abused, seen and experienced horrors I can’t even imagine. They lost their home, their family; really, everything that was familiar was taken from them. But they kept this skill and were able to use it to make their life here just a little better, a little easier, a tiny bit more like home. I’m amazed at the human ability to adapt and survive.

Apparently these lovely baskets are now endangered. The habitat of the grasses used to make them is being destroyed, cheap imitations are being imported and sold to tourists, and few of the younger generation care to learn to make them. One of the women my daughter spoke with had taught her granddaughter how to sew the baskets; they made them together. There are some who still cherish the craft, so perhaps it will not die out altogether. I hope that is the case, and the few who retain interest can sustain the production of these baskets which are so beautiful and so rich in history.
It took a bit of time, but the loom is finally put together. I started by stabilizing the castle so it would stand on its own.
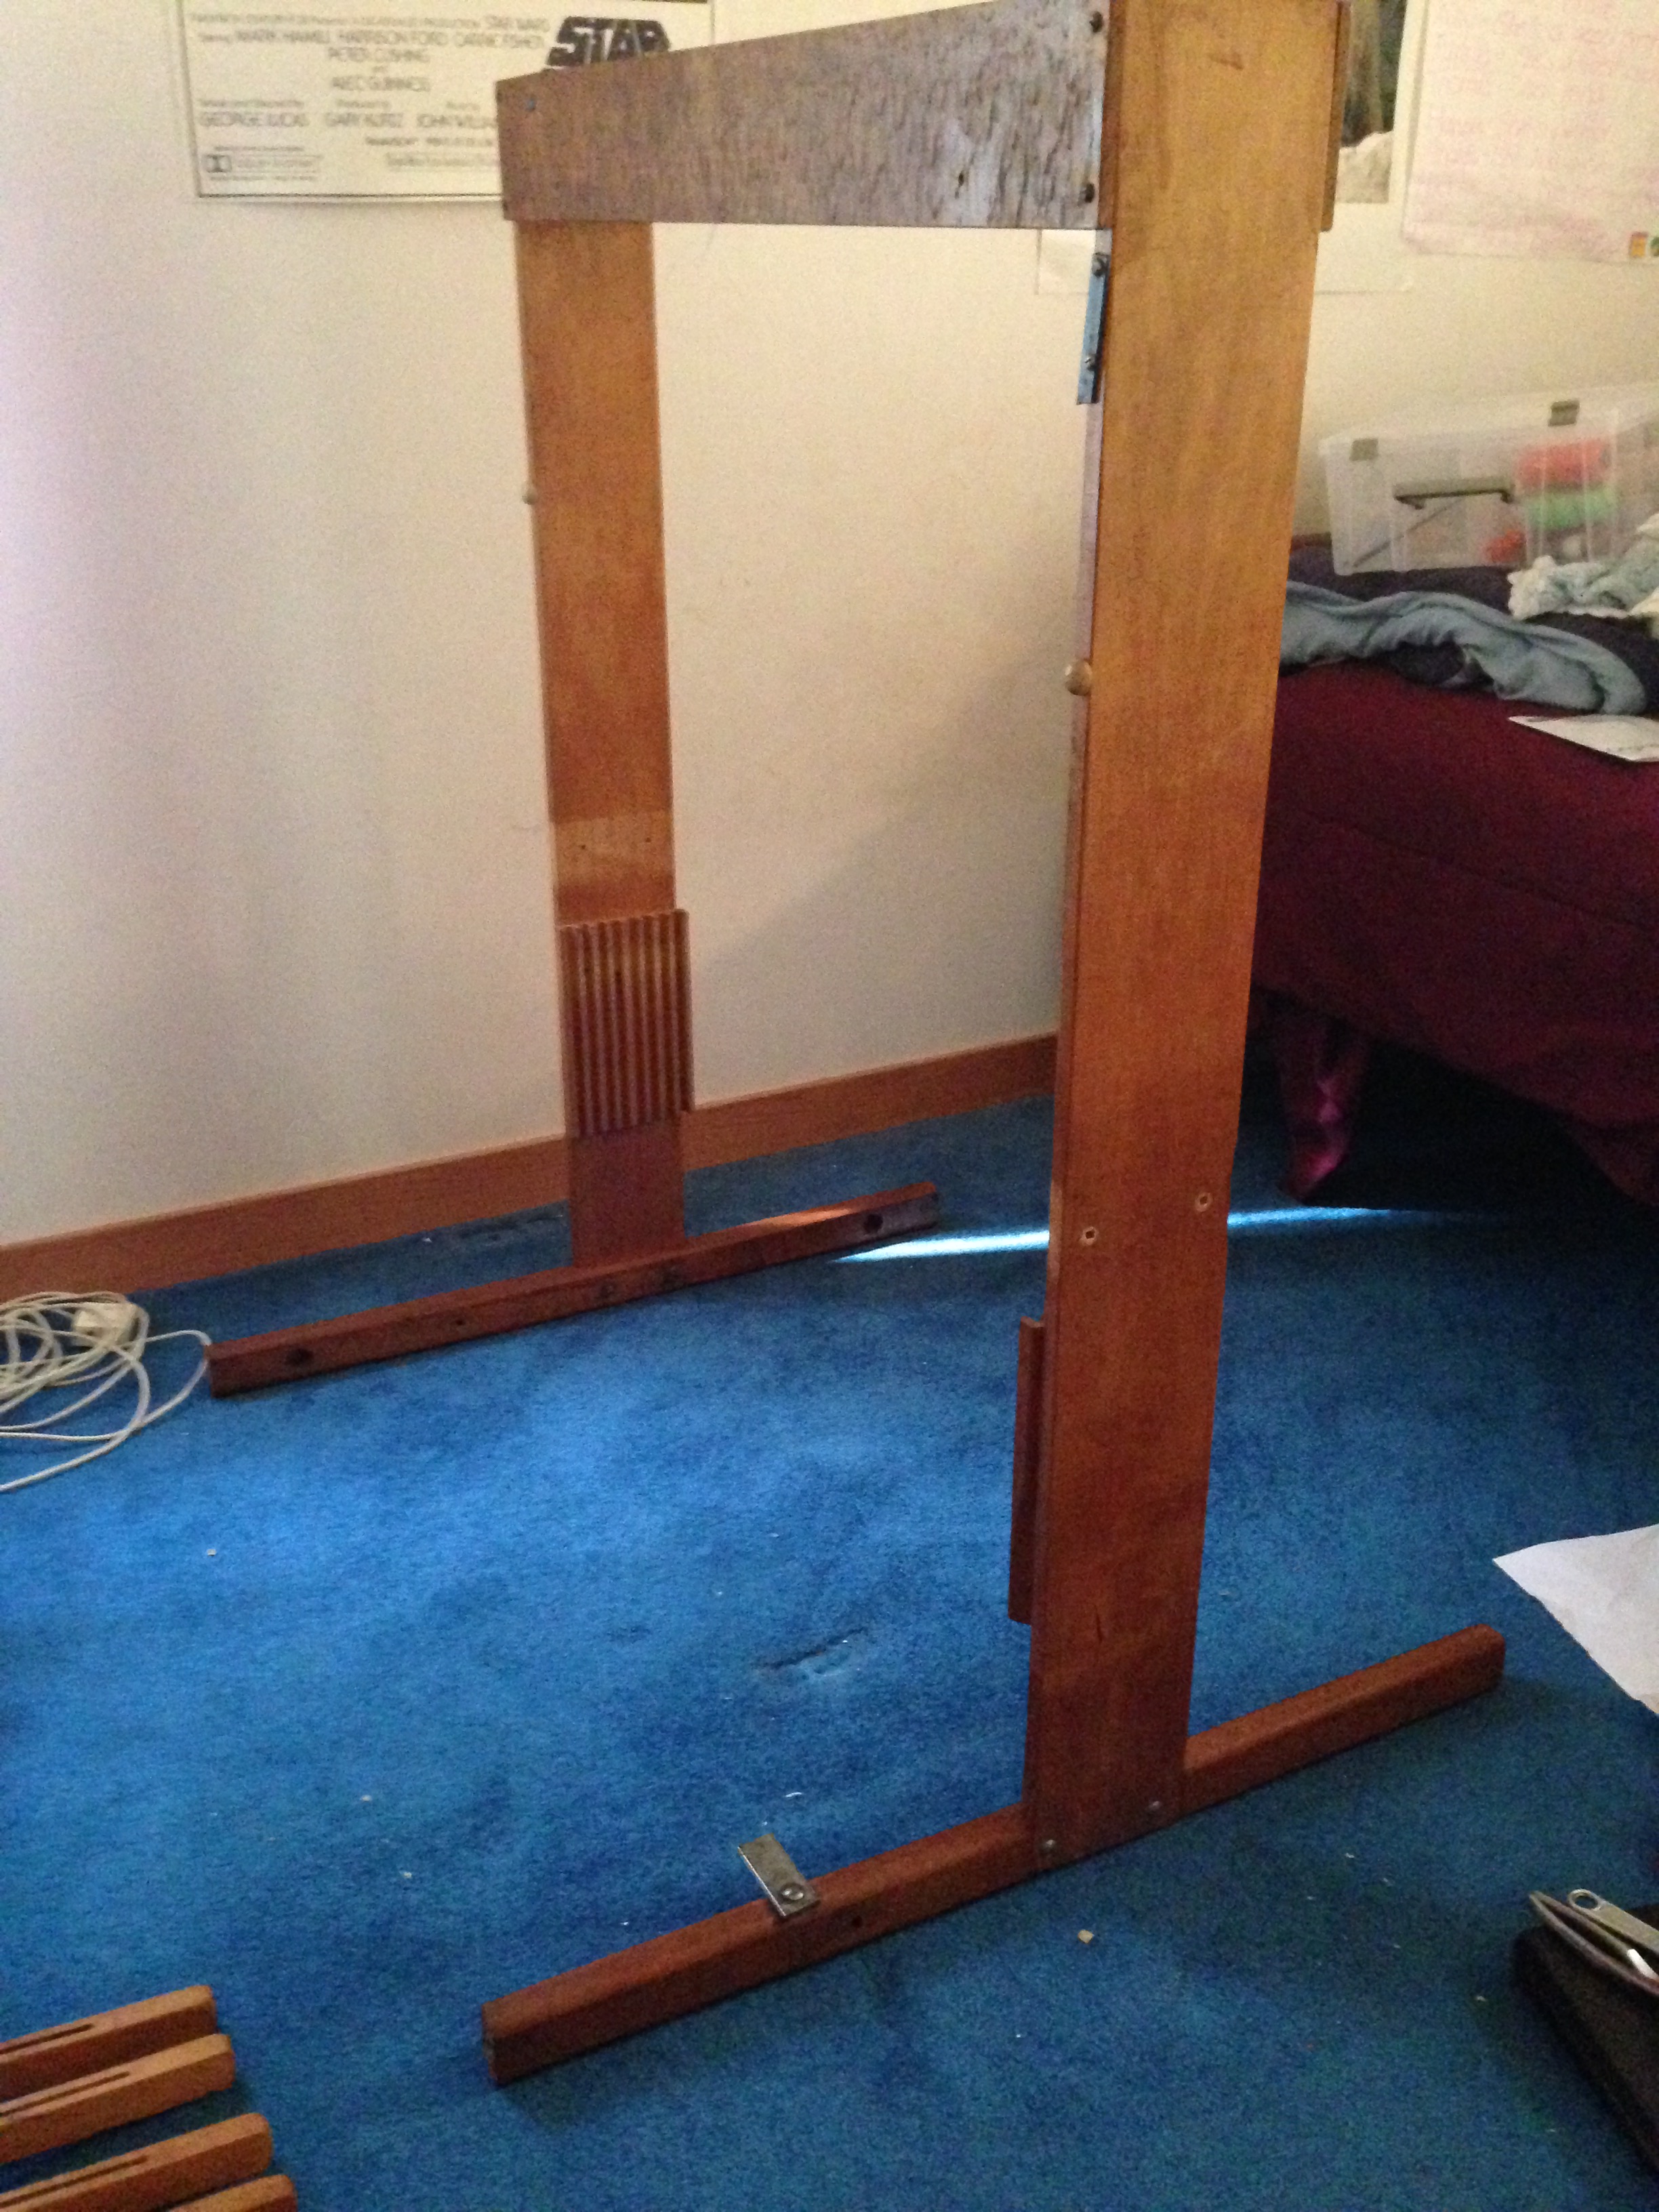
The castle is stabilized
Then I re-inserted the jacks. They’re held in place with two long bolts going from the front of the castle through holes in the jacks and fastened at the back of the castle. It took some time to make sure I had them configured correctly before I put them in. I turned them back and forth in as many directions as possible until I realize there was only one possibly way they would fit and have the hooks hanging in the right places.
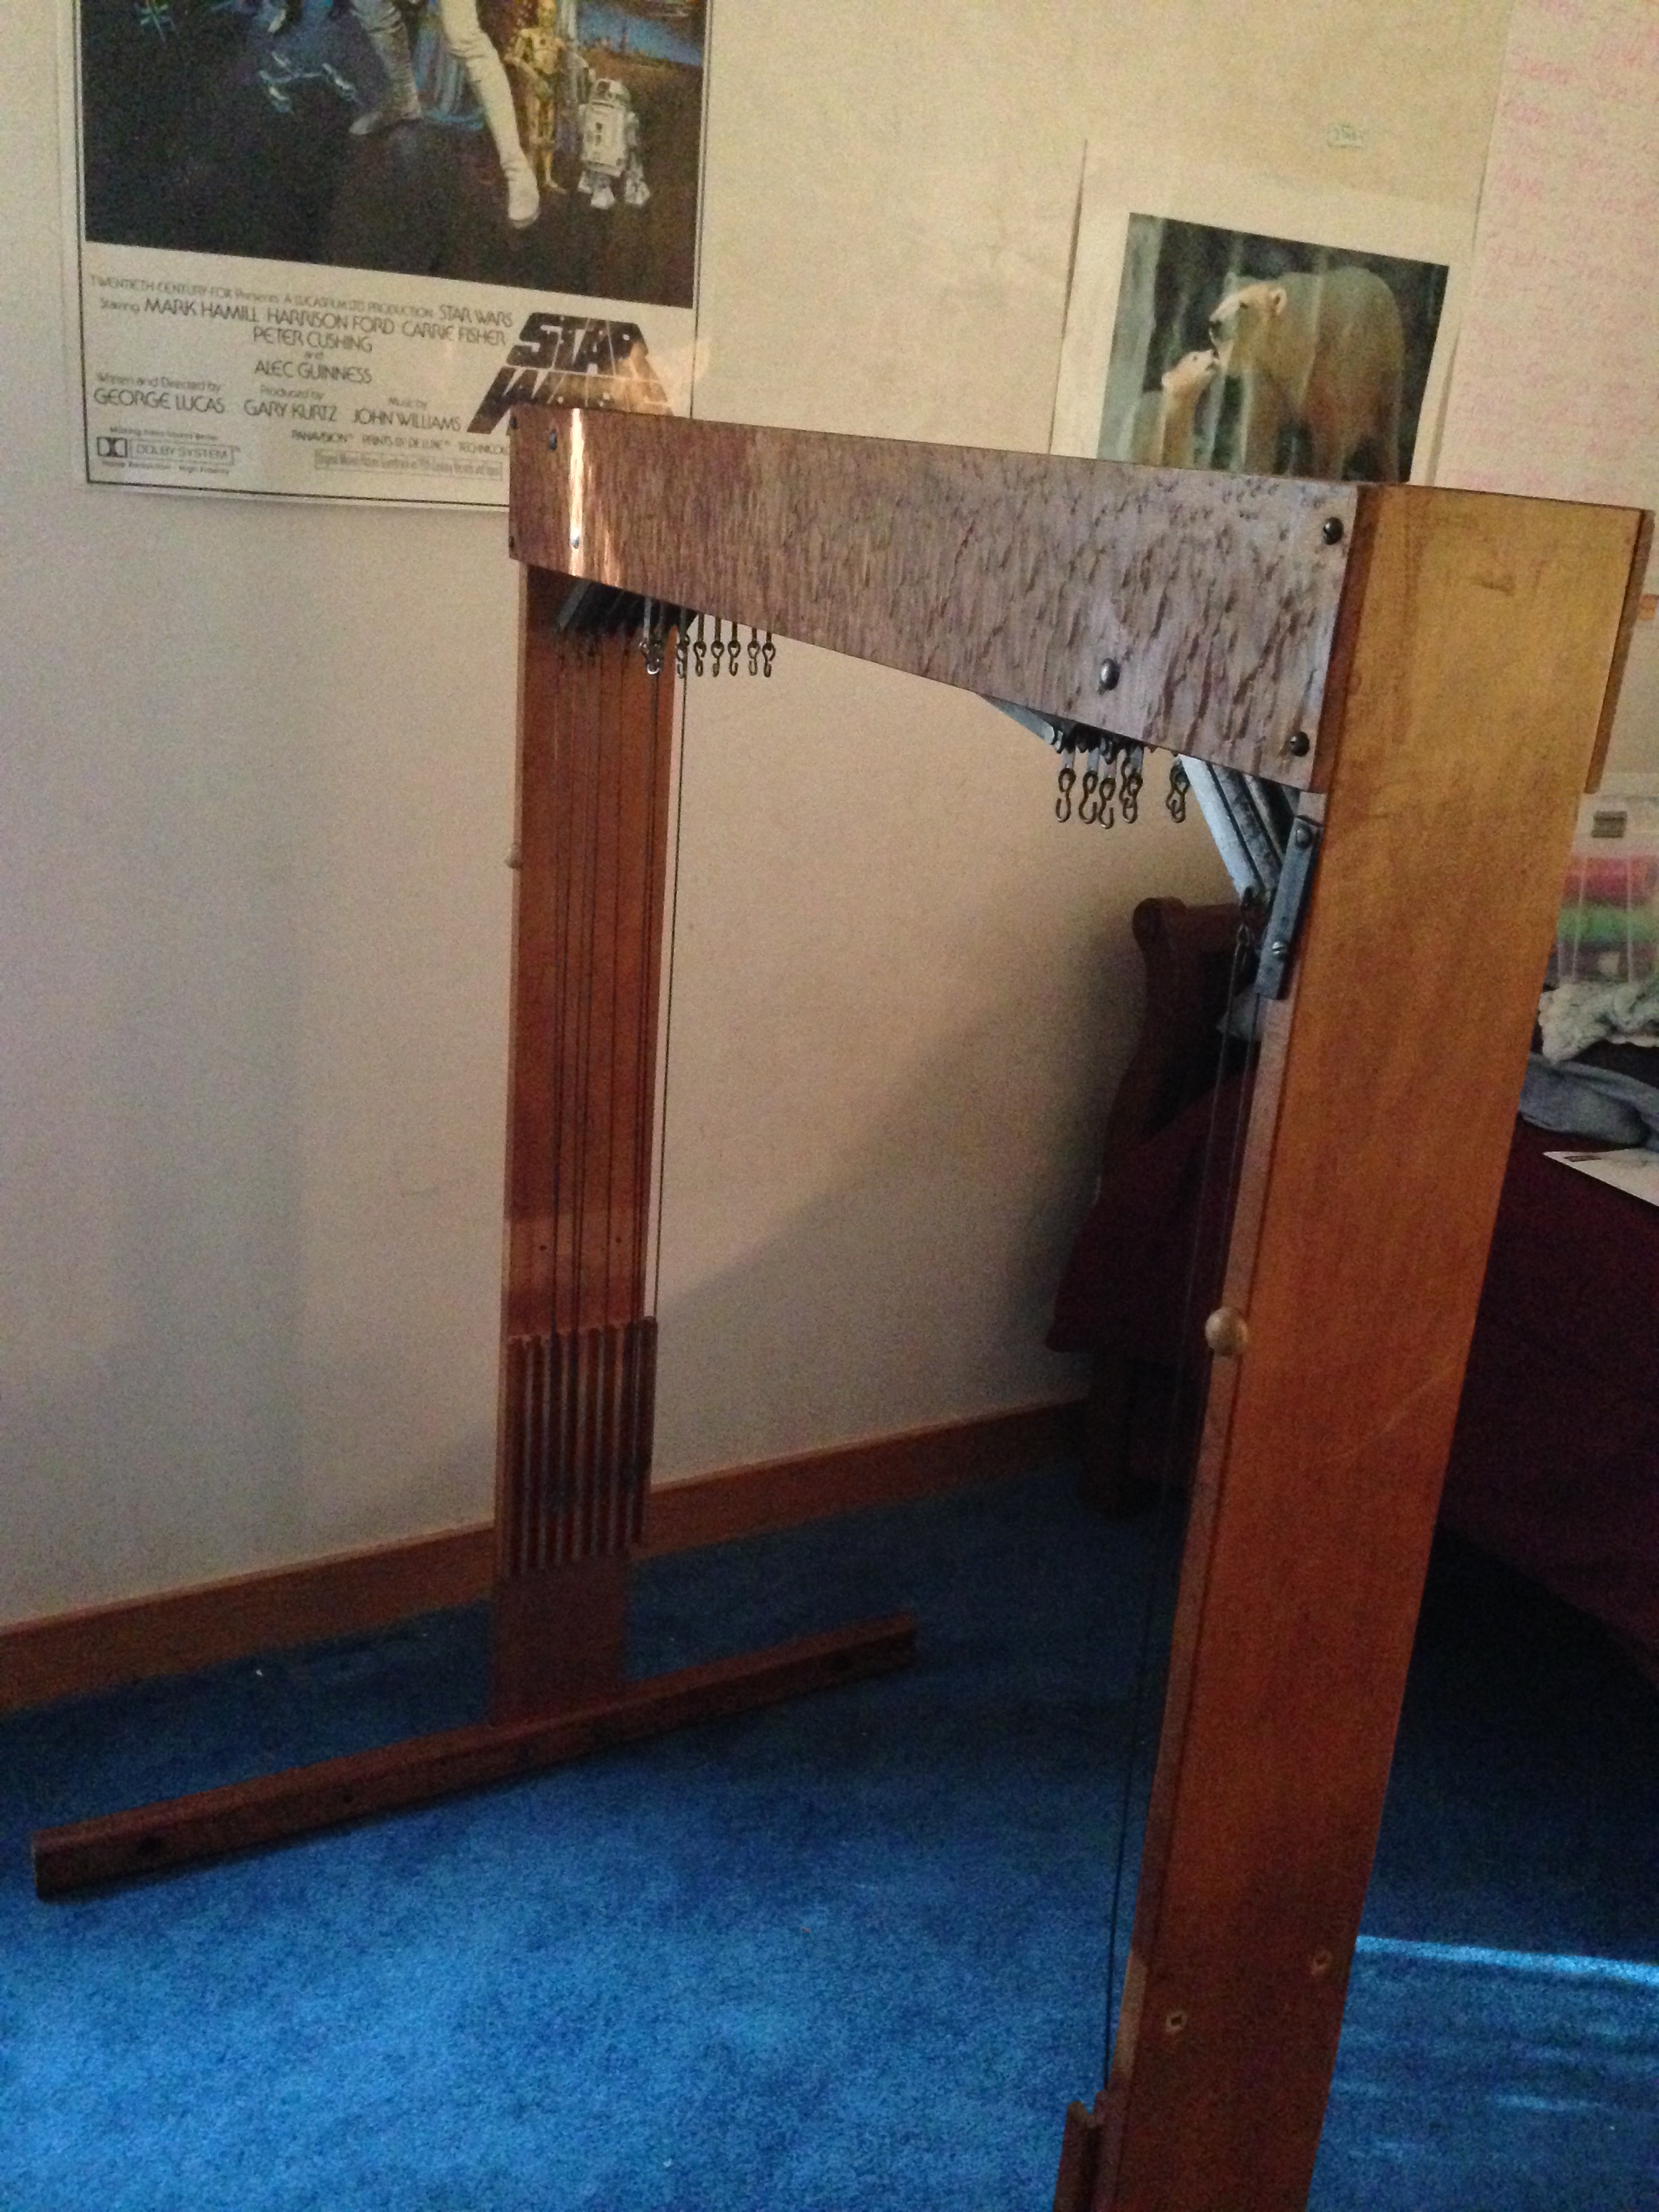
The jacks have been installed in the castle.
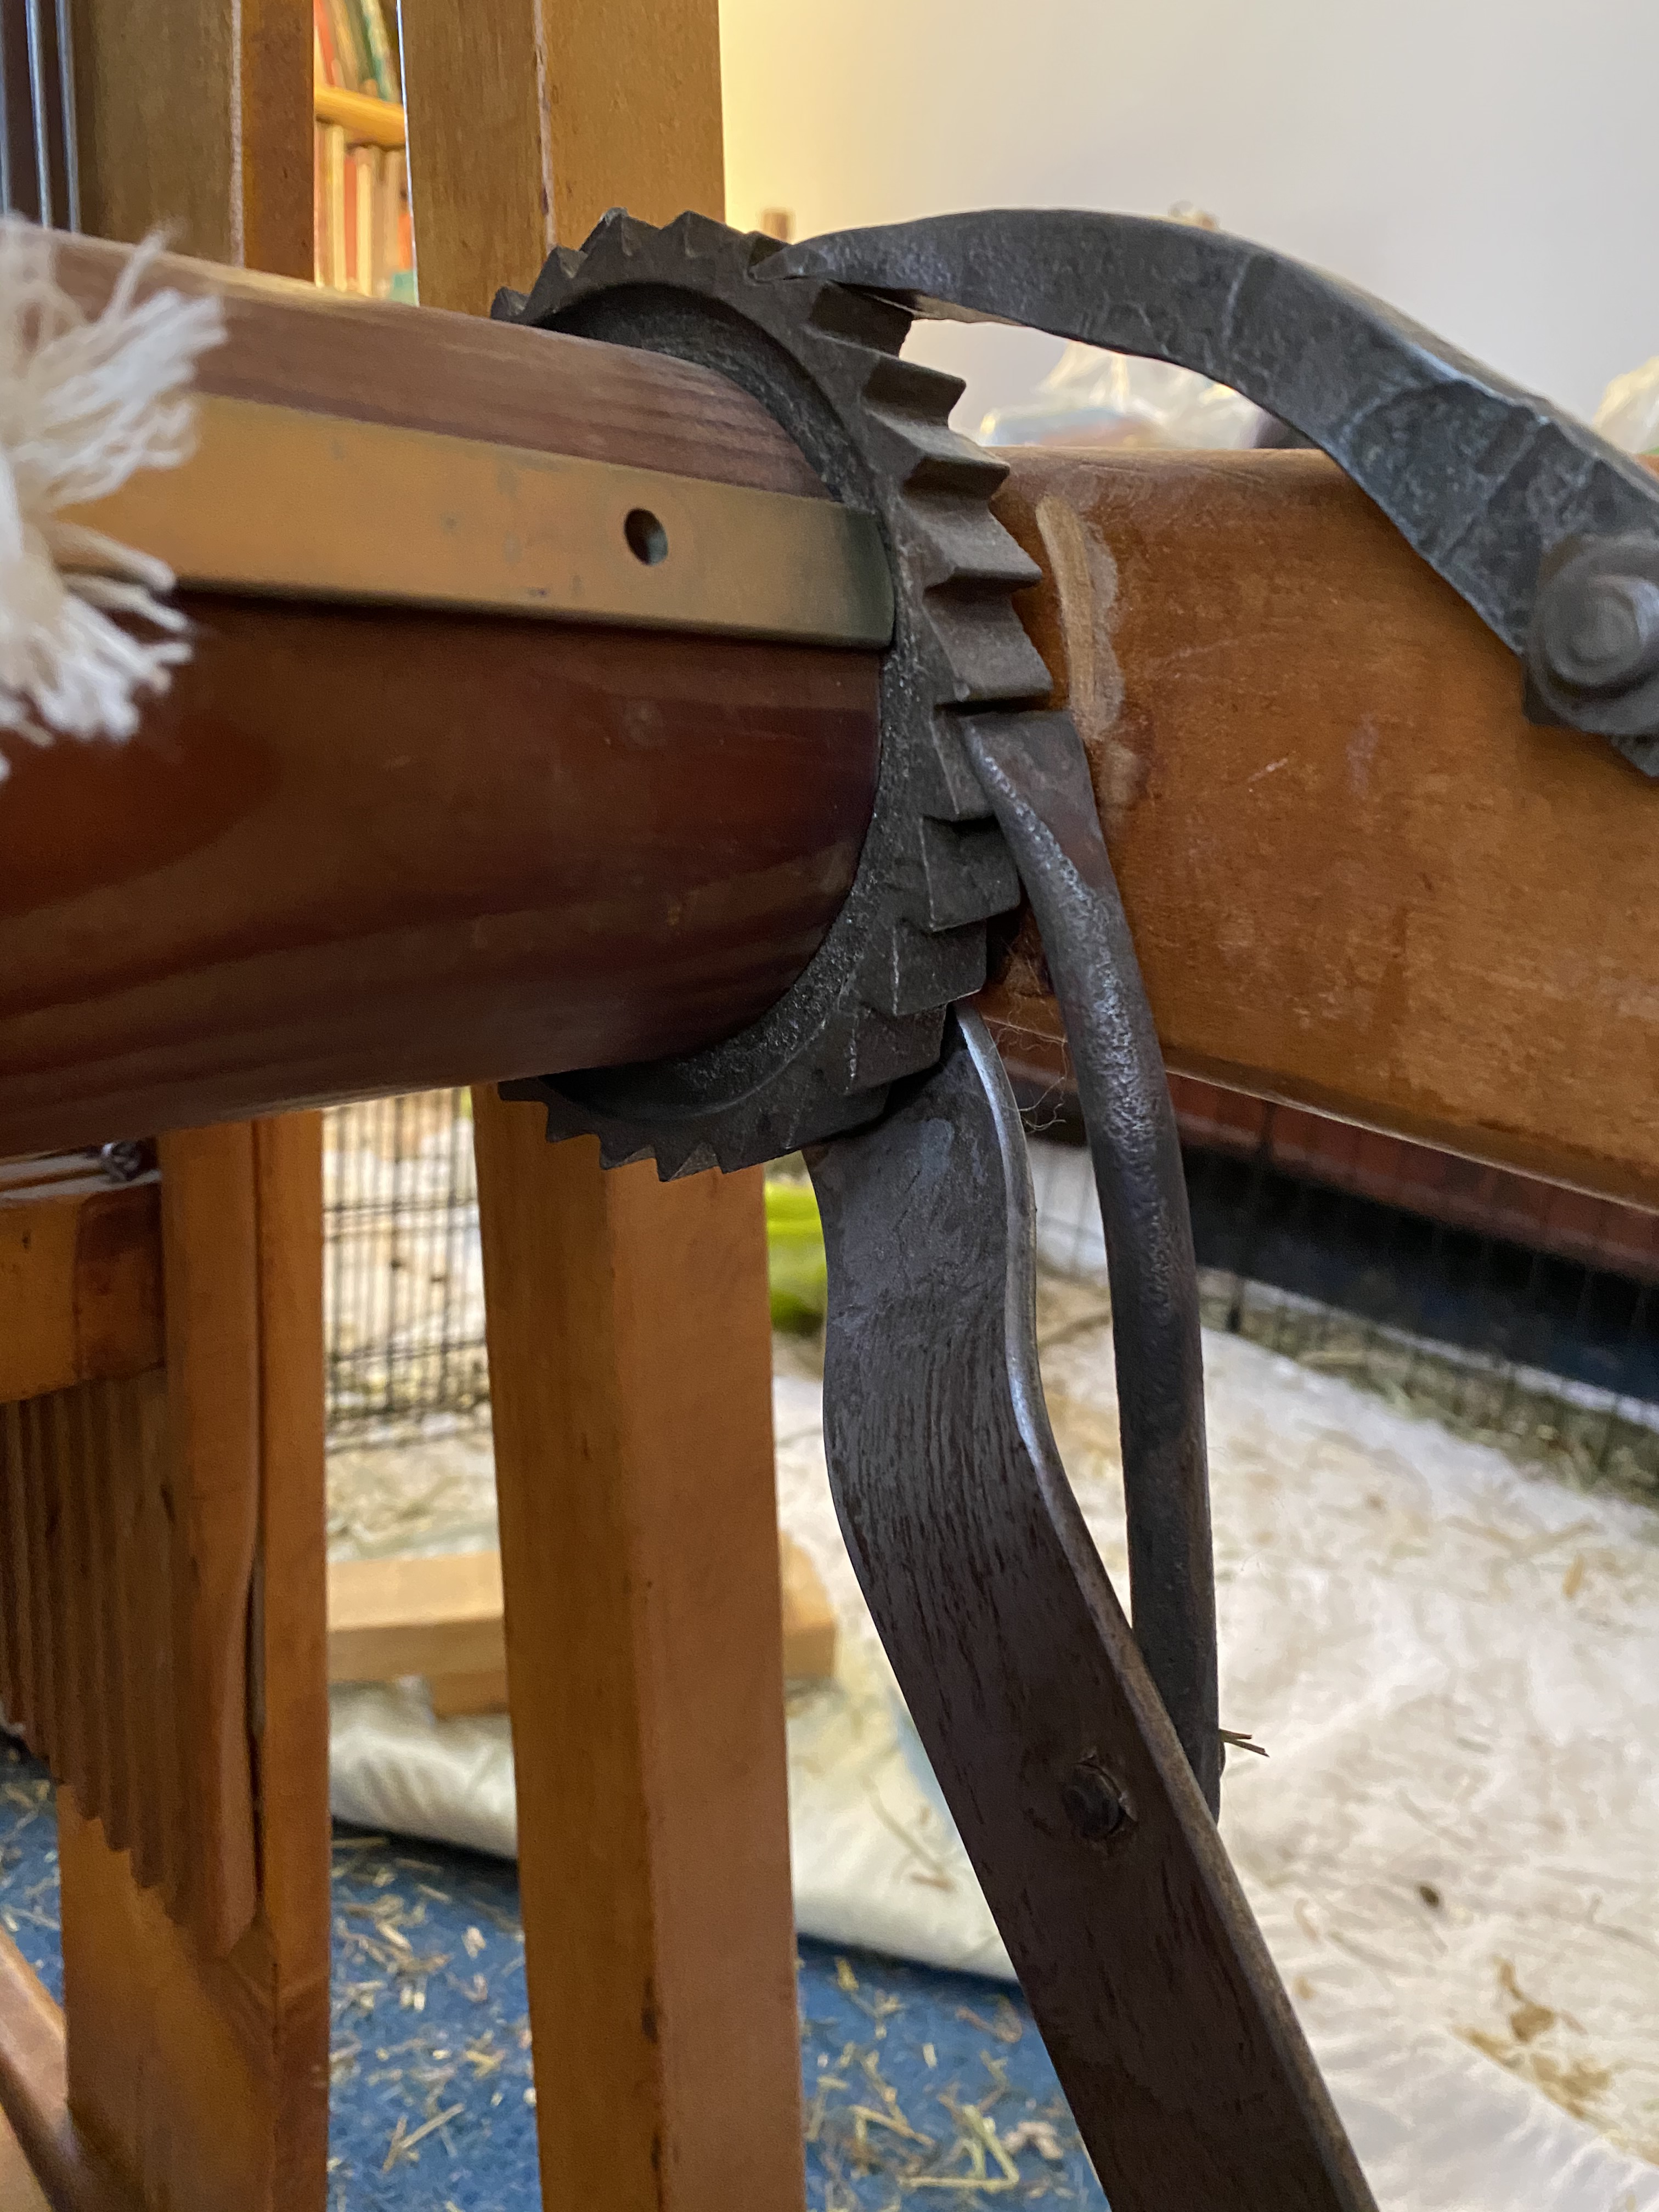
Once that was done I could add the side pieces and the cloth beam. The metal piece hanging from the cloth beam is part of the pawl and ratchet brake. I also installed the lower warp beam at this point (it is not in the picture).
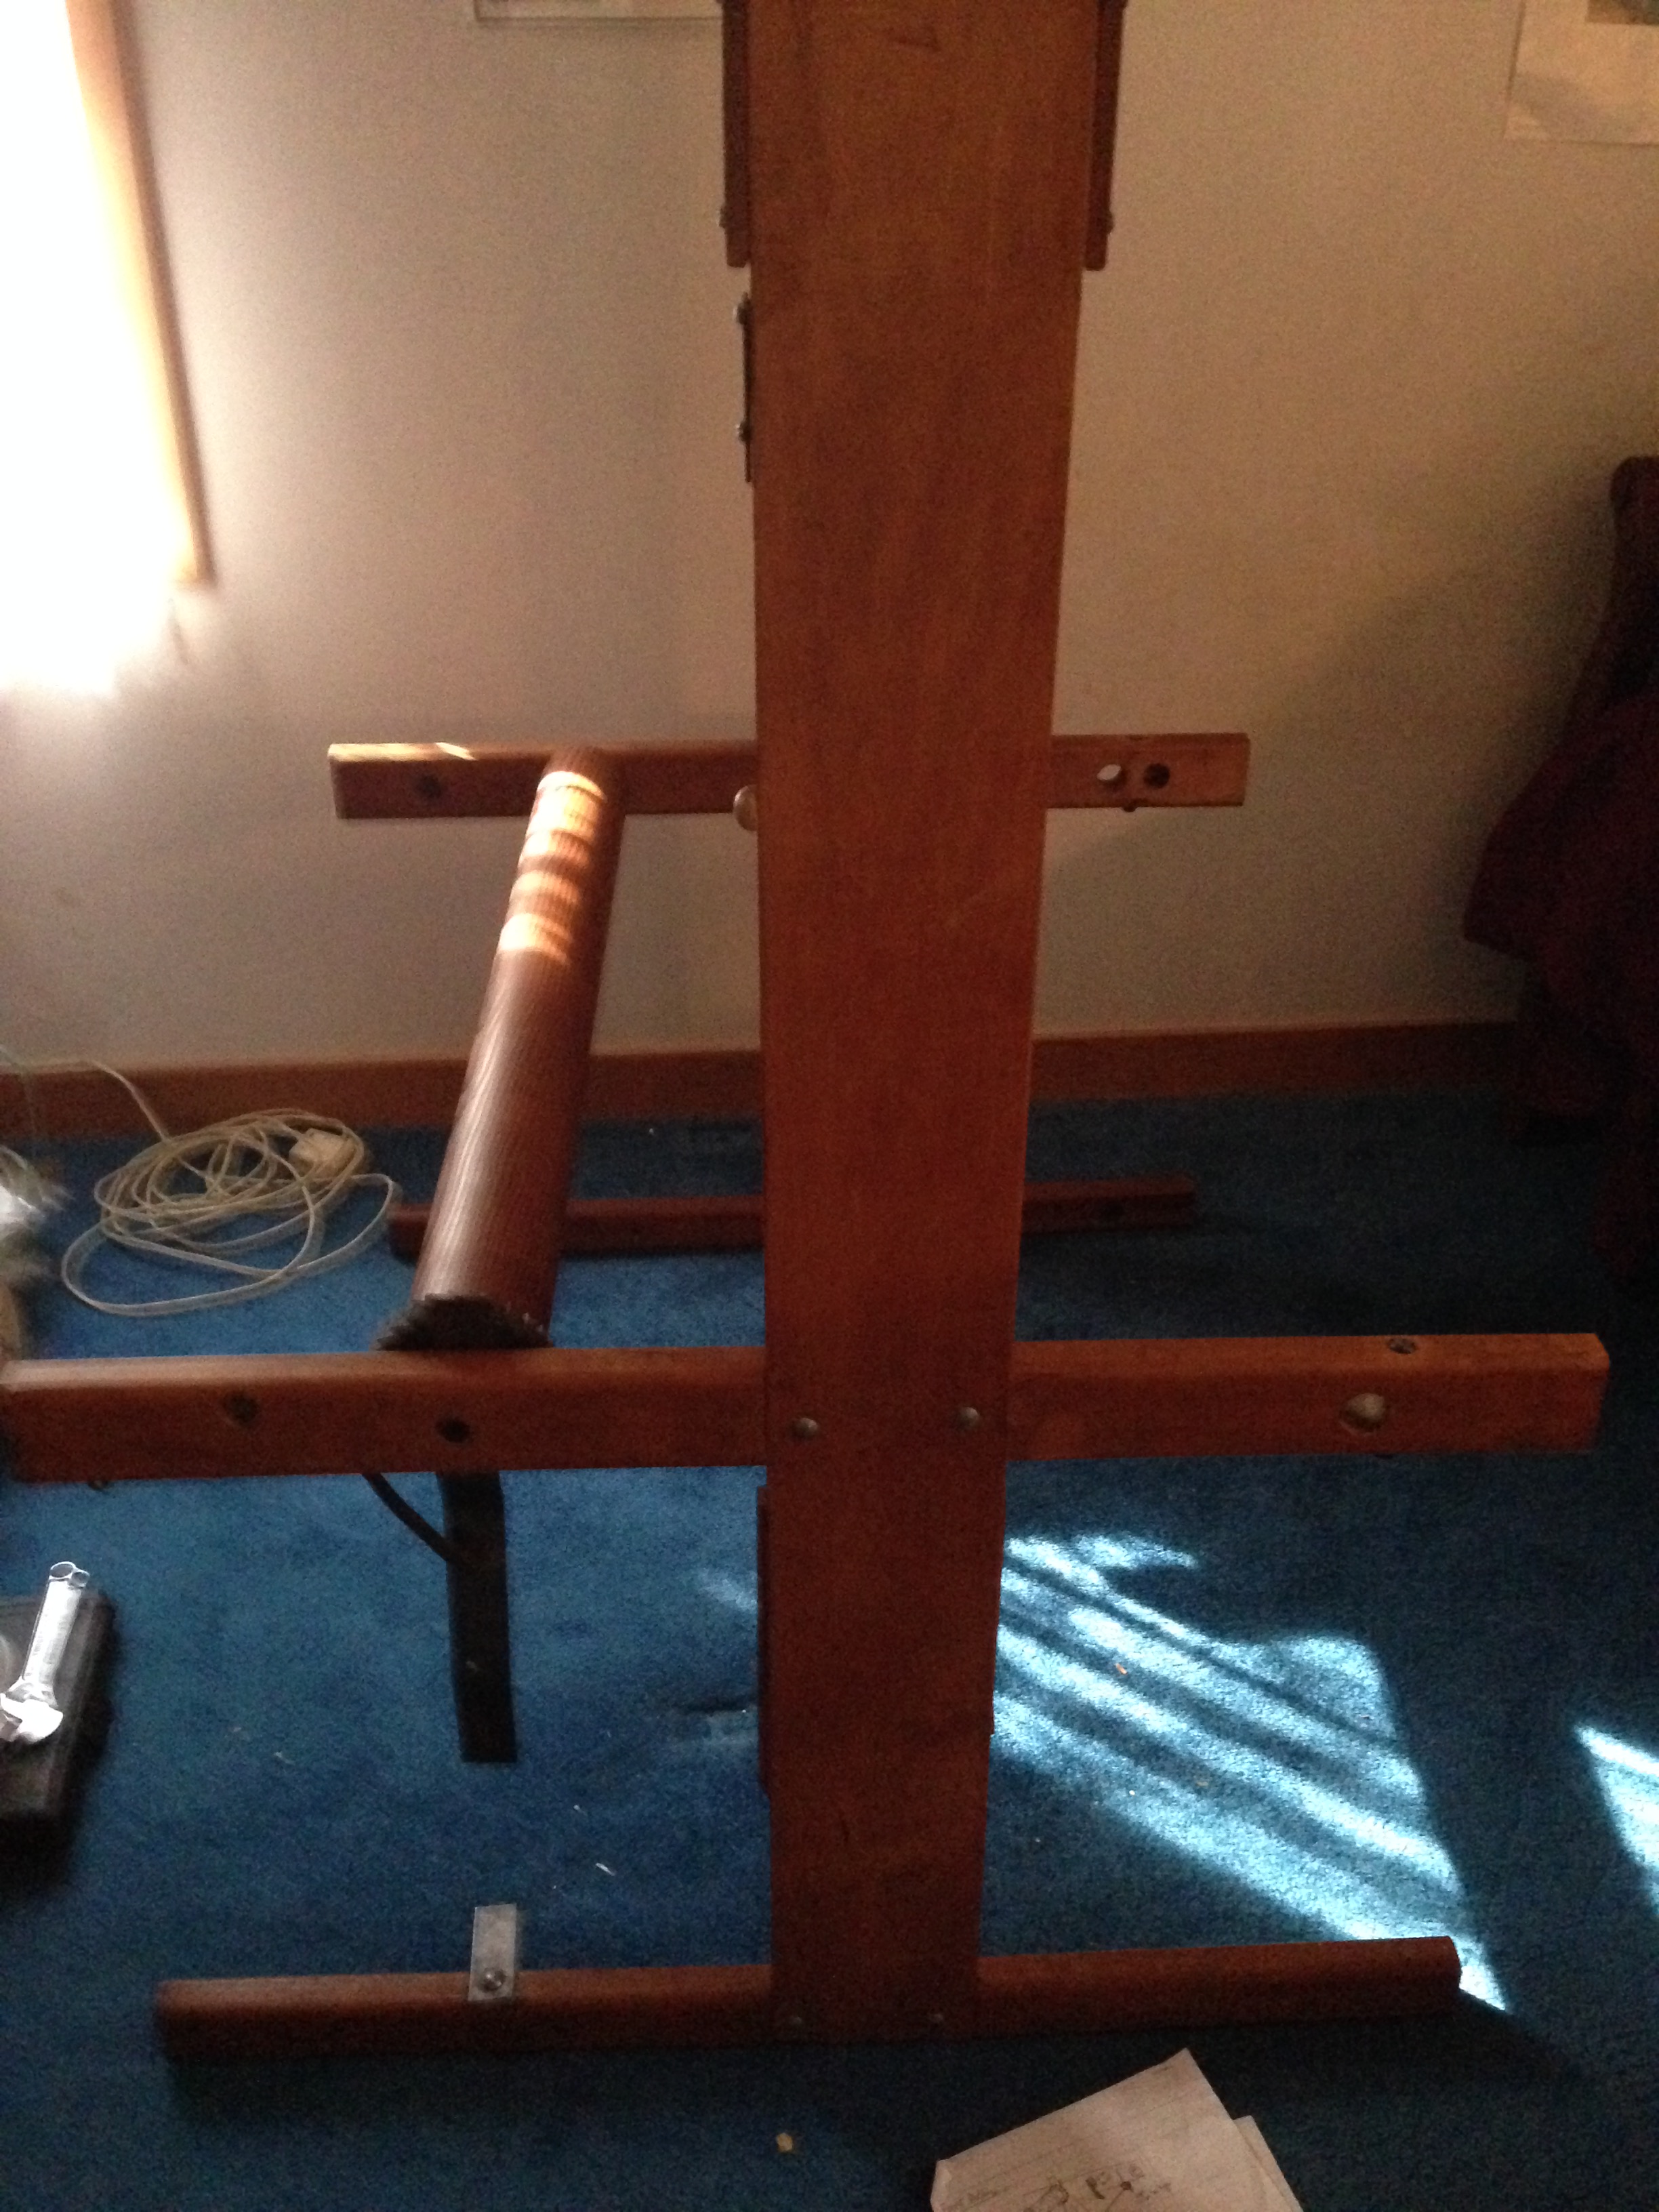
The cloth beam is in.
I put the treadles back onto the front piece, and then could install the breast beam and rear beam. Once I was ready to put the front and rear pieces on I realized that I would have to lift the loom an inch or two to fasten them, since the lower side piece is actually off the floor in the finished loom. I took the warp beam that I had installed off again to make the loom a little lighter and easier to lift.
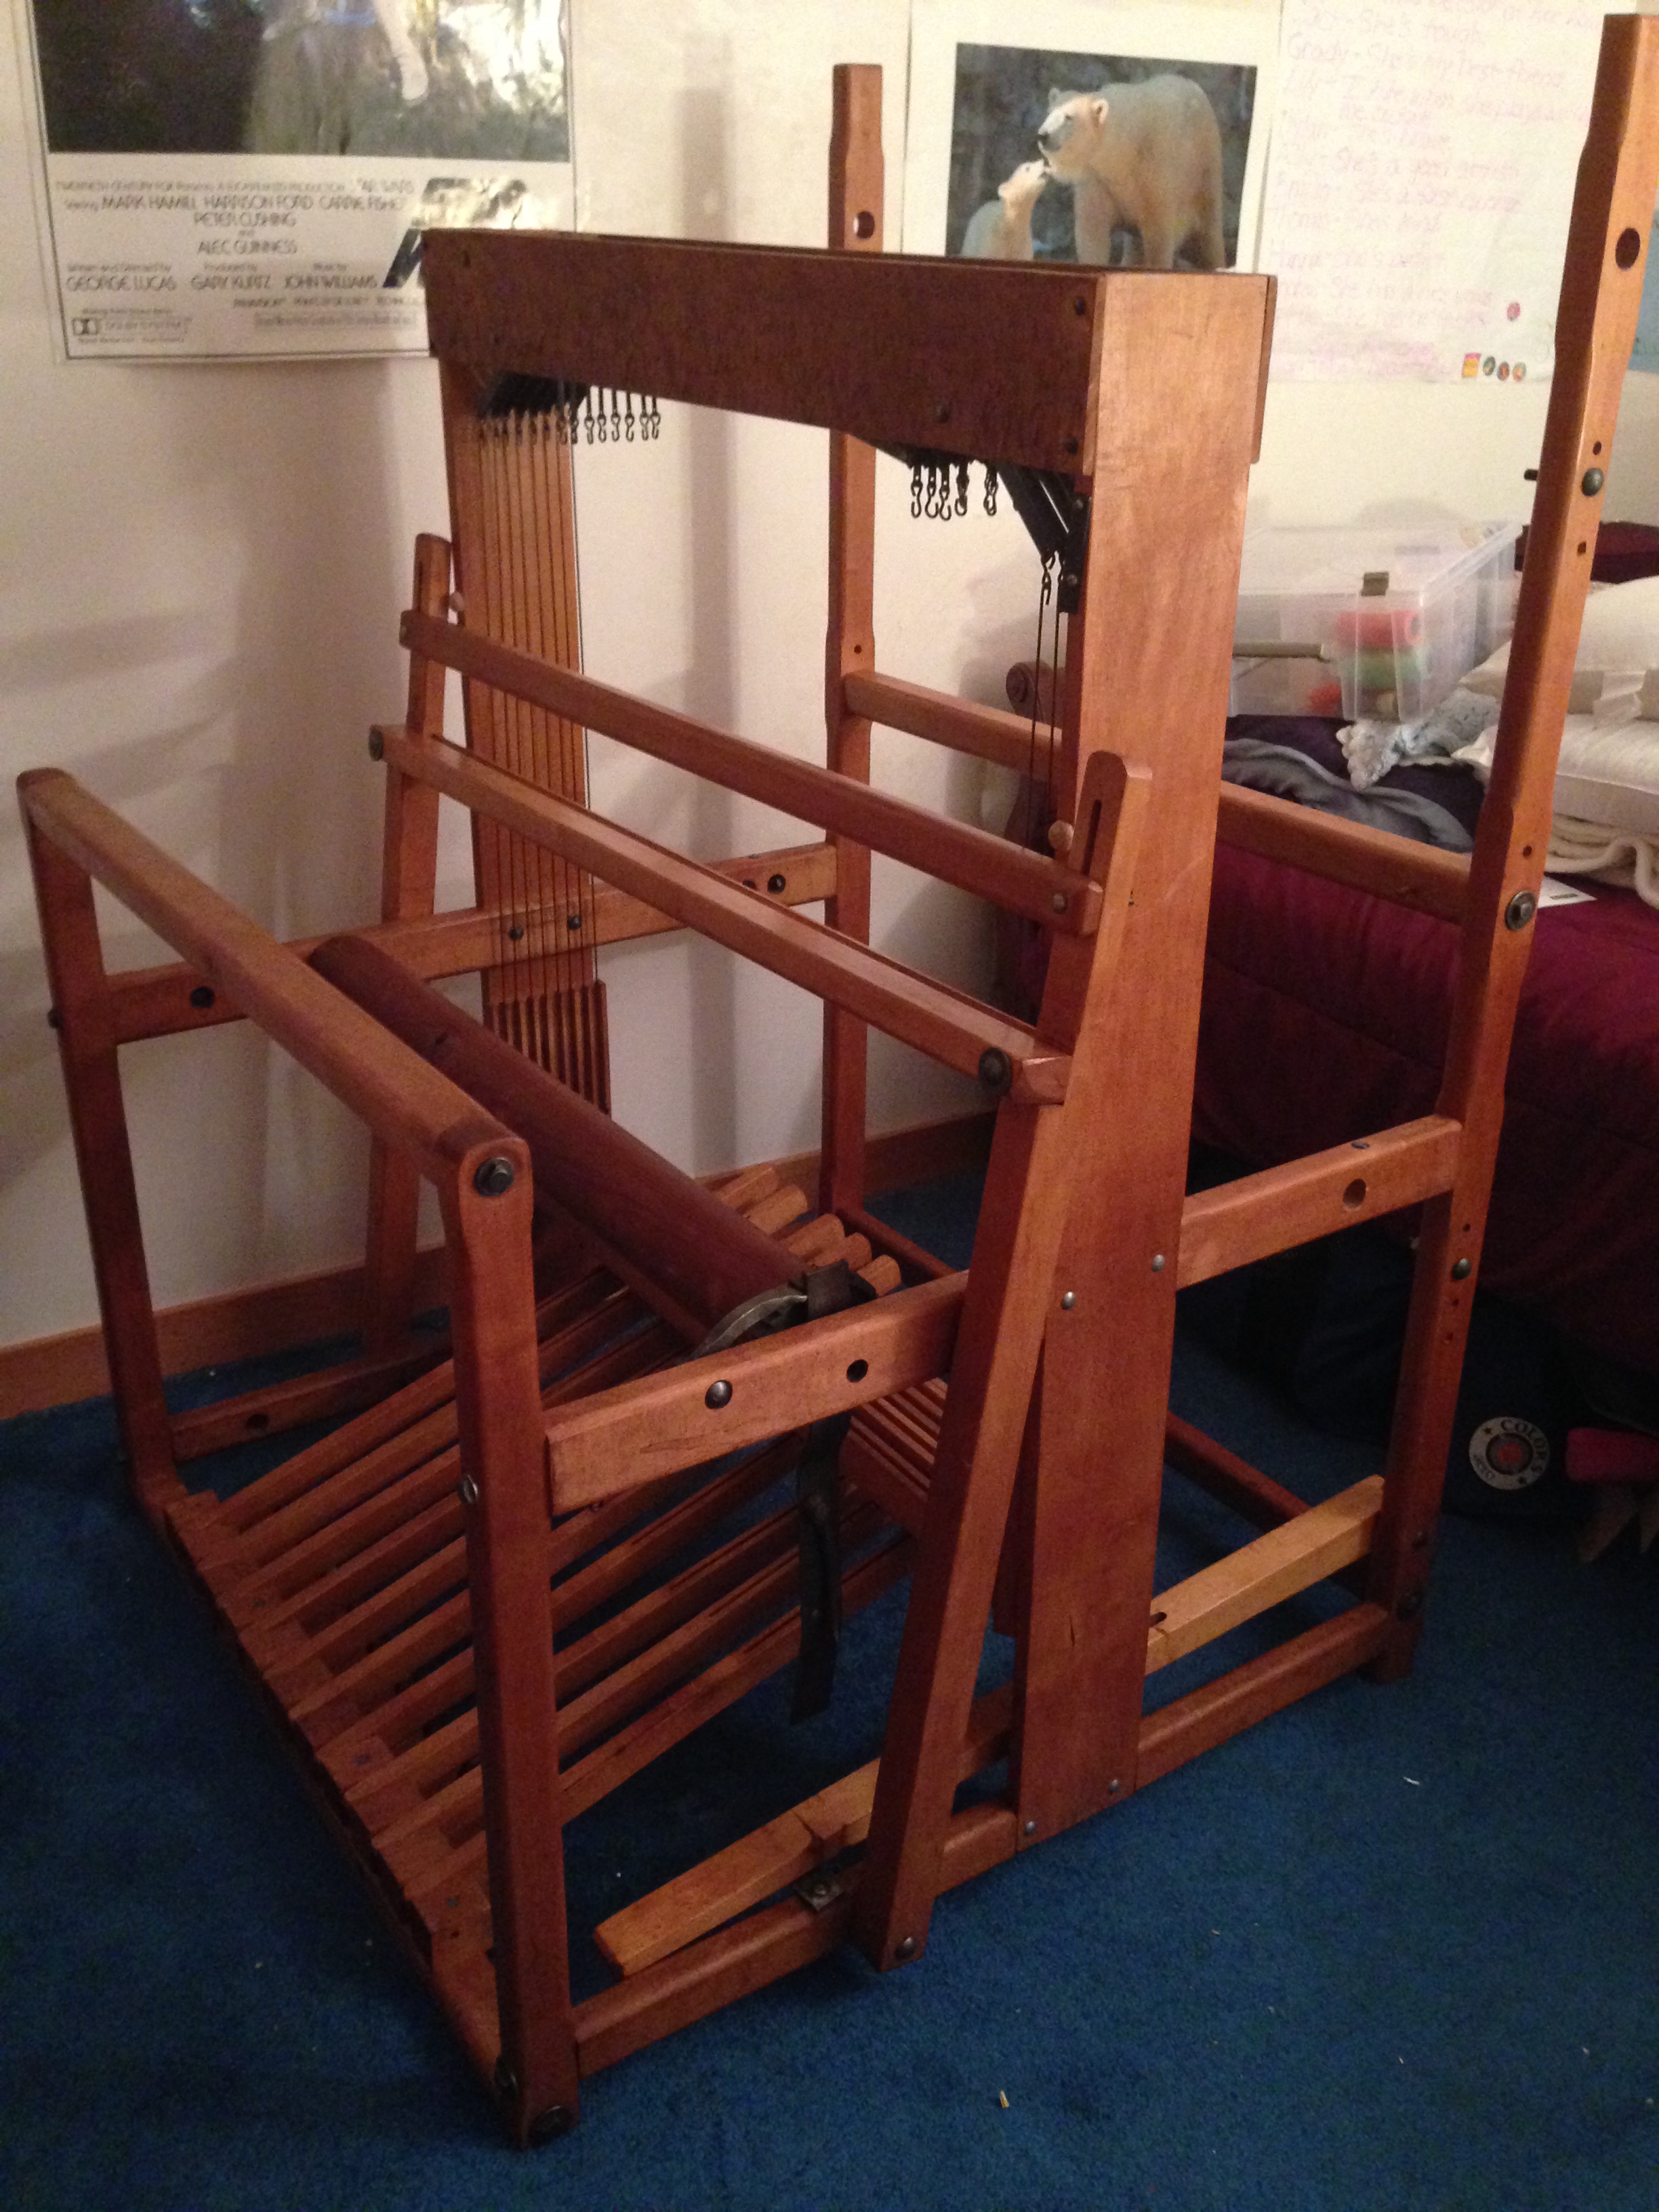
The breast beam, treadles, rear beam and beater are attached.
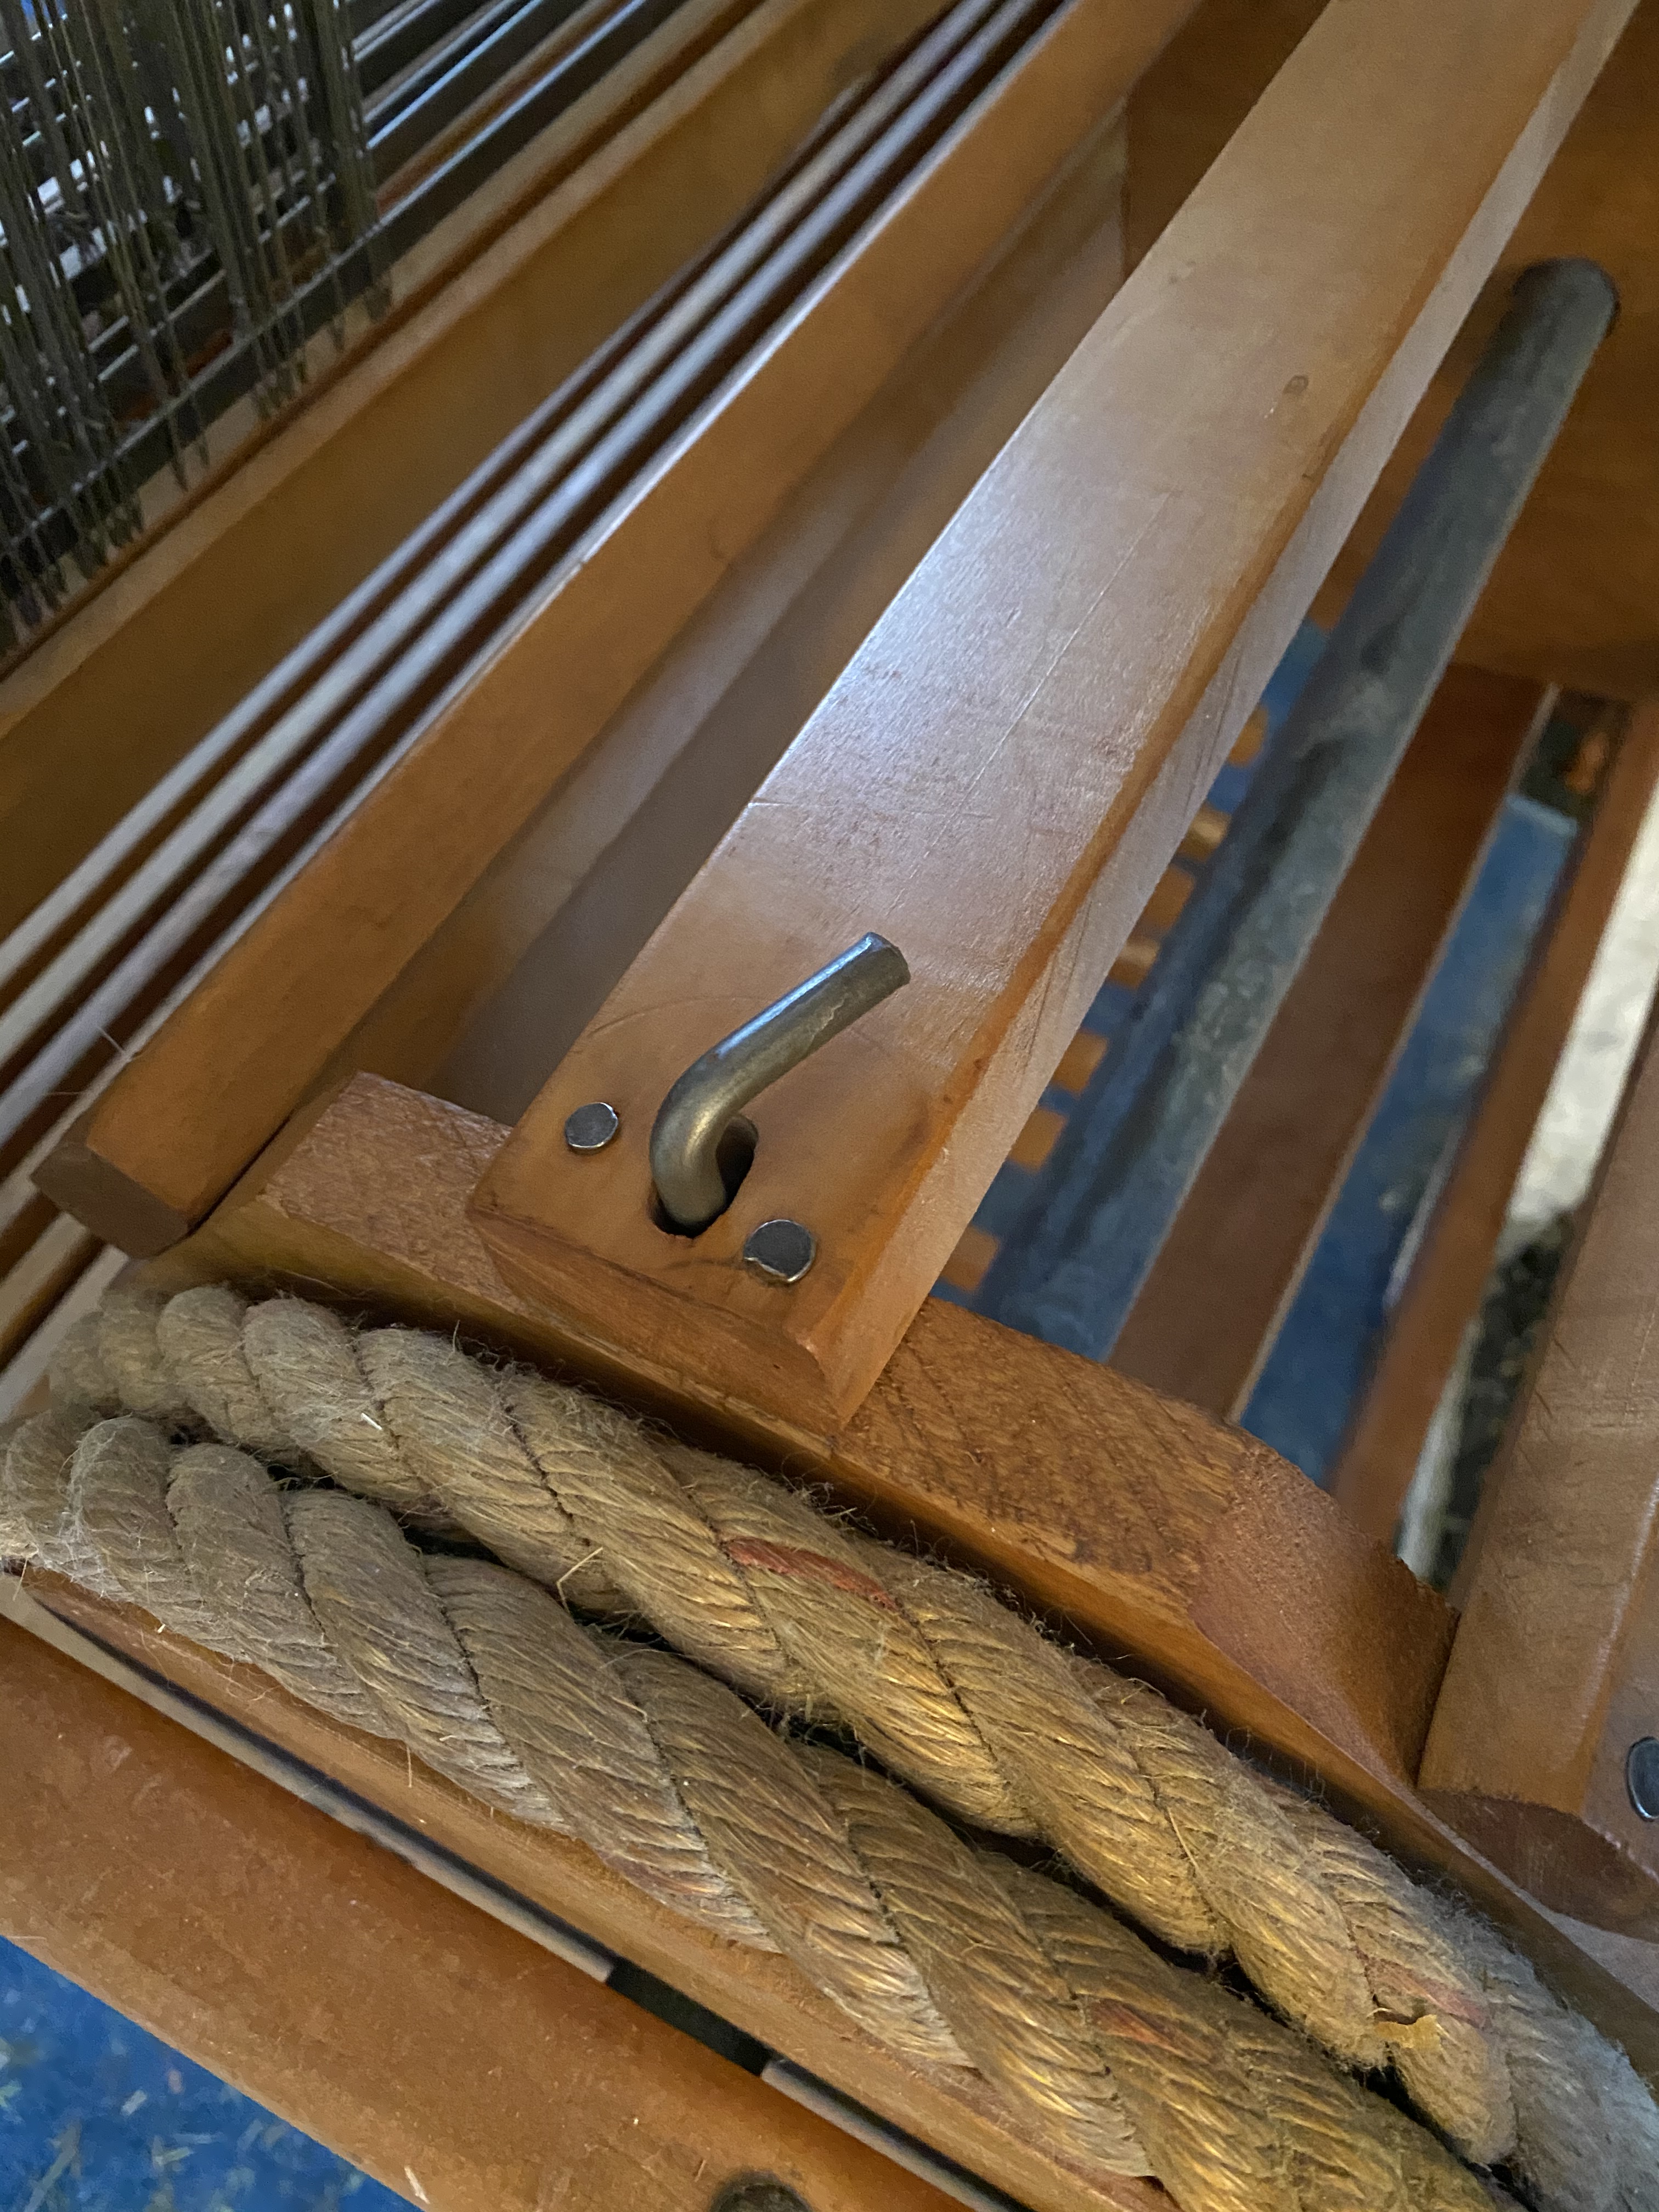
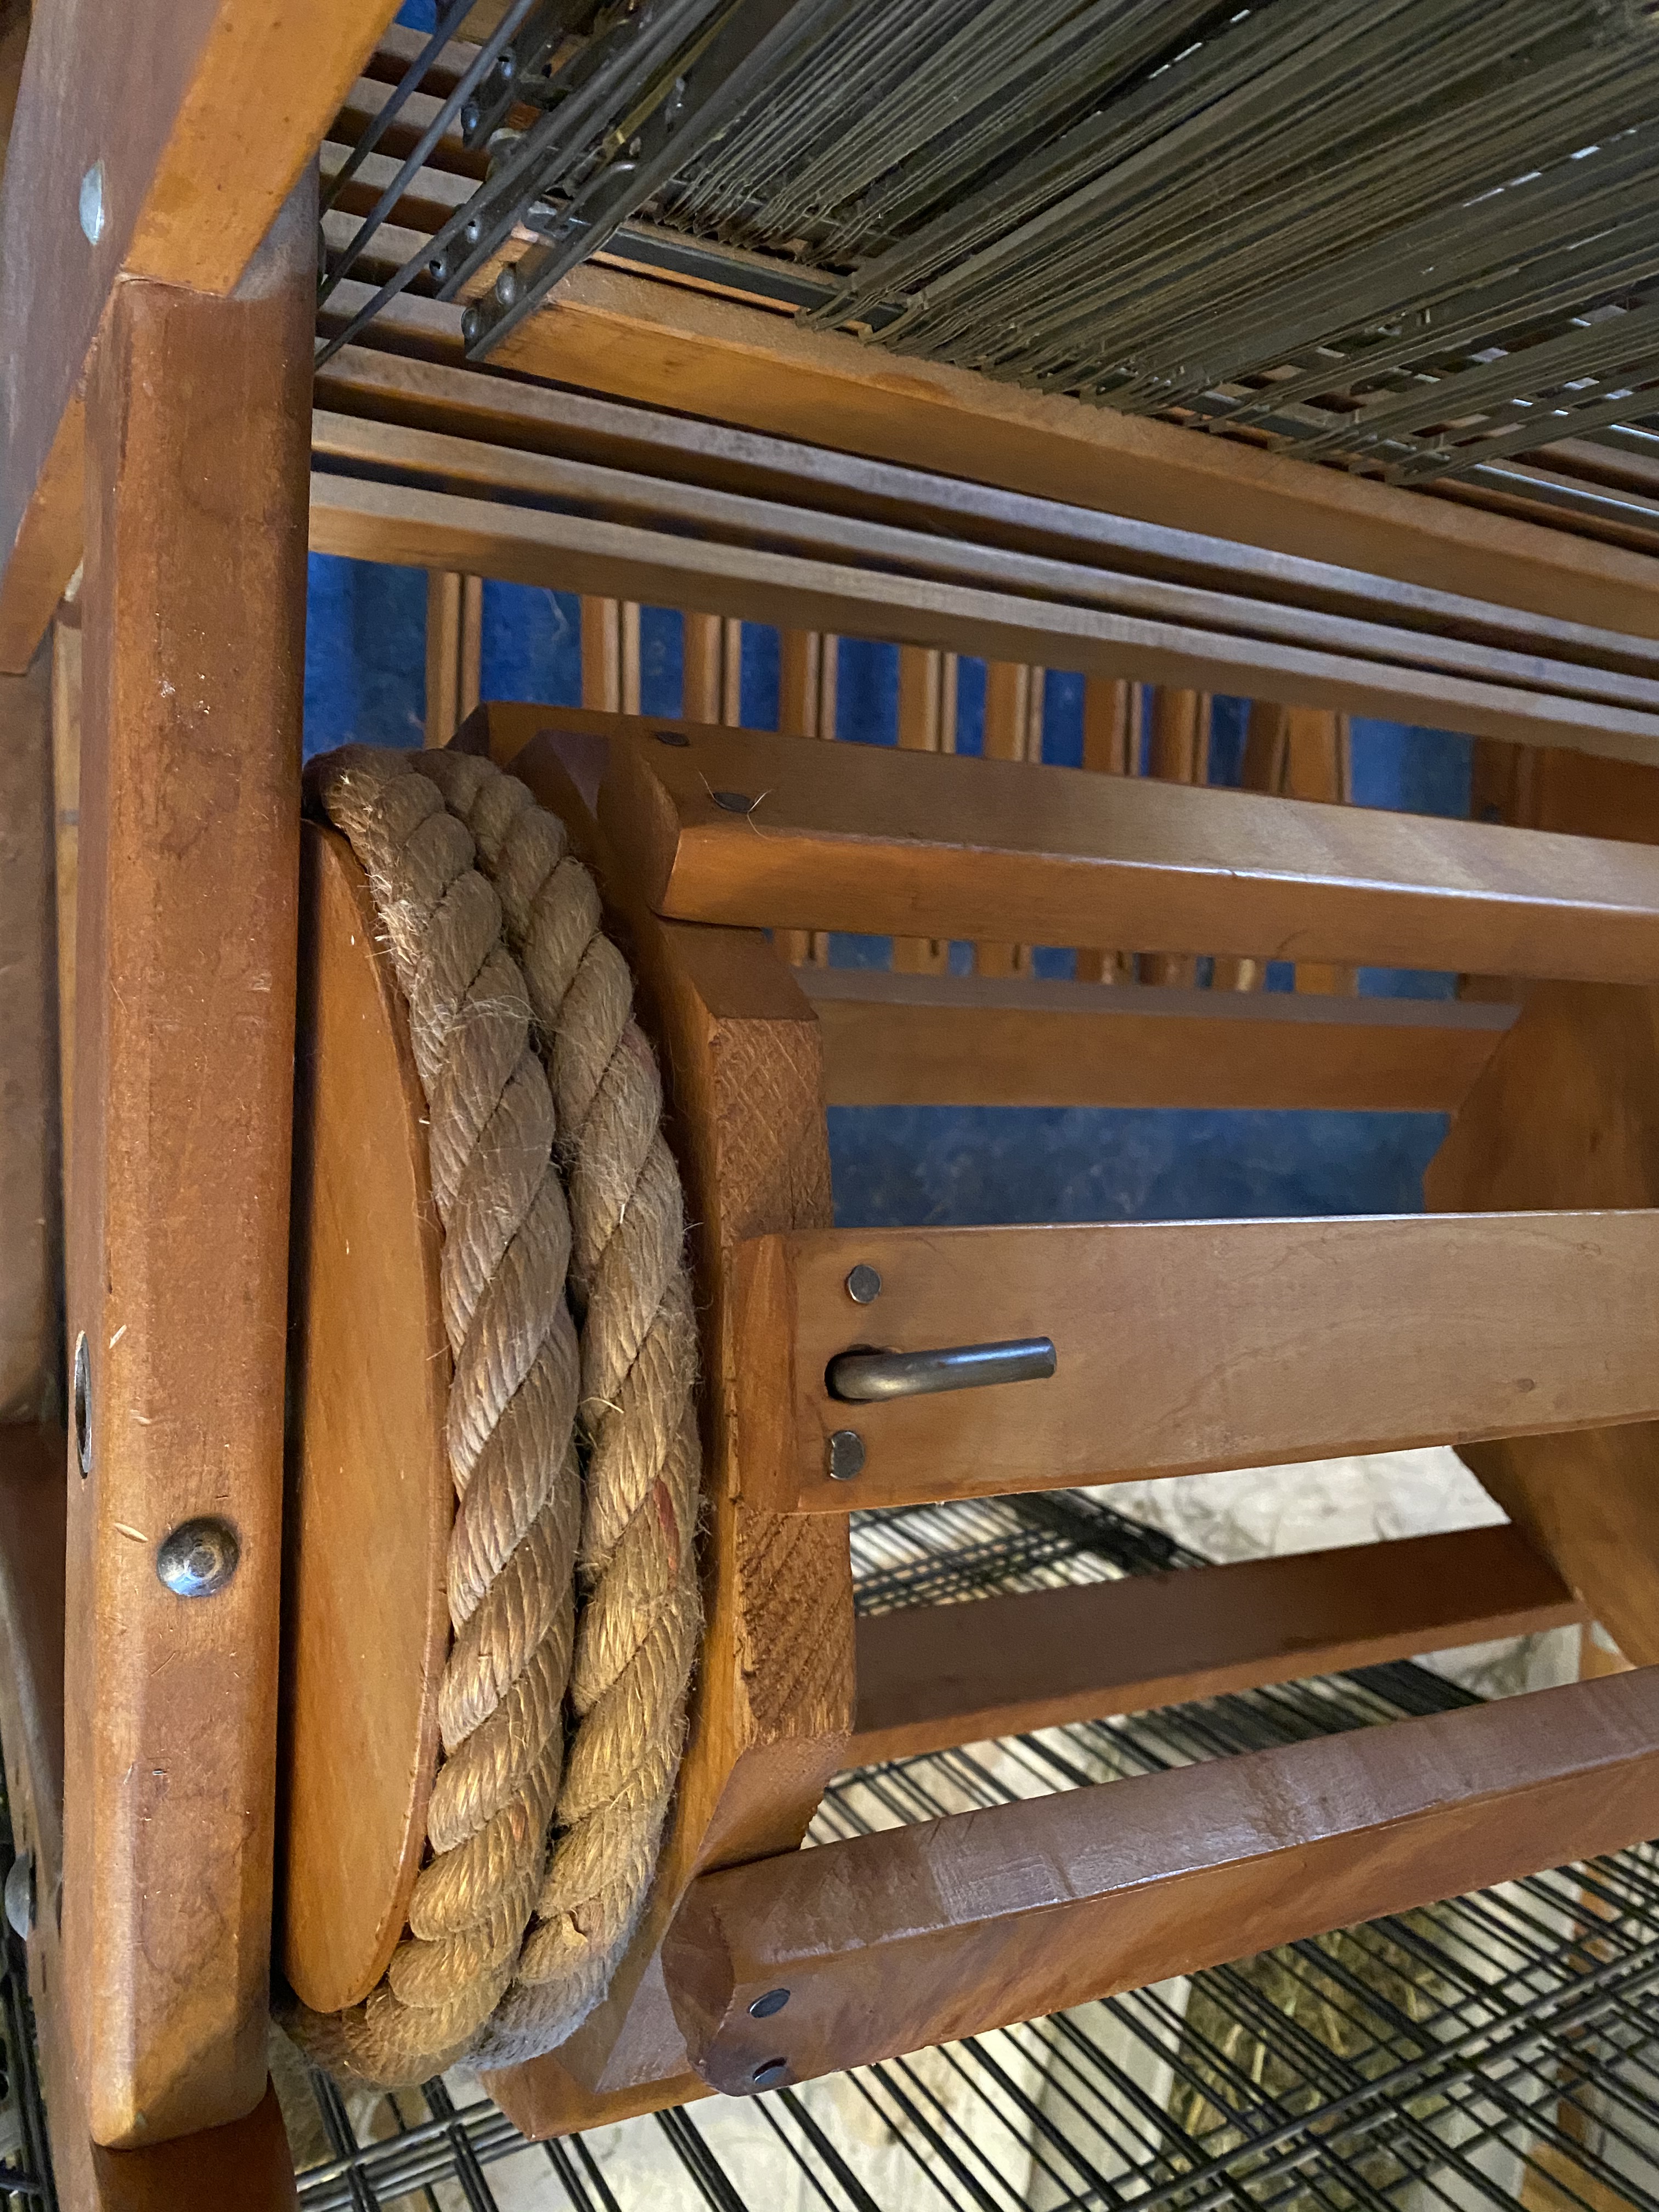
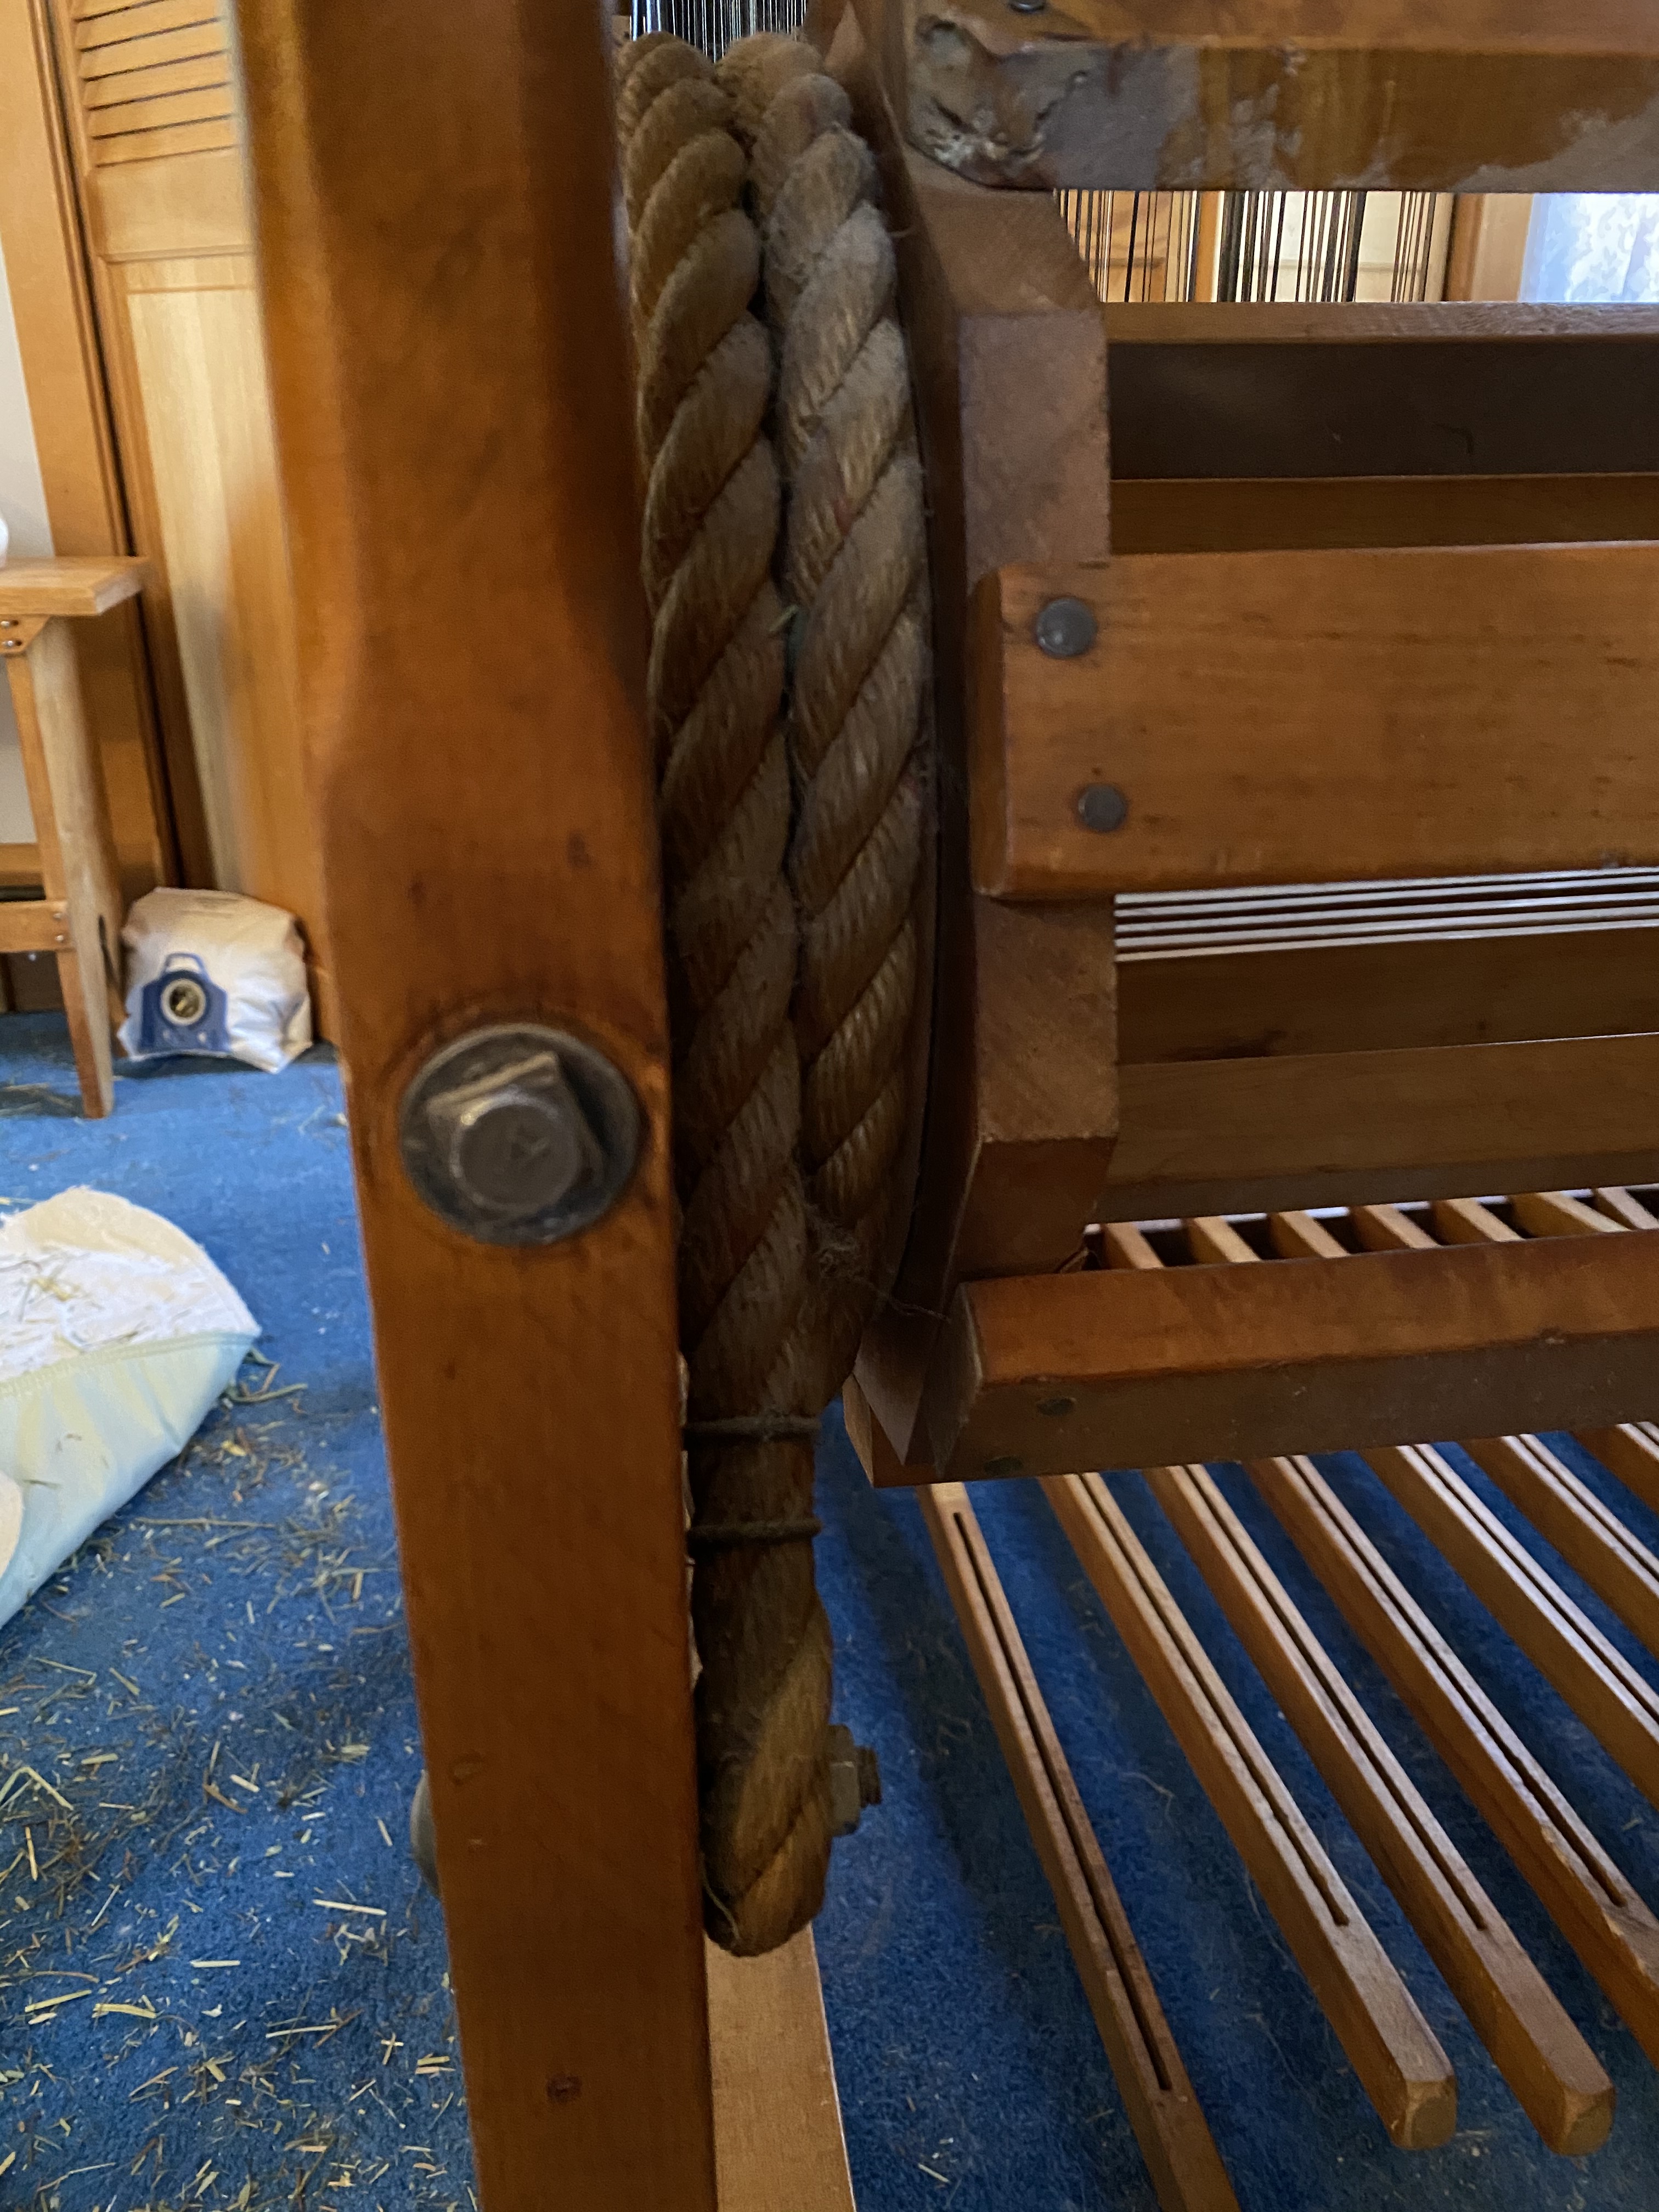
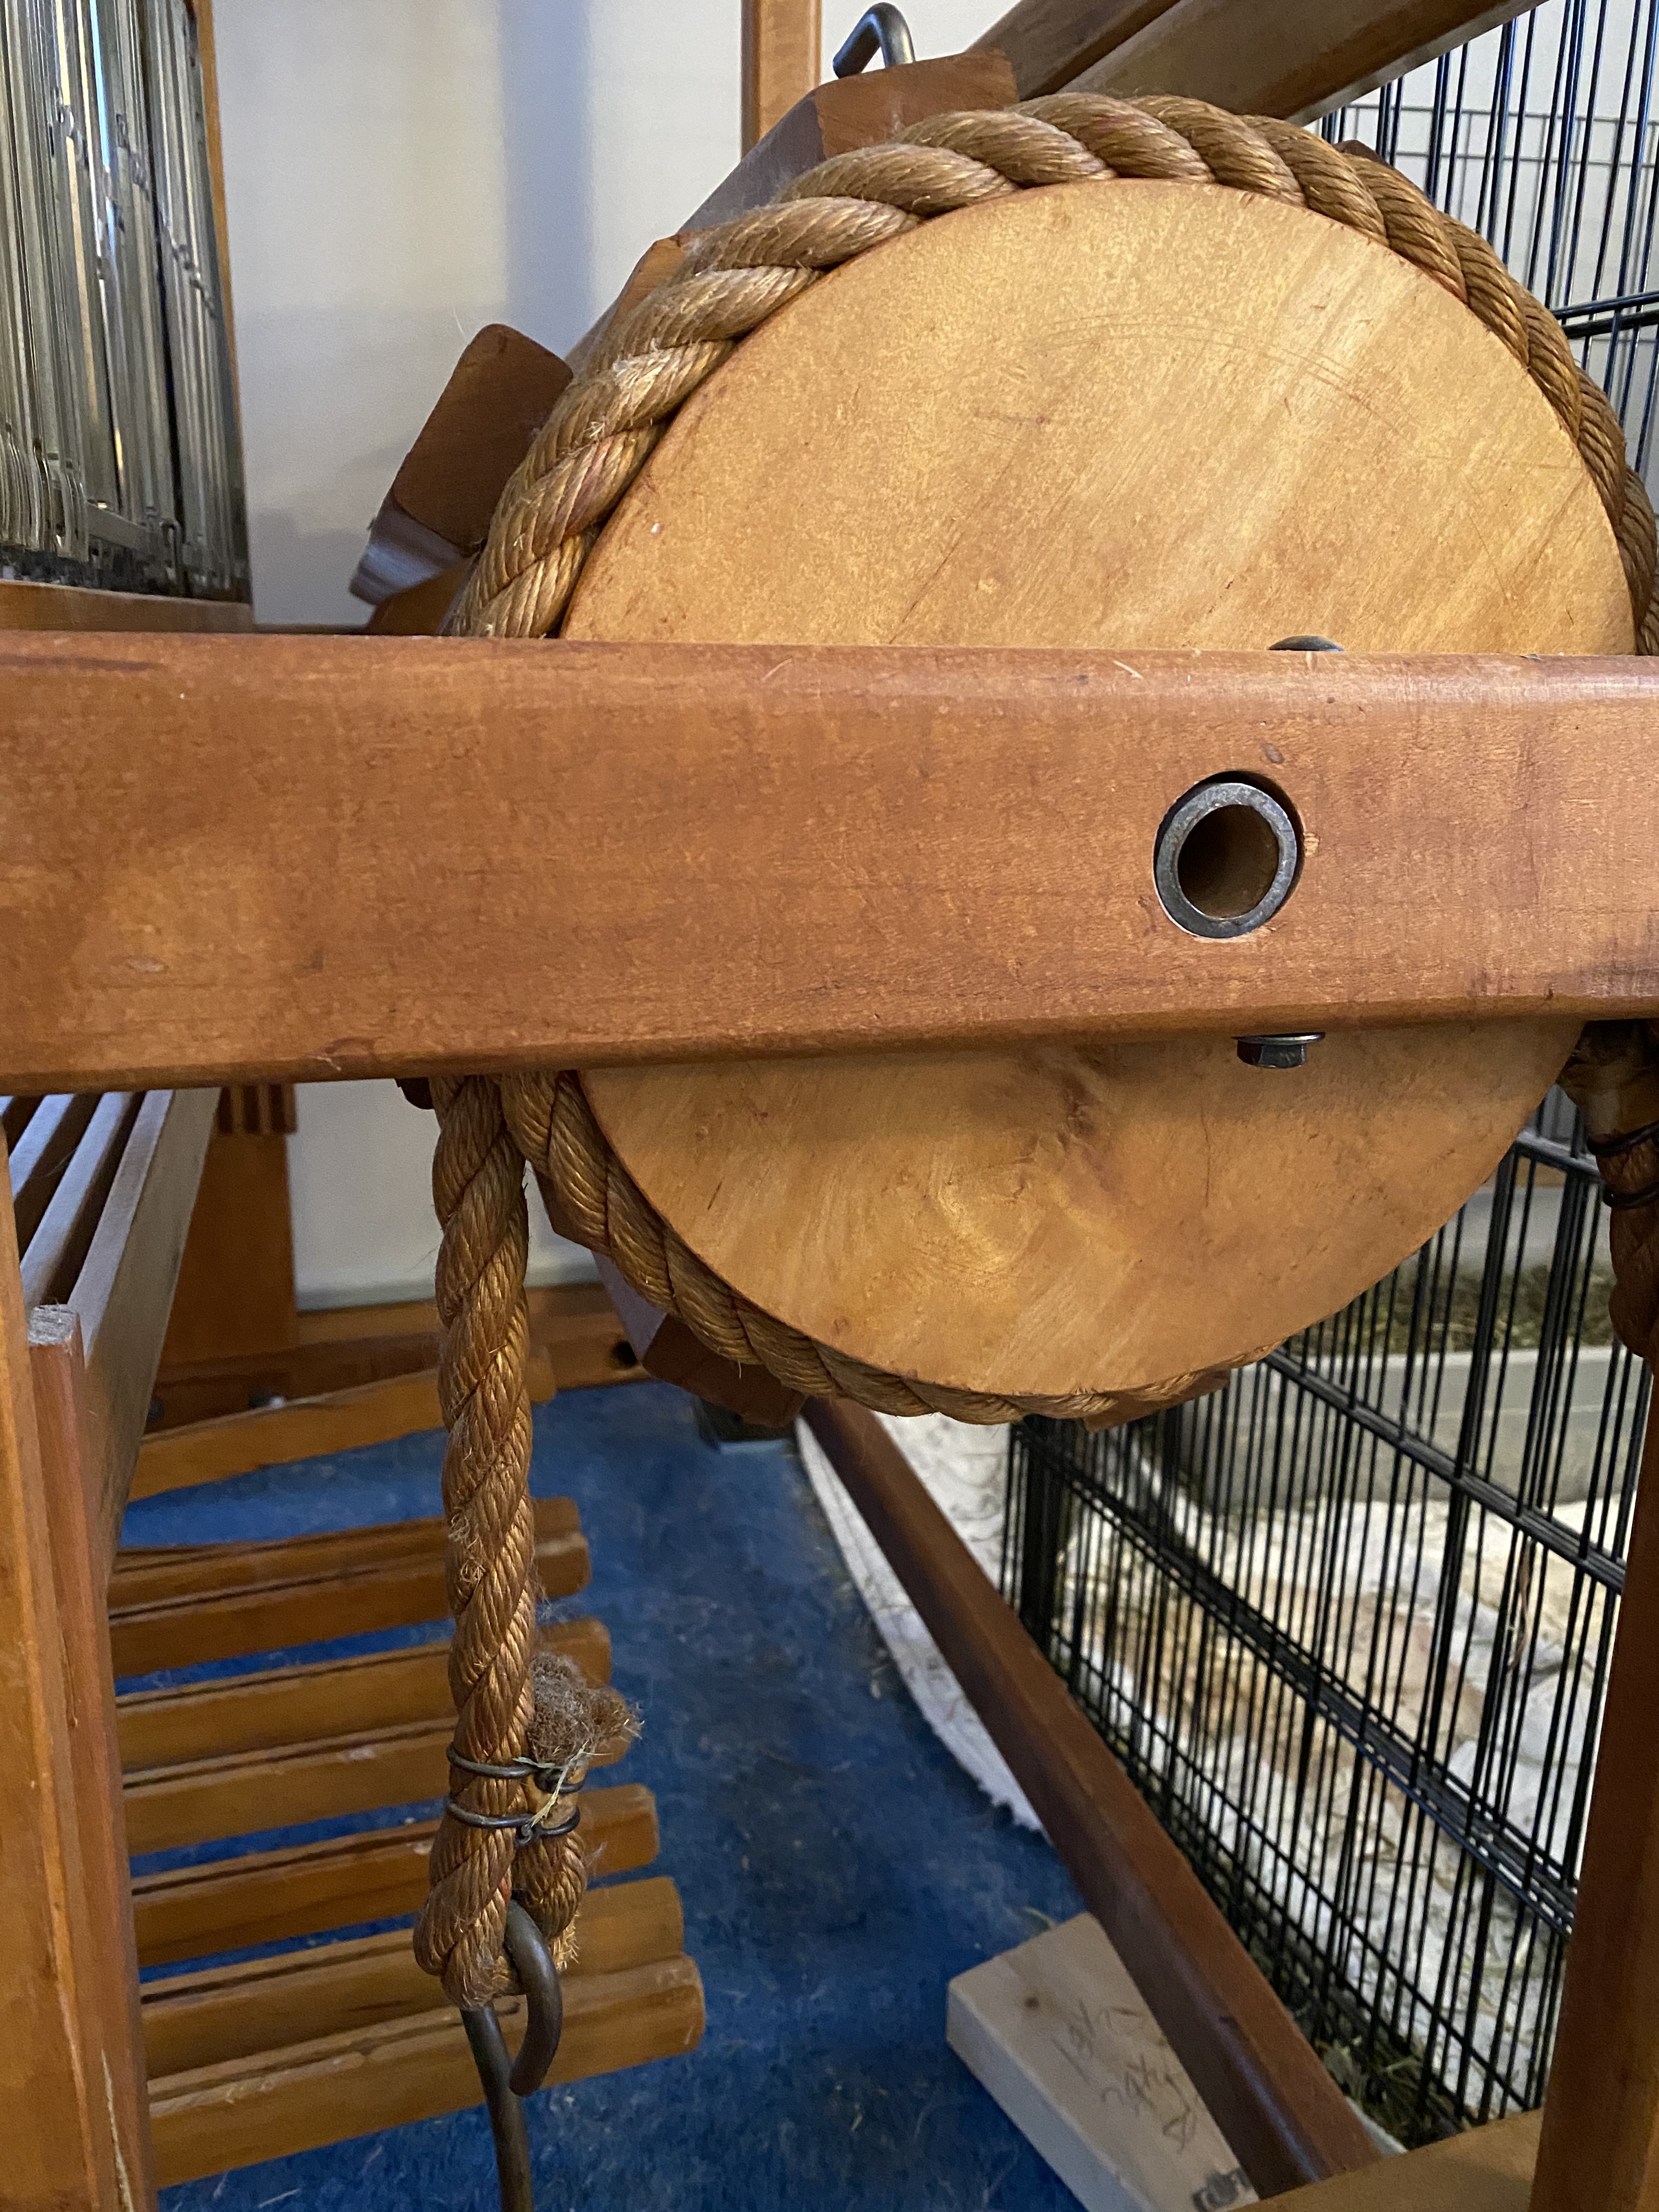
Finally I put the warp beams on, and set up the friction brakes. It was a little tricky to balance each warp beam with one arm while trying to thread the iron pipe through it with the other, but not impossible to do. Once I was done, though, I discovered a couple pieces of metal (rods with a 90 degree bend at one end and a tapered end at the other). As I was thinking about what they might be for, my husband asked me what would keep the pipes from being jostled out of place during the weaving. Together we discovered holes at one end of the warp beams that corresponded to holes in the pipes. The rods fit through perfectly to hold the beams and pipes in place. The 90 degree bend in the rod nestles against the warp beam, so these are not visible in pictures.
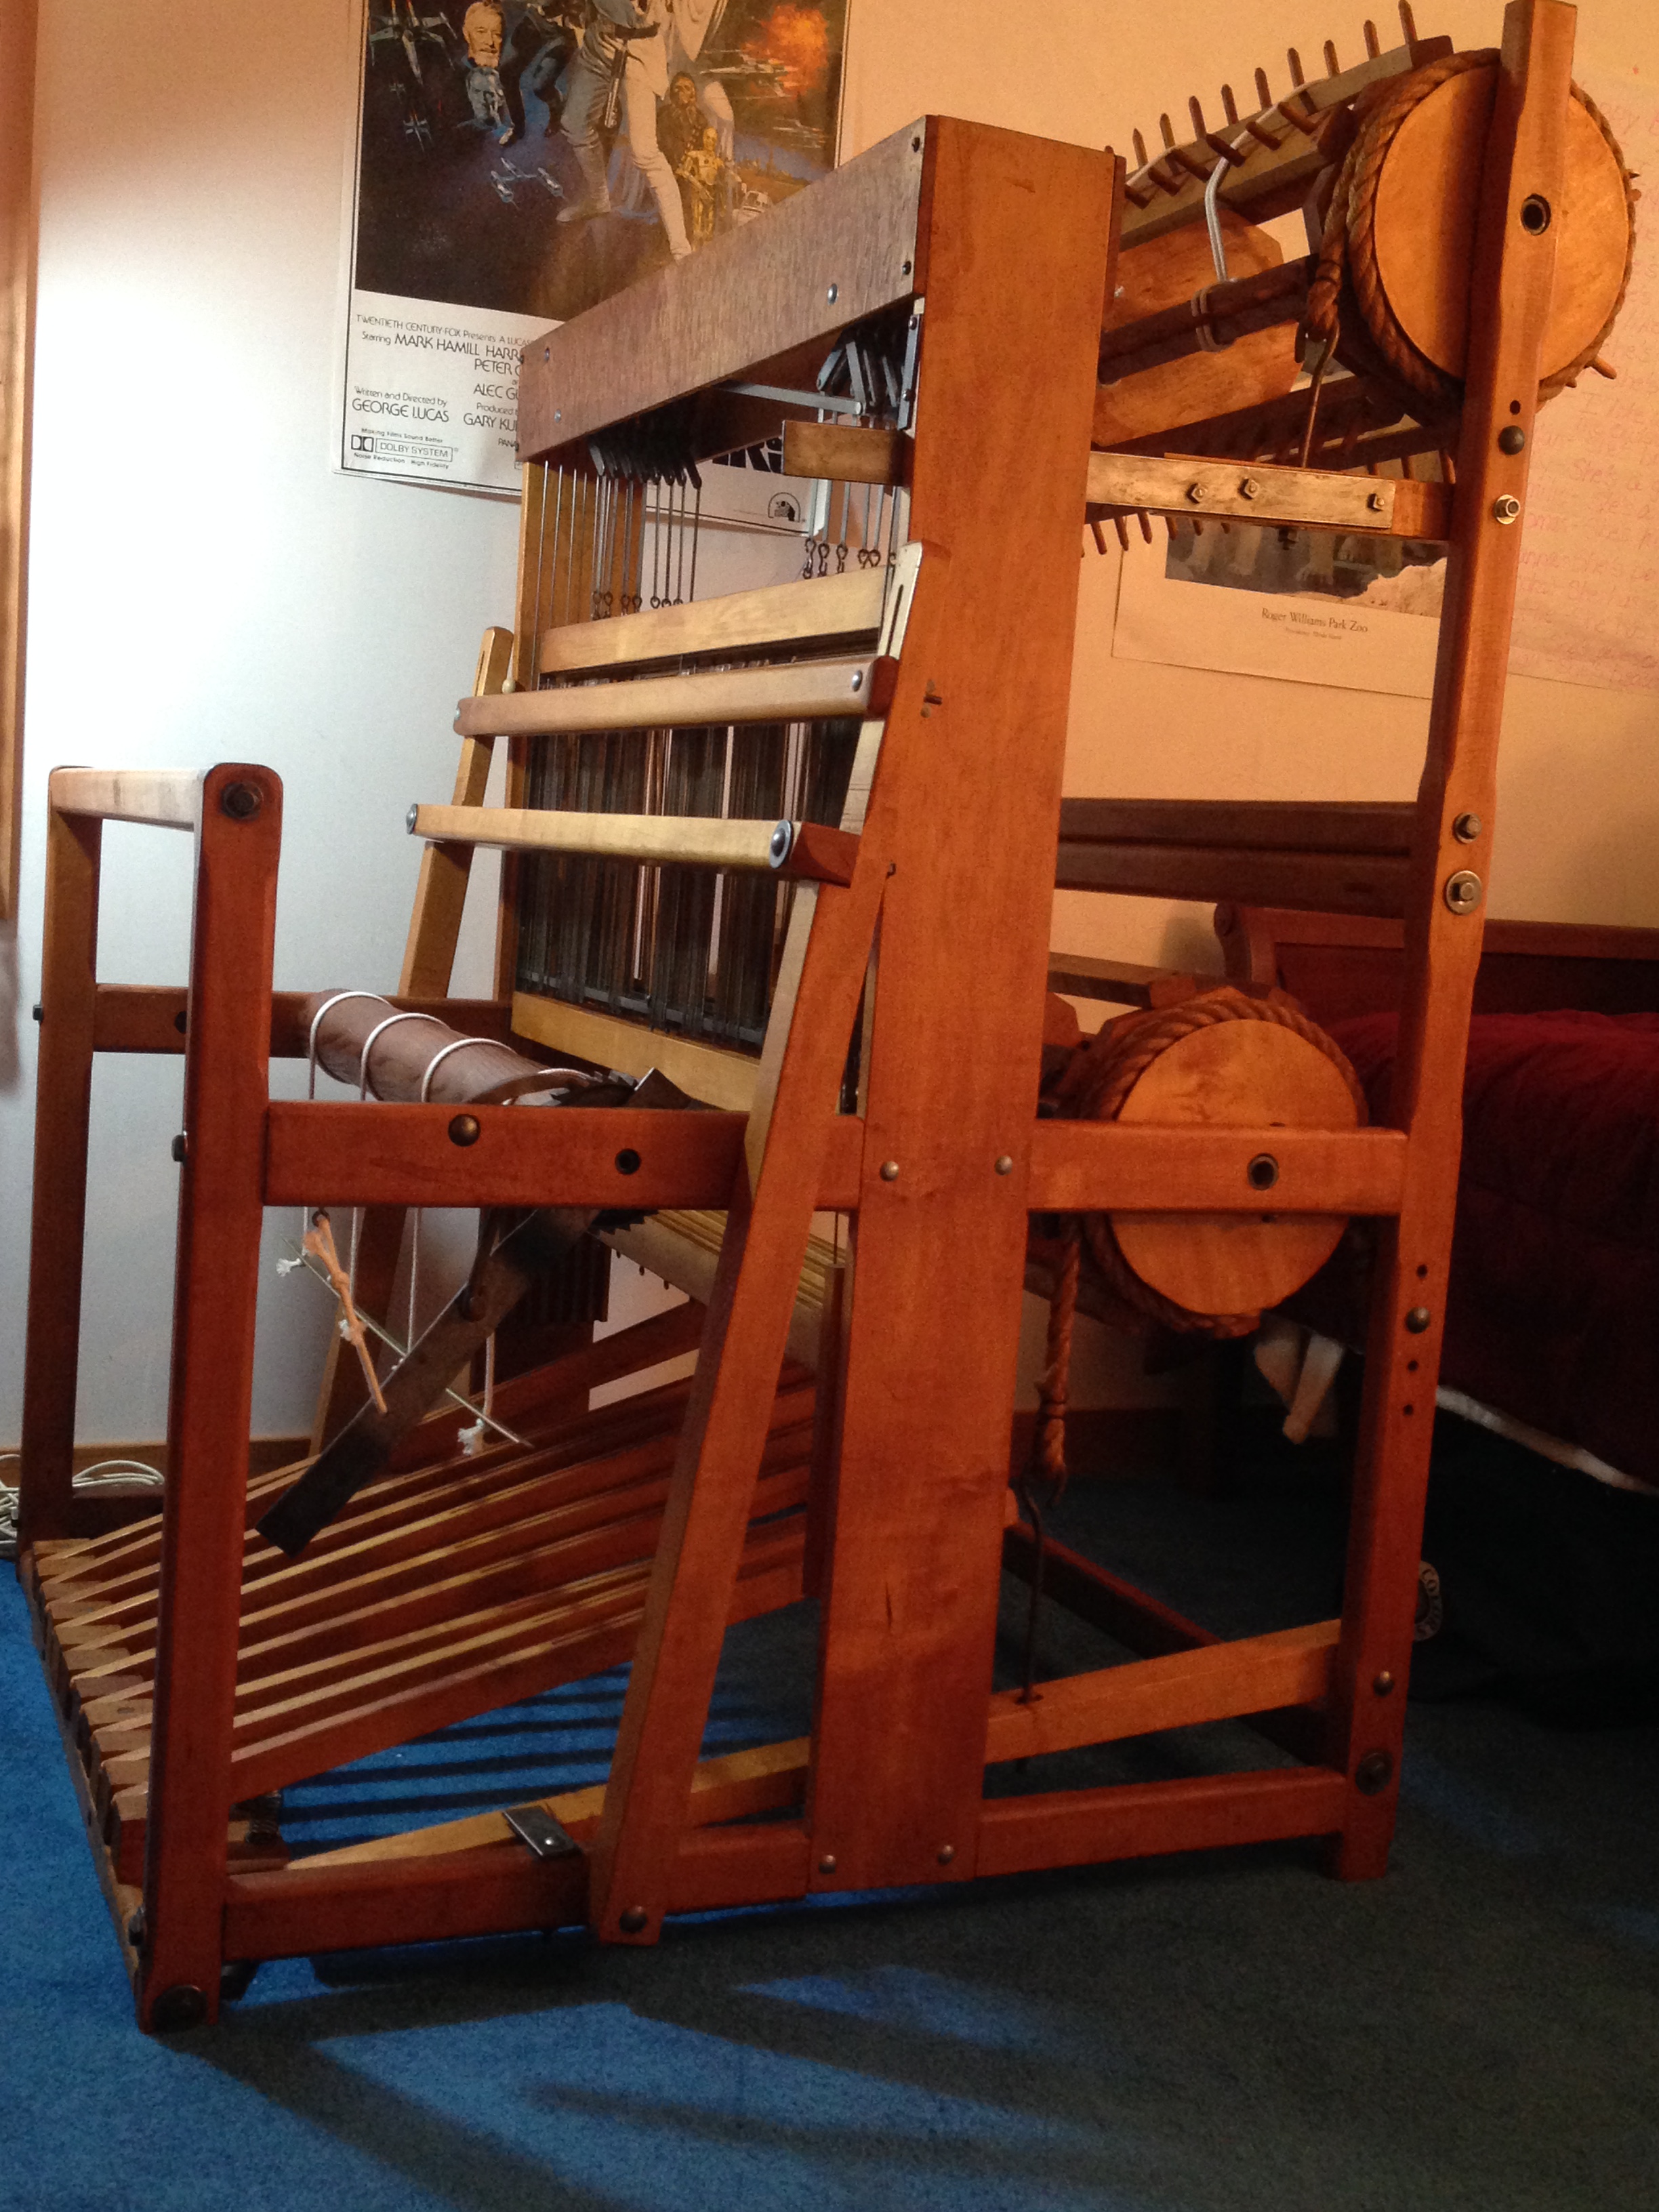
Both warp beams are attached, and the friction brakes are set up. Ta da!
The friction brakes have release handles. When the brake is on the handle is held in place by a metal plate (the lower plate is visible in the picture, just in front of the beater). To release tension on the brake one slides the handle out from under the plate. It was a little tricky to figure out how the upper handle was held in place, when installed with the “pretty” side out the handle wasn’t near the metal plate. It worked once we turned the handle around, though.
Now to see if everything really works! I’m getting a warp prepared and hope to have it on the loom this weekend.
