Isn’t Technology Wonderful!

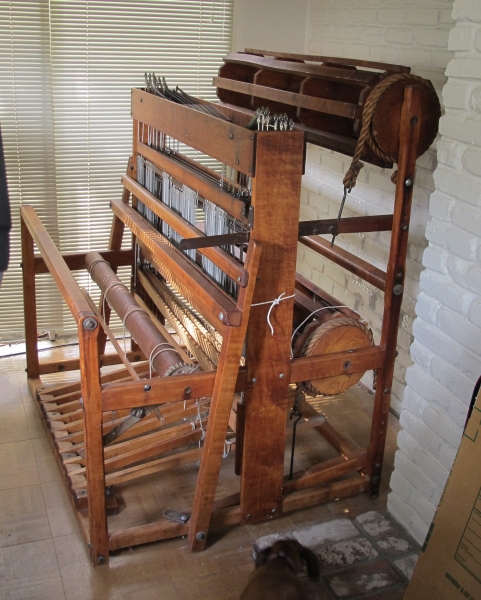
I haven’t posted in a couple weeks as progress on the loom cleanup has been slow. Partly I needed a bit of a respite, and partly I had other responsibilities to attend to. I have made some progress, however. I finished up the heddle bars, treadle springs, and started to de-rust the jacks. I did one jack, but it took a couple days of work and I’m not really happy with the results. While mulling that situation over, I ran across a link on Weavolution to this site: http://www.rickswoodshopcreations.co/Miscellaneous/Rust_Removal.htm

For a small investment in equipment, you too can remove rust with minimal effort! I tried this method out on the crank that turns the warp beam.

IMG_0473

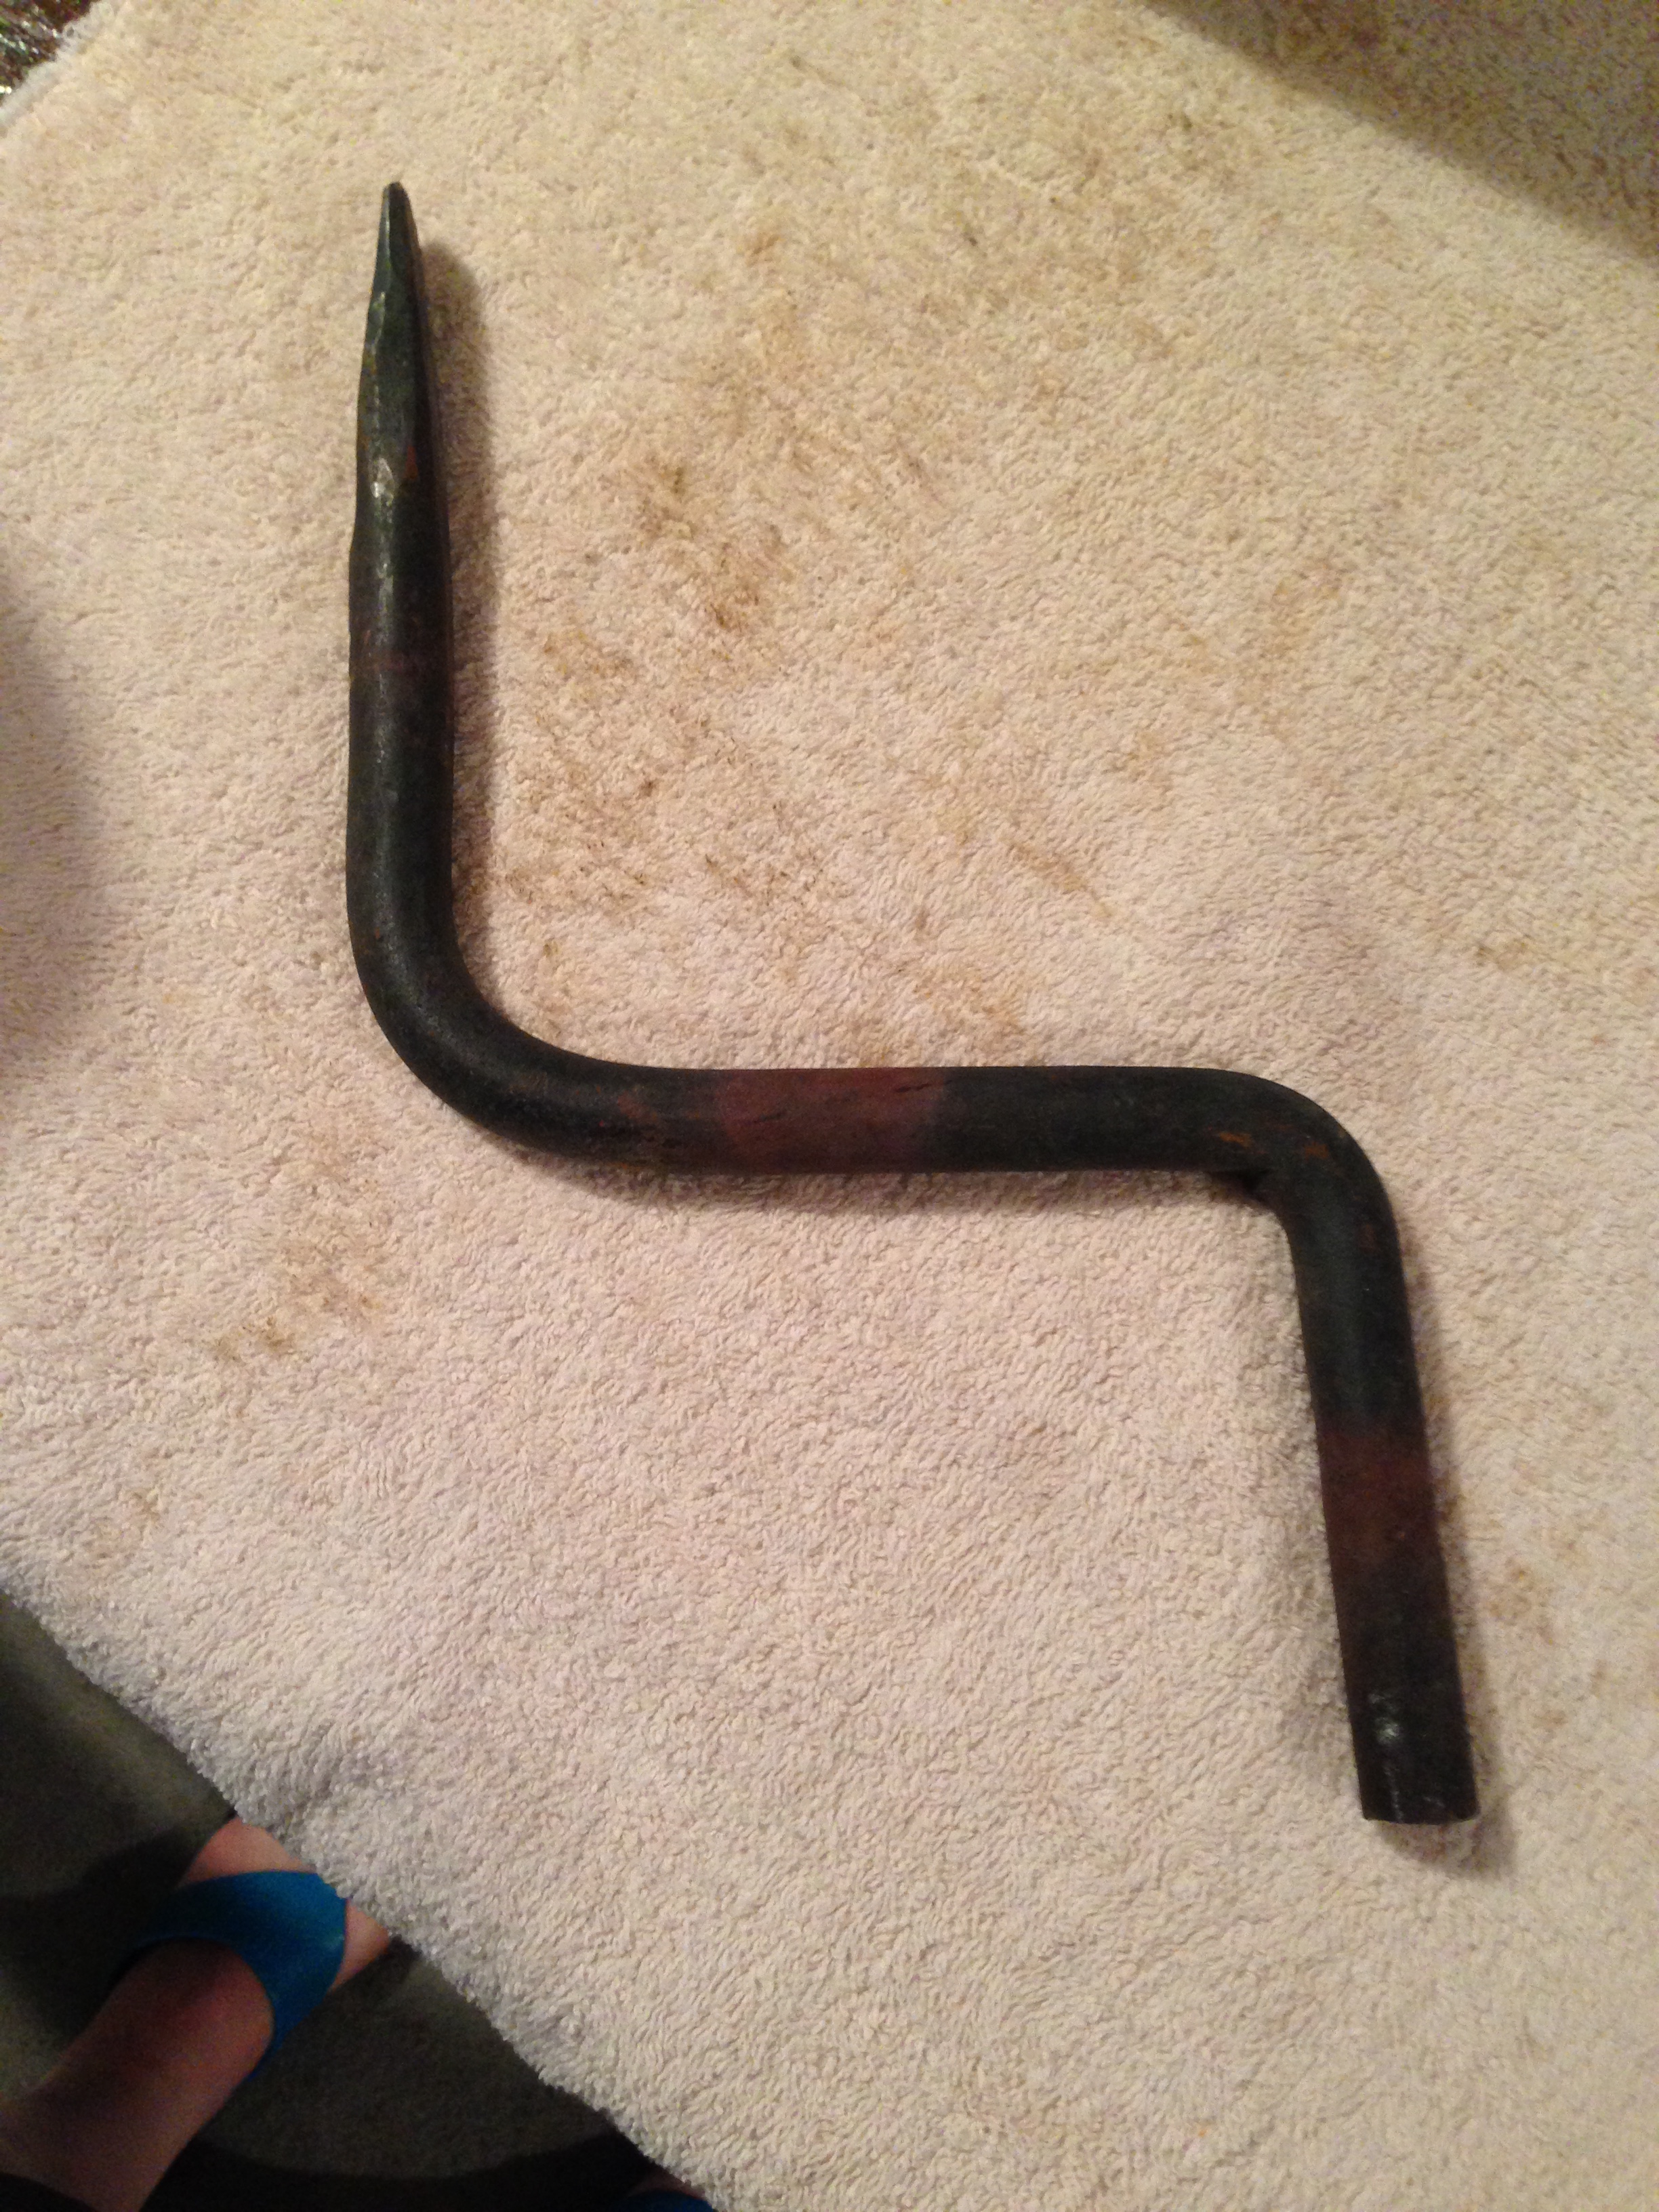
Following the directions I hooked up the crank to the negative lead of the charger, hooked the positive lead to an old stainless steel food processor blade that I got at our transfer station’s “Swap Shop”, submerged the crank and half of the blade in electrolyte solution, plugged it in and went and did something else for a couple hours.

IMG_0474

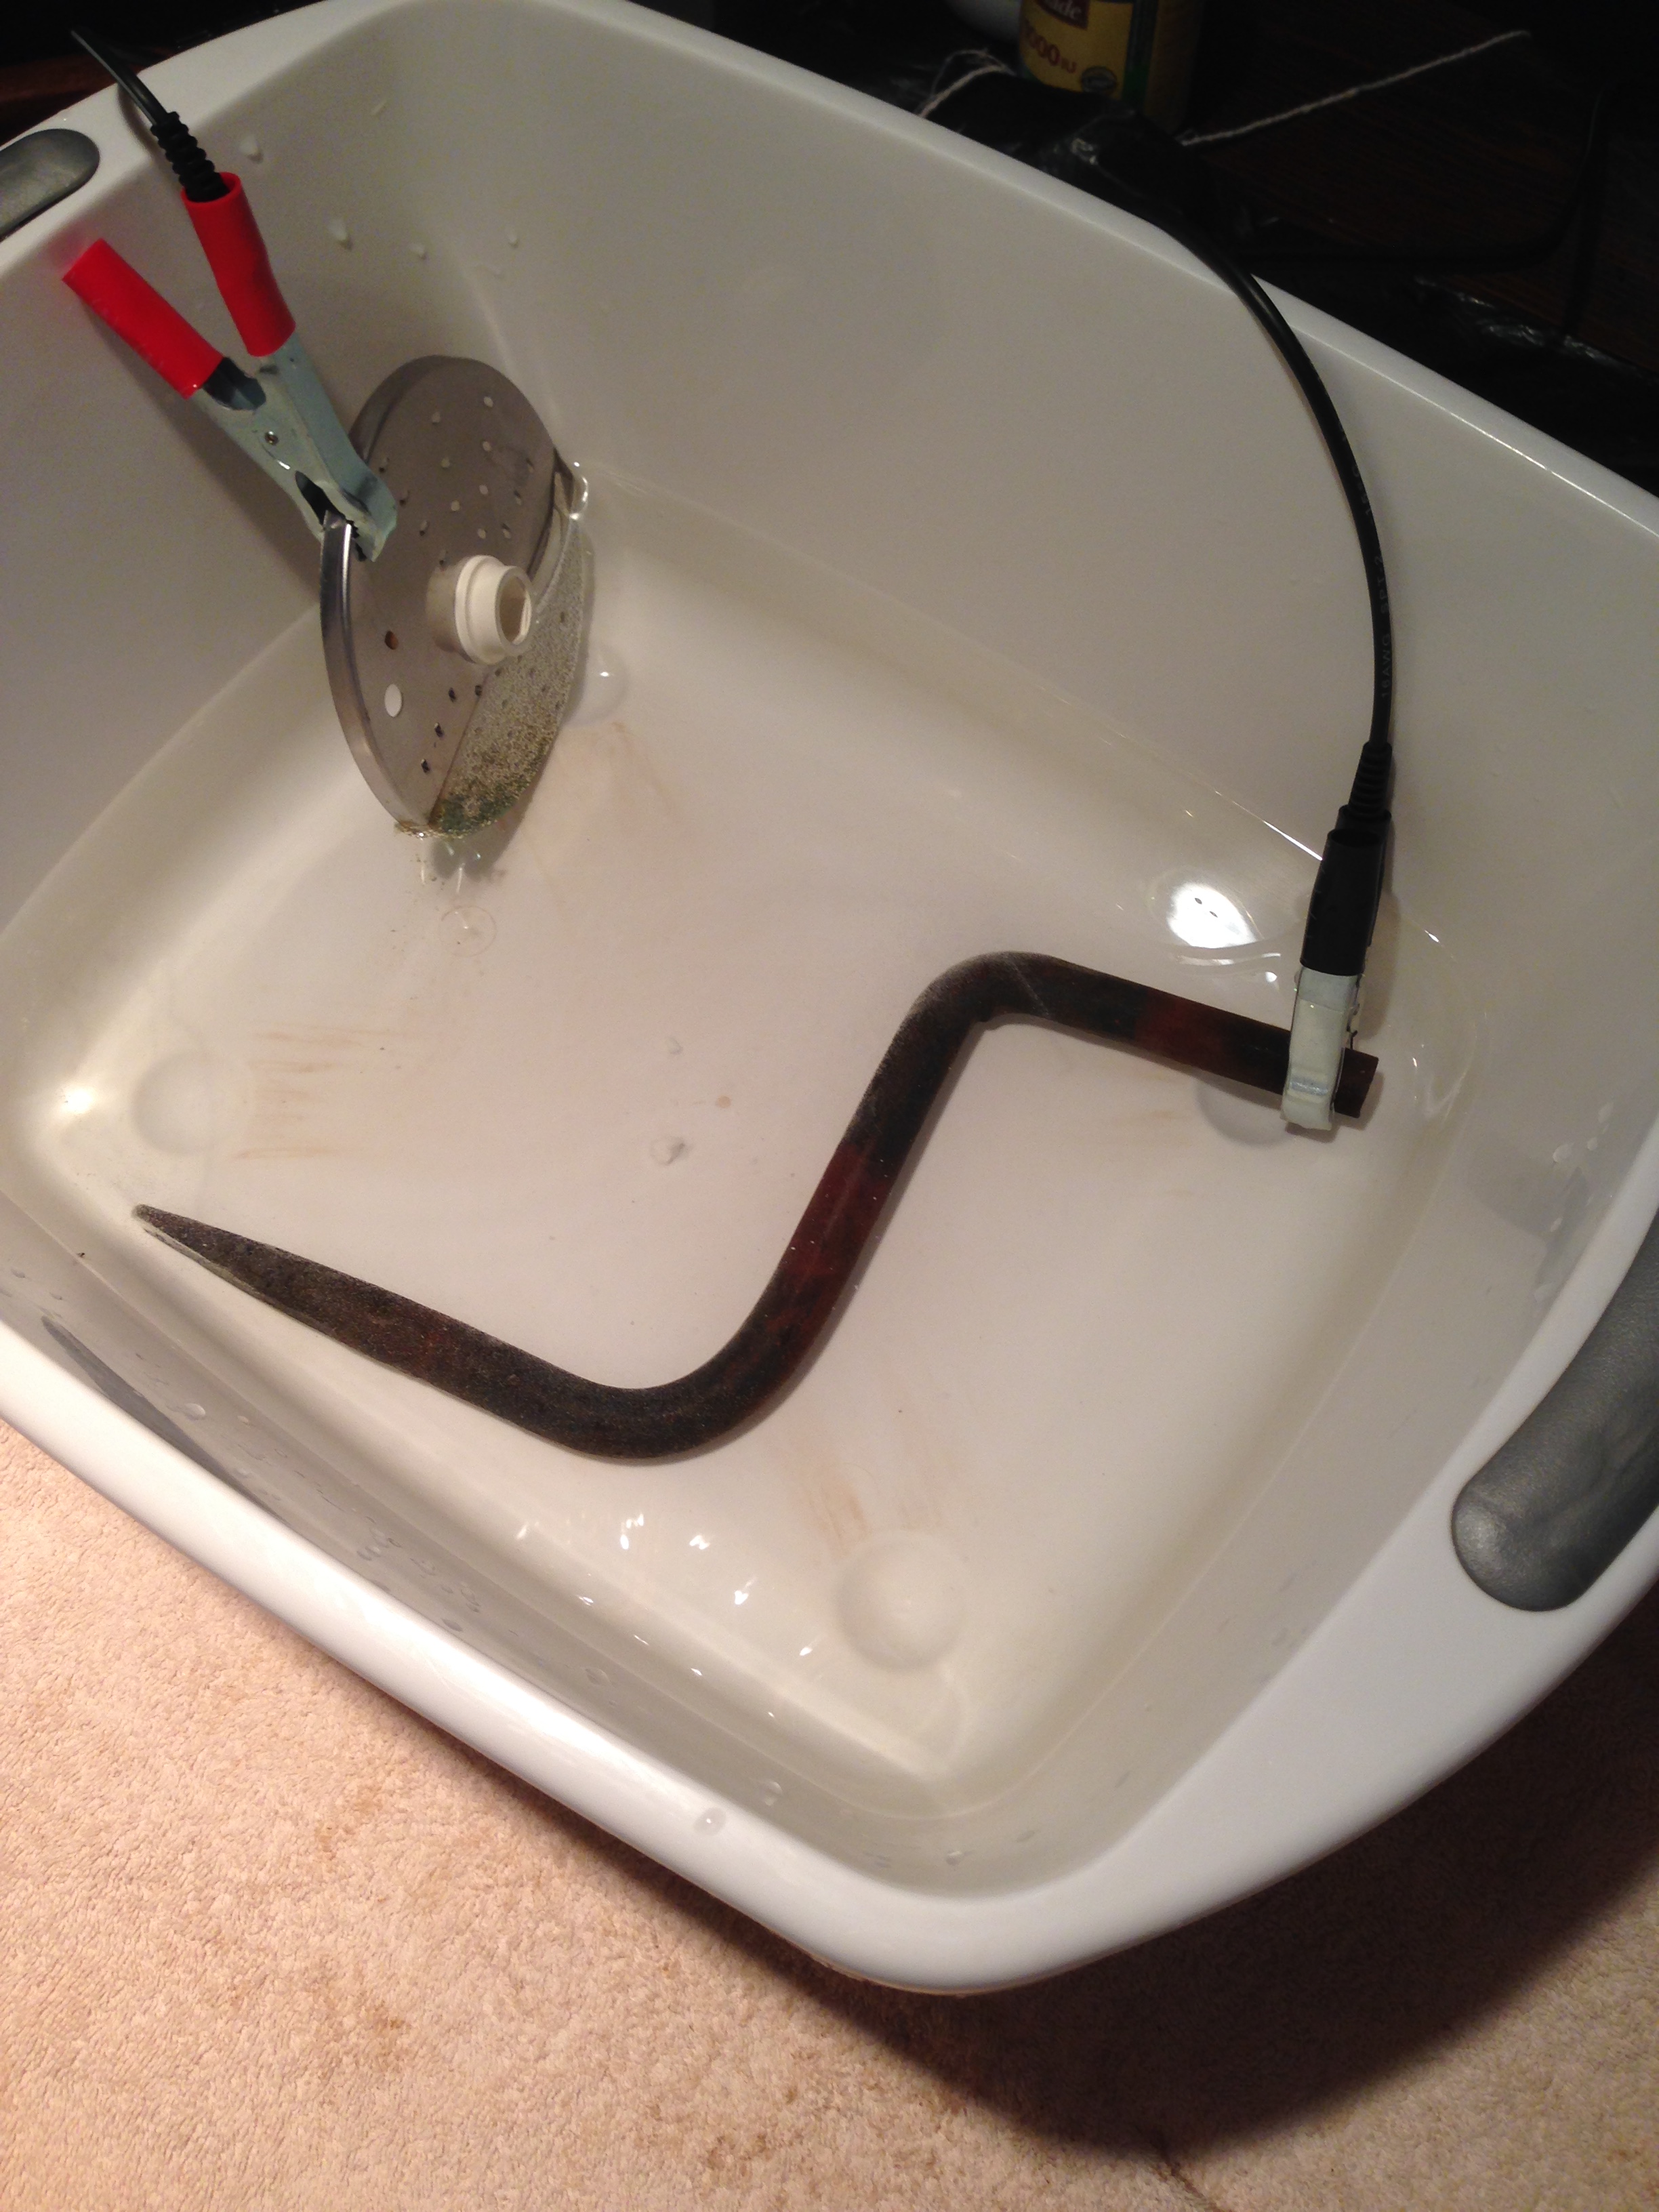
When I came back, the rust was gone. The electrolysis solution was pretty gunky, as was the food processor blade, but the crank is back to usable metal. If this method works for the jacks it will make cleaning them up so much easier.

IMG_0476

The tricky part is that the jacks are almost 36” long. I had to wrack my brains to figure out where I could get a plastic container that would allow me to fully submerge a 36” long object. The longest plastic storage container I could find was more like 35”. Trash cans are not 36” deep. I finally was able to find a long pvc window box liner. I will test out this system on the jacks sometime this week. I’m not one hundred percent sure that the window box liner is watertight, so the test will have to be done in good weather outdoors. There are plenty of smaller pieces of metal to take care of until then.

The most exciting part for me in using the electrolysis (well, in addition to the fact that it’s pretty cool to see it work) is that it frees up the time I had been using to scrub off rust and allows me to do other things. When I bought this loom I had just finished a project on the Tools of the Trade loom, and I haven’t had enough time to start another. I miss weaving. I have already started getting a warp ready for the next project.

The heddles are all clean, all 1,853 of them. As I mentioned before I know some of them will likely have to be discarded, but I wouldn’t expect to need 1,800 anyway. I have also finished cleaning all the metal bits that are still attached to the wood of the loom. In addition to starting to clean the jacks this week I hope to spend some time cleaning the wood. There is old packing tape residue to be removed, as well as general dirt and mildew. I do think I see a light at the end of this tunnel, though!

Looms

I enjoy knowing about the history of my looms. It gives me a sense of being connected in a small way to the craft of weaving that has existed for so many centuries.

My first loom came with a label on it.

IMG_0443

I’m familiar with some well known loom manufacturers, but I had never heard of Tools of the Trade. Googling led me to some information, much of it obtained from http://www.weavolution.com/ (the place to go for information on all things weaving-related). It seems that Tools of the Trade looms were made by a man named Art Weitzenfeld during the 1970’s and 1980’s. Most of his looms have two tags, one like you see here and another with a number on it. Mine is missing the number, so I can’t use it to help figure out exactly when the loom was made. Although Mr. Weitzenfeld is no longer making looms, he is still a furniture maker. His beautiful work can be seen here: http://www.vermontfurnituredesigns.com/ . The loom reflects his skilled craftsmanship.

When I got the loom it was in working condition, but had not been used for a while and was rather dirty. My understanding from the seller is that she had traded a larger loom to a weaving teacher for the ToTT loom which had been used by students. In spite of heavy use it is still in great shape. There were a few small parts missing, an S-hook holding the rear brake together had been replaced with what looked like a bent paperclip, and the crank for winding the warp beam was missing. The worst part was that the former owner had apparently been a smoker; the loom reeked of tobacco smoke. In order to get rid of the smell I removed anything cloth from the loom, including the yarn already on the loom as a warp, the front and rear aprons, and the cording. I washed everything with Murphy’s oil soap, added a layer of tung oil finish, replaced the aprons and cording, and I was good to go. The s-hook was not hard to replace and I was able to purchase a crank through Camilla Valley Farm in Ontario, Canada.

Cleaning up the ToTT loom on a lovely summer day.

Cleaning up the ToTT loom on a lovely summer day.

I enjoyed the process of doing the small amount of restoration the loom needed as it helped me get to know the mechanism better. It also helped me to appreciate the beautiful craftsmanship of this loom. I’ve been using it for a year now and it works smoothly and easily, handling everything from fine silk scarves to heavy rugs.

When I entered negotiations to buy my most recent loom, I asked the seller if the loom had a maker’s mark of any kind. She said it did not. She told me she had purchased the loom in the 1970’s from a family friend, who had bought it in Southern California in 1946. I googled looms in California in the 40’s and came up with a few possibilities (most of the information I found came from Weavolution again). The pictures of the loom on Craig’s List showed large, slatted warp beams with a rope brake. One of the possibilities google turned up also had these features. Based on this I responded to the seller and told her that I thought she had a Binder loom. She looked through her files, and discovered that her friend had told her she purchased the loom from a man named Binder, making the identification official.


According to sources on the web Mr. Binder was a weaving teacher who made looms for his students. Each loom is a little different since they were created to accommodate a specific person. This loom has two warp beams; one is a sectional beam. It’s going to take a while to get this loom up and running, but I’m excited to see what it will look like once it is all cleaned up and put back together!