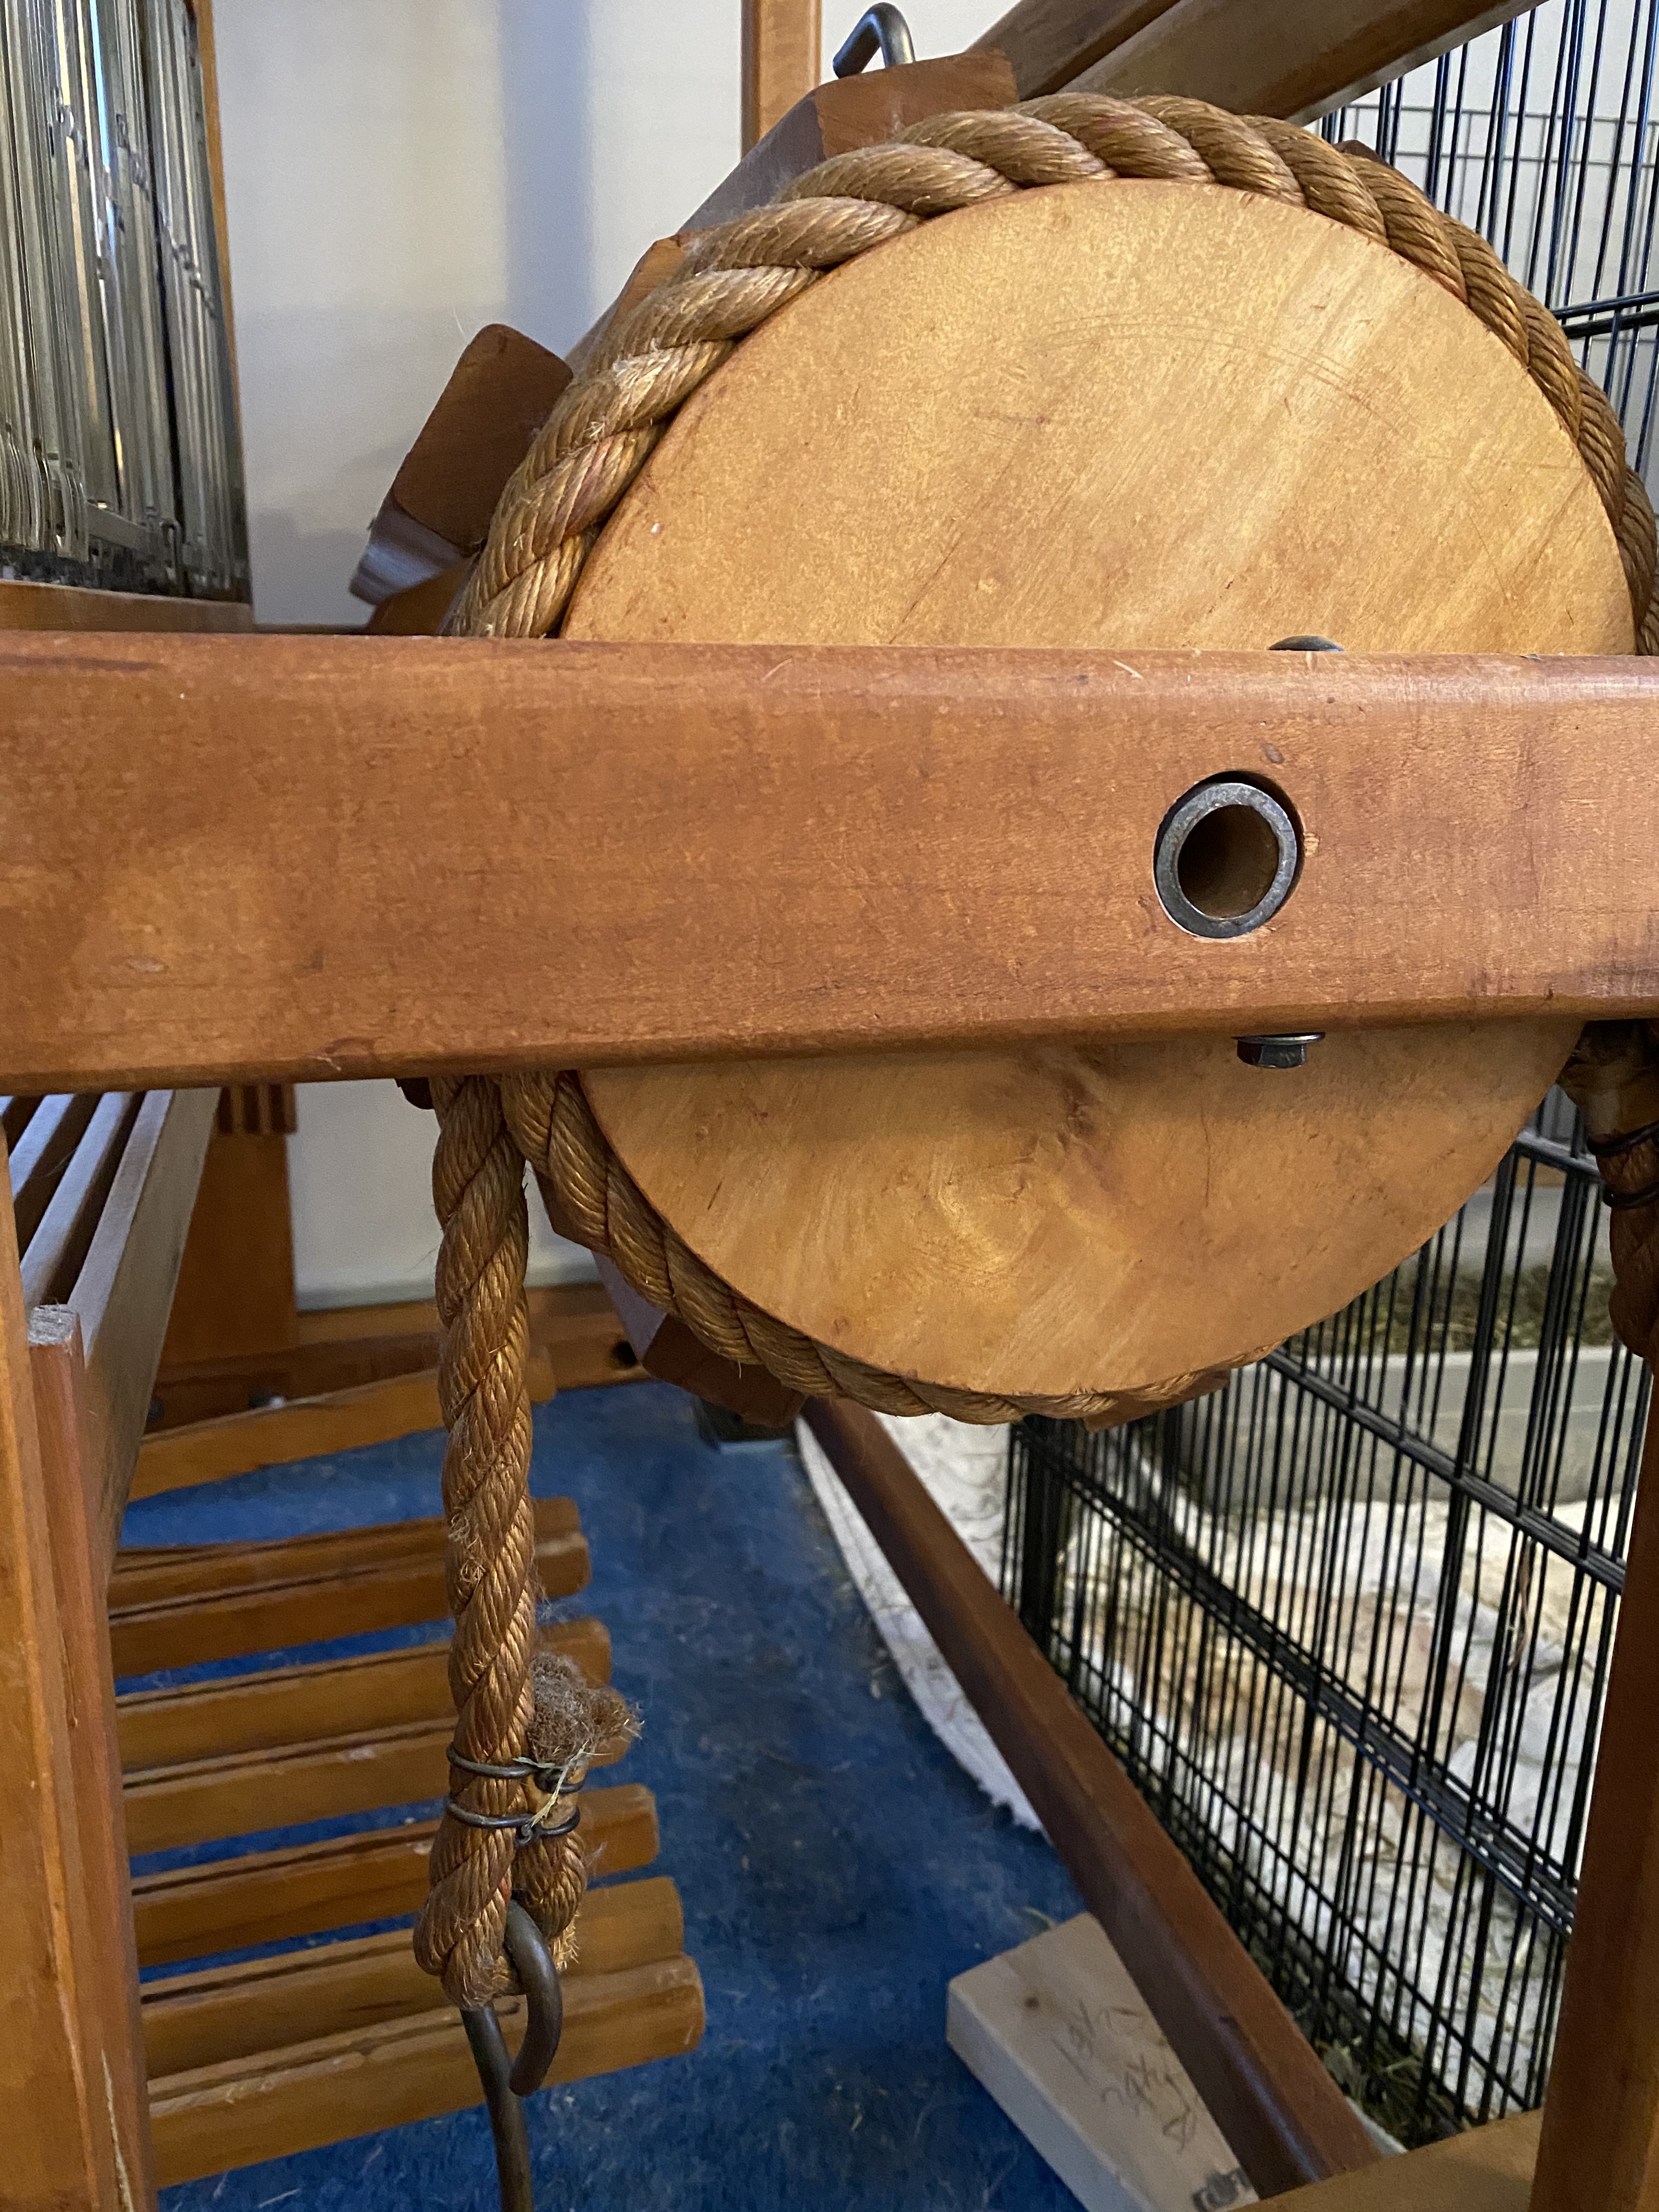
Here are the photos you requested. I hope these help. If you need more detail or detail of other parts of the loom, do let me know!

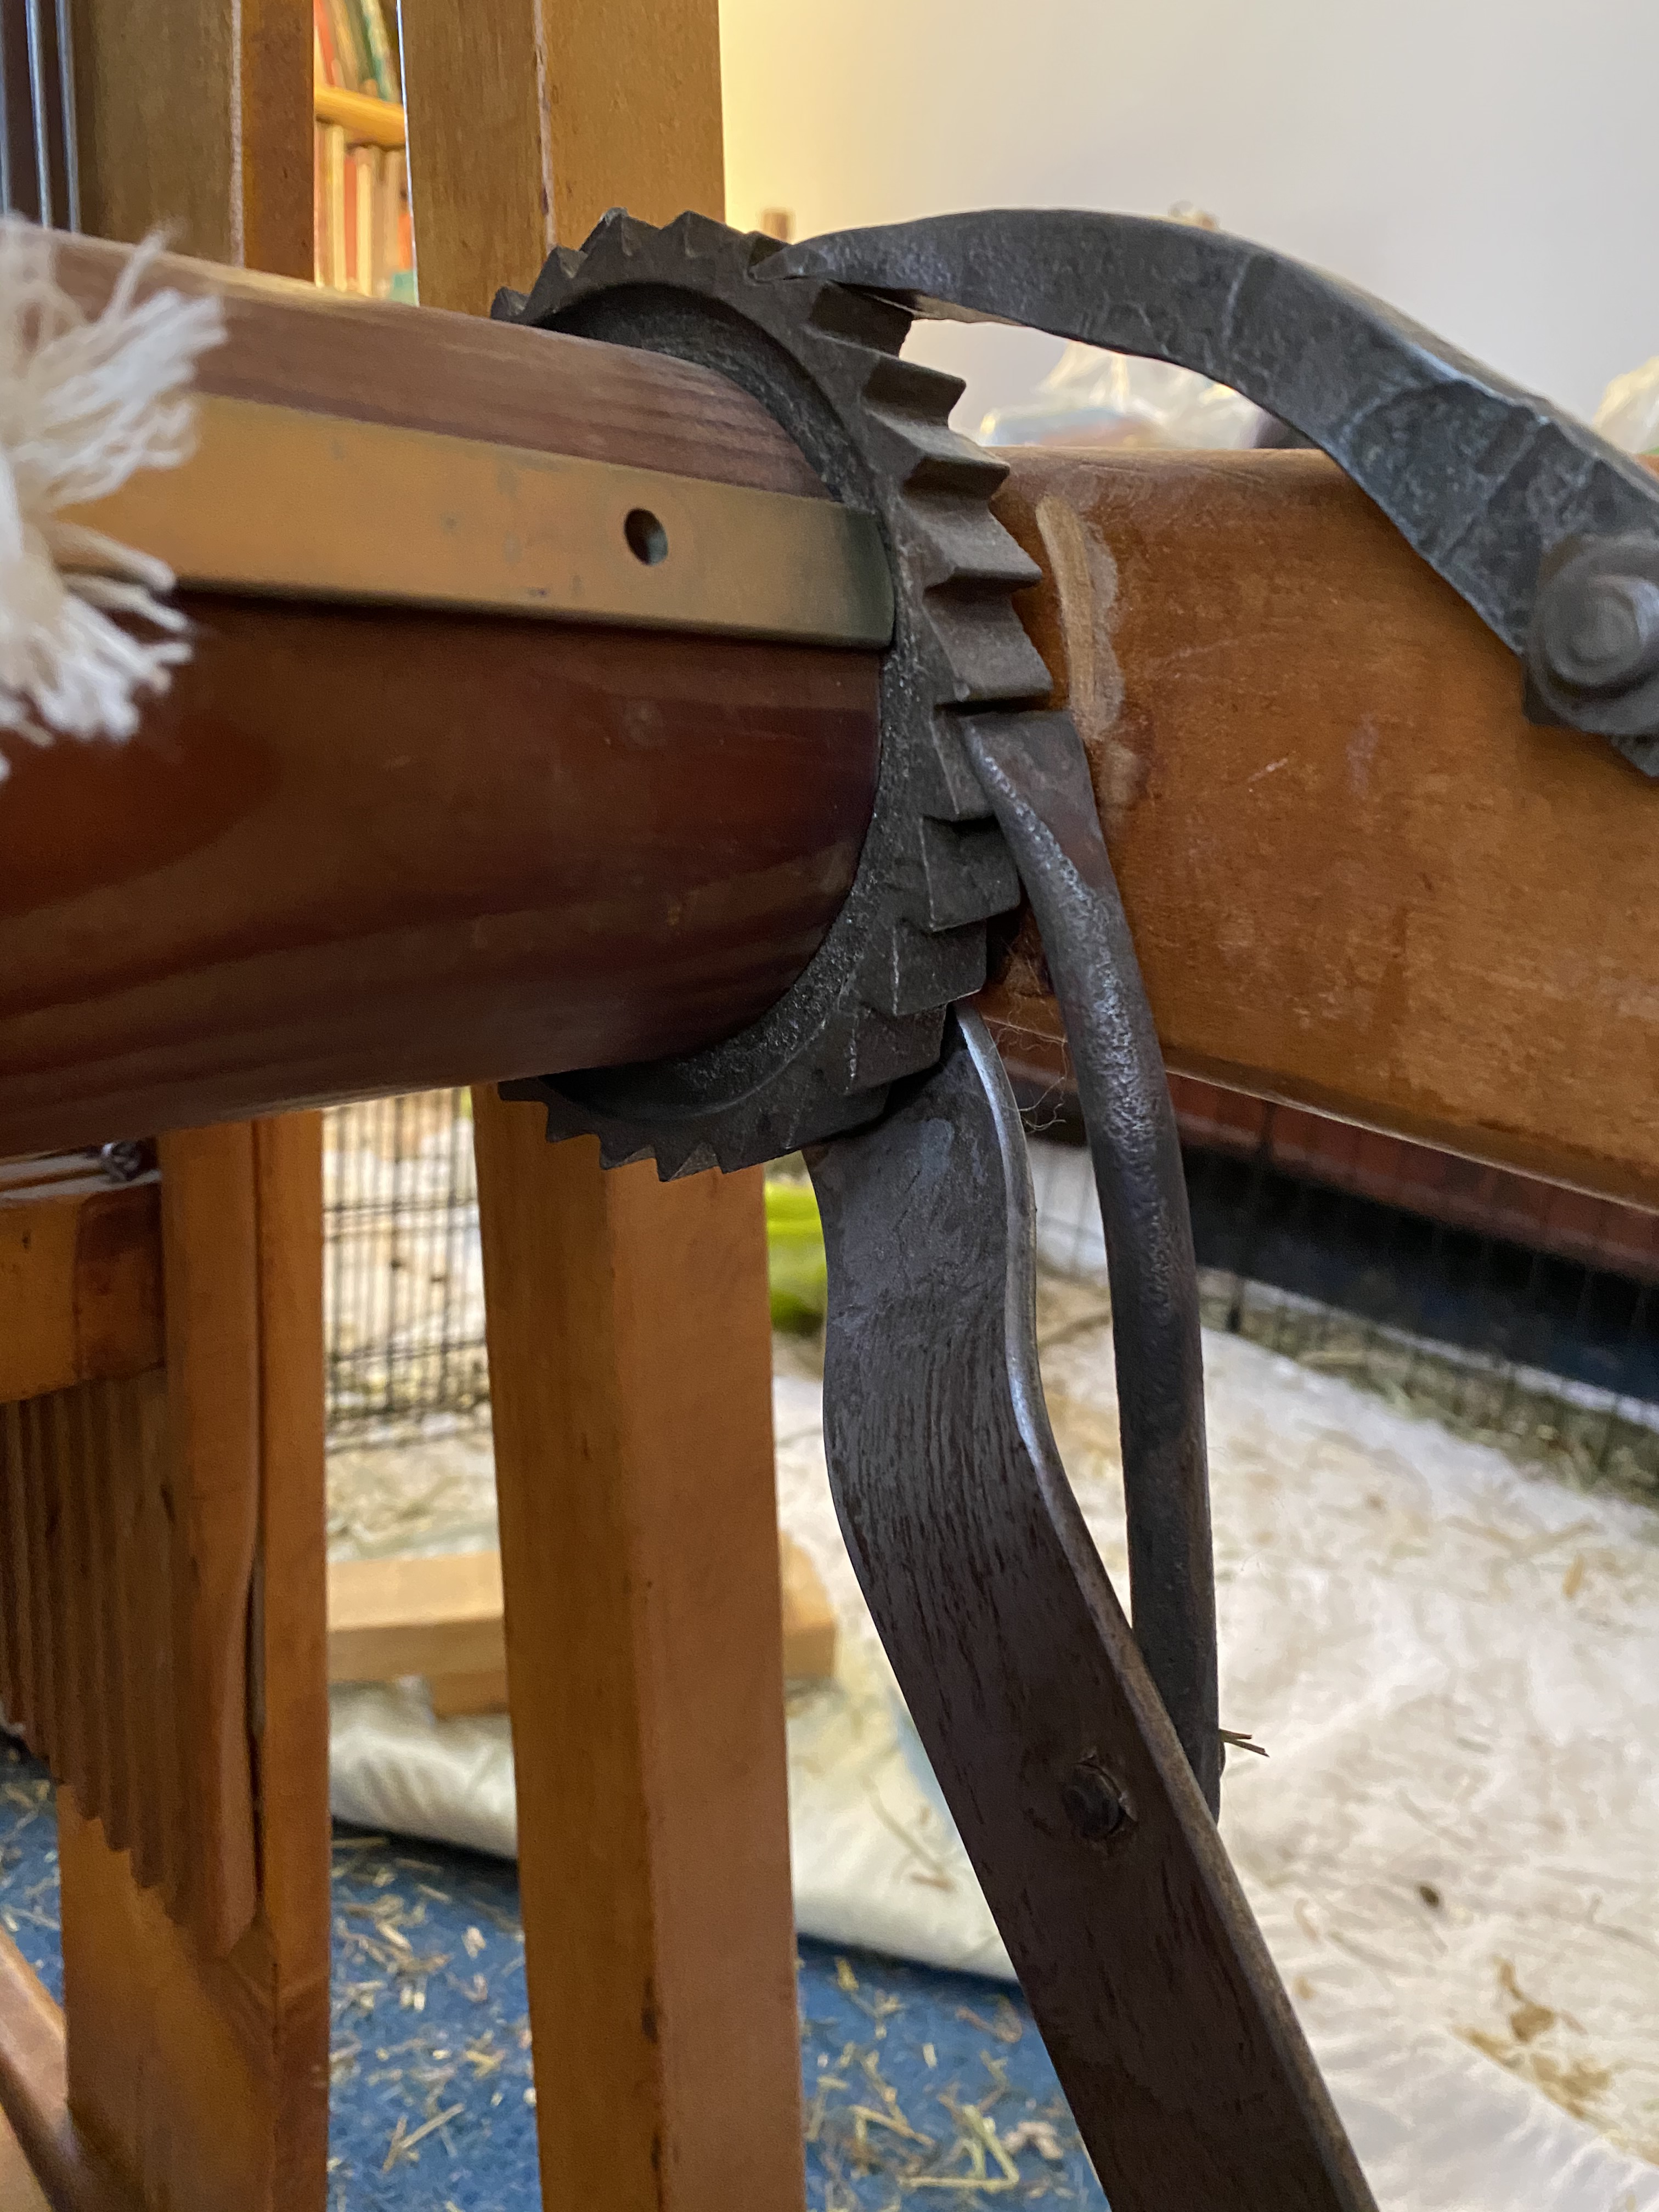
The rod that attaches the warp beam to the inner pipe. This is the upper sectional beam.
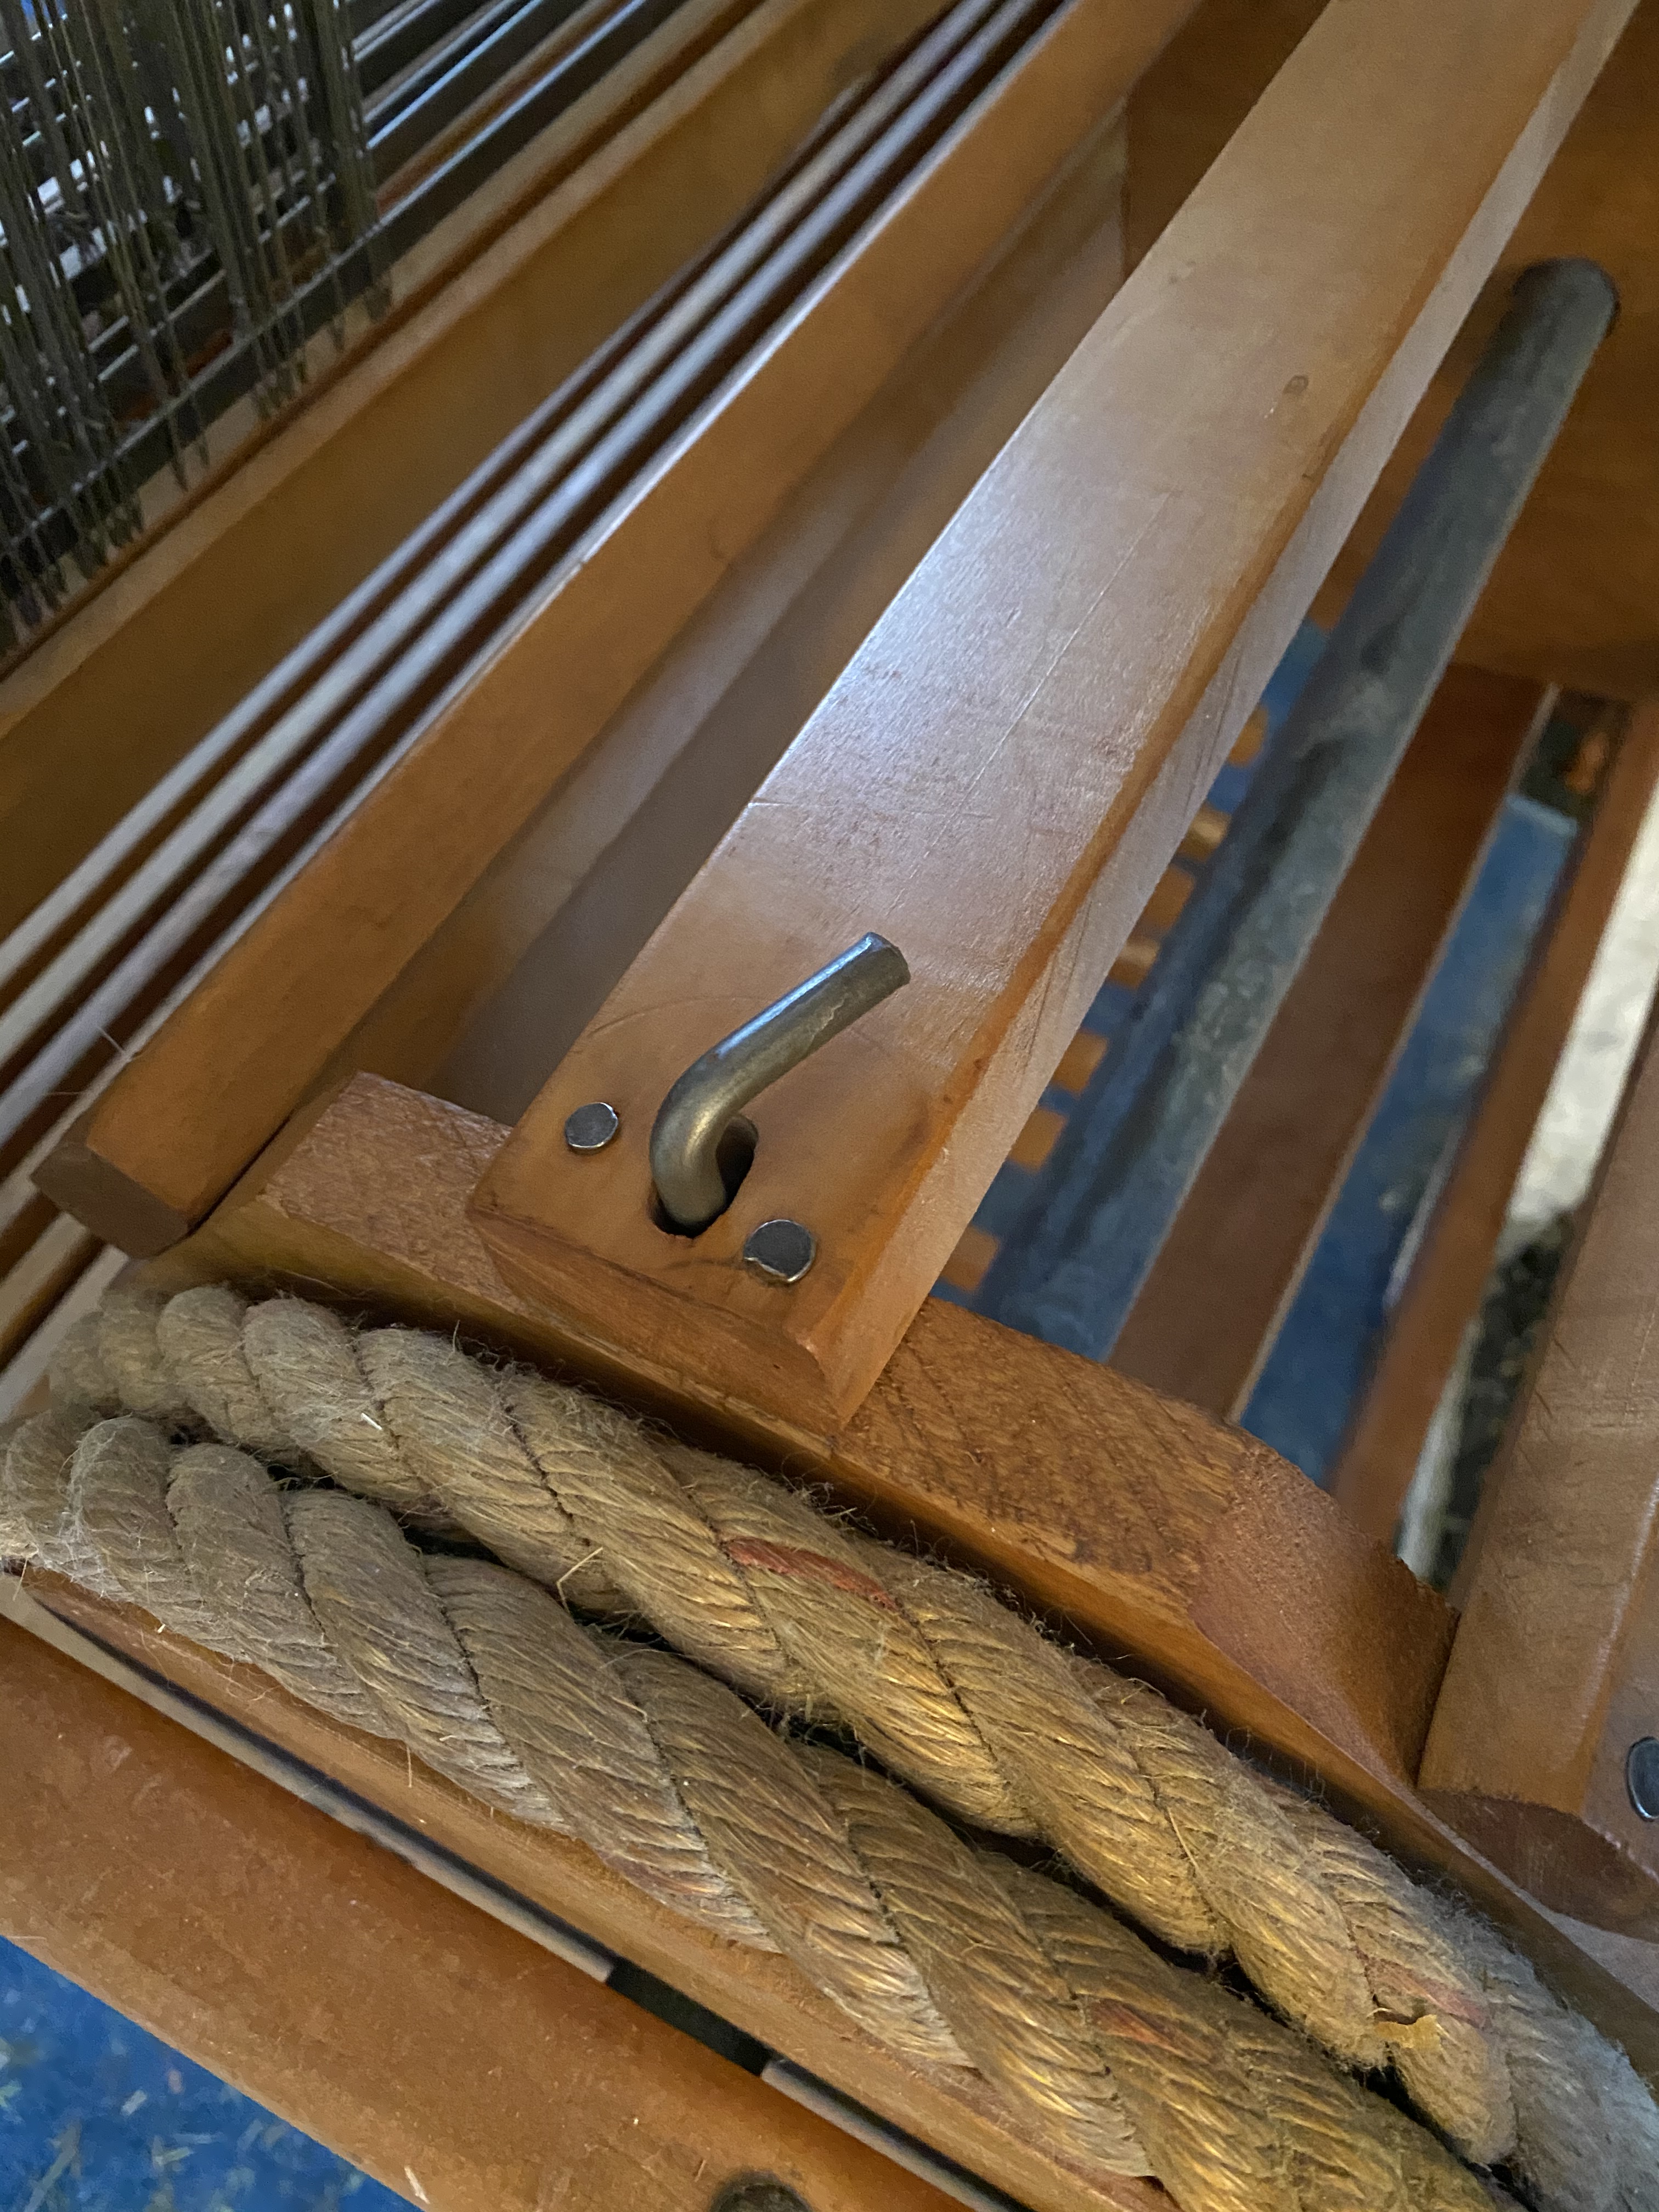
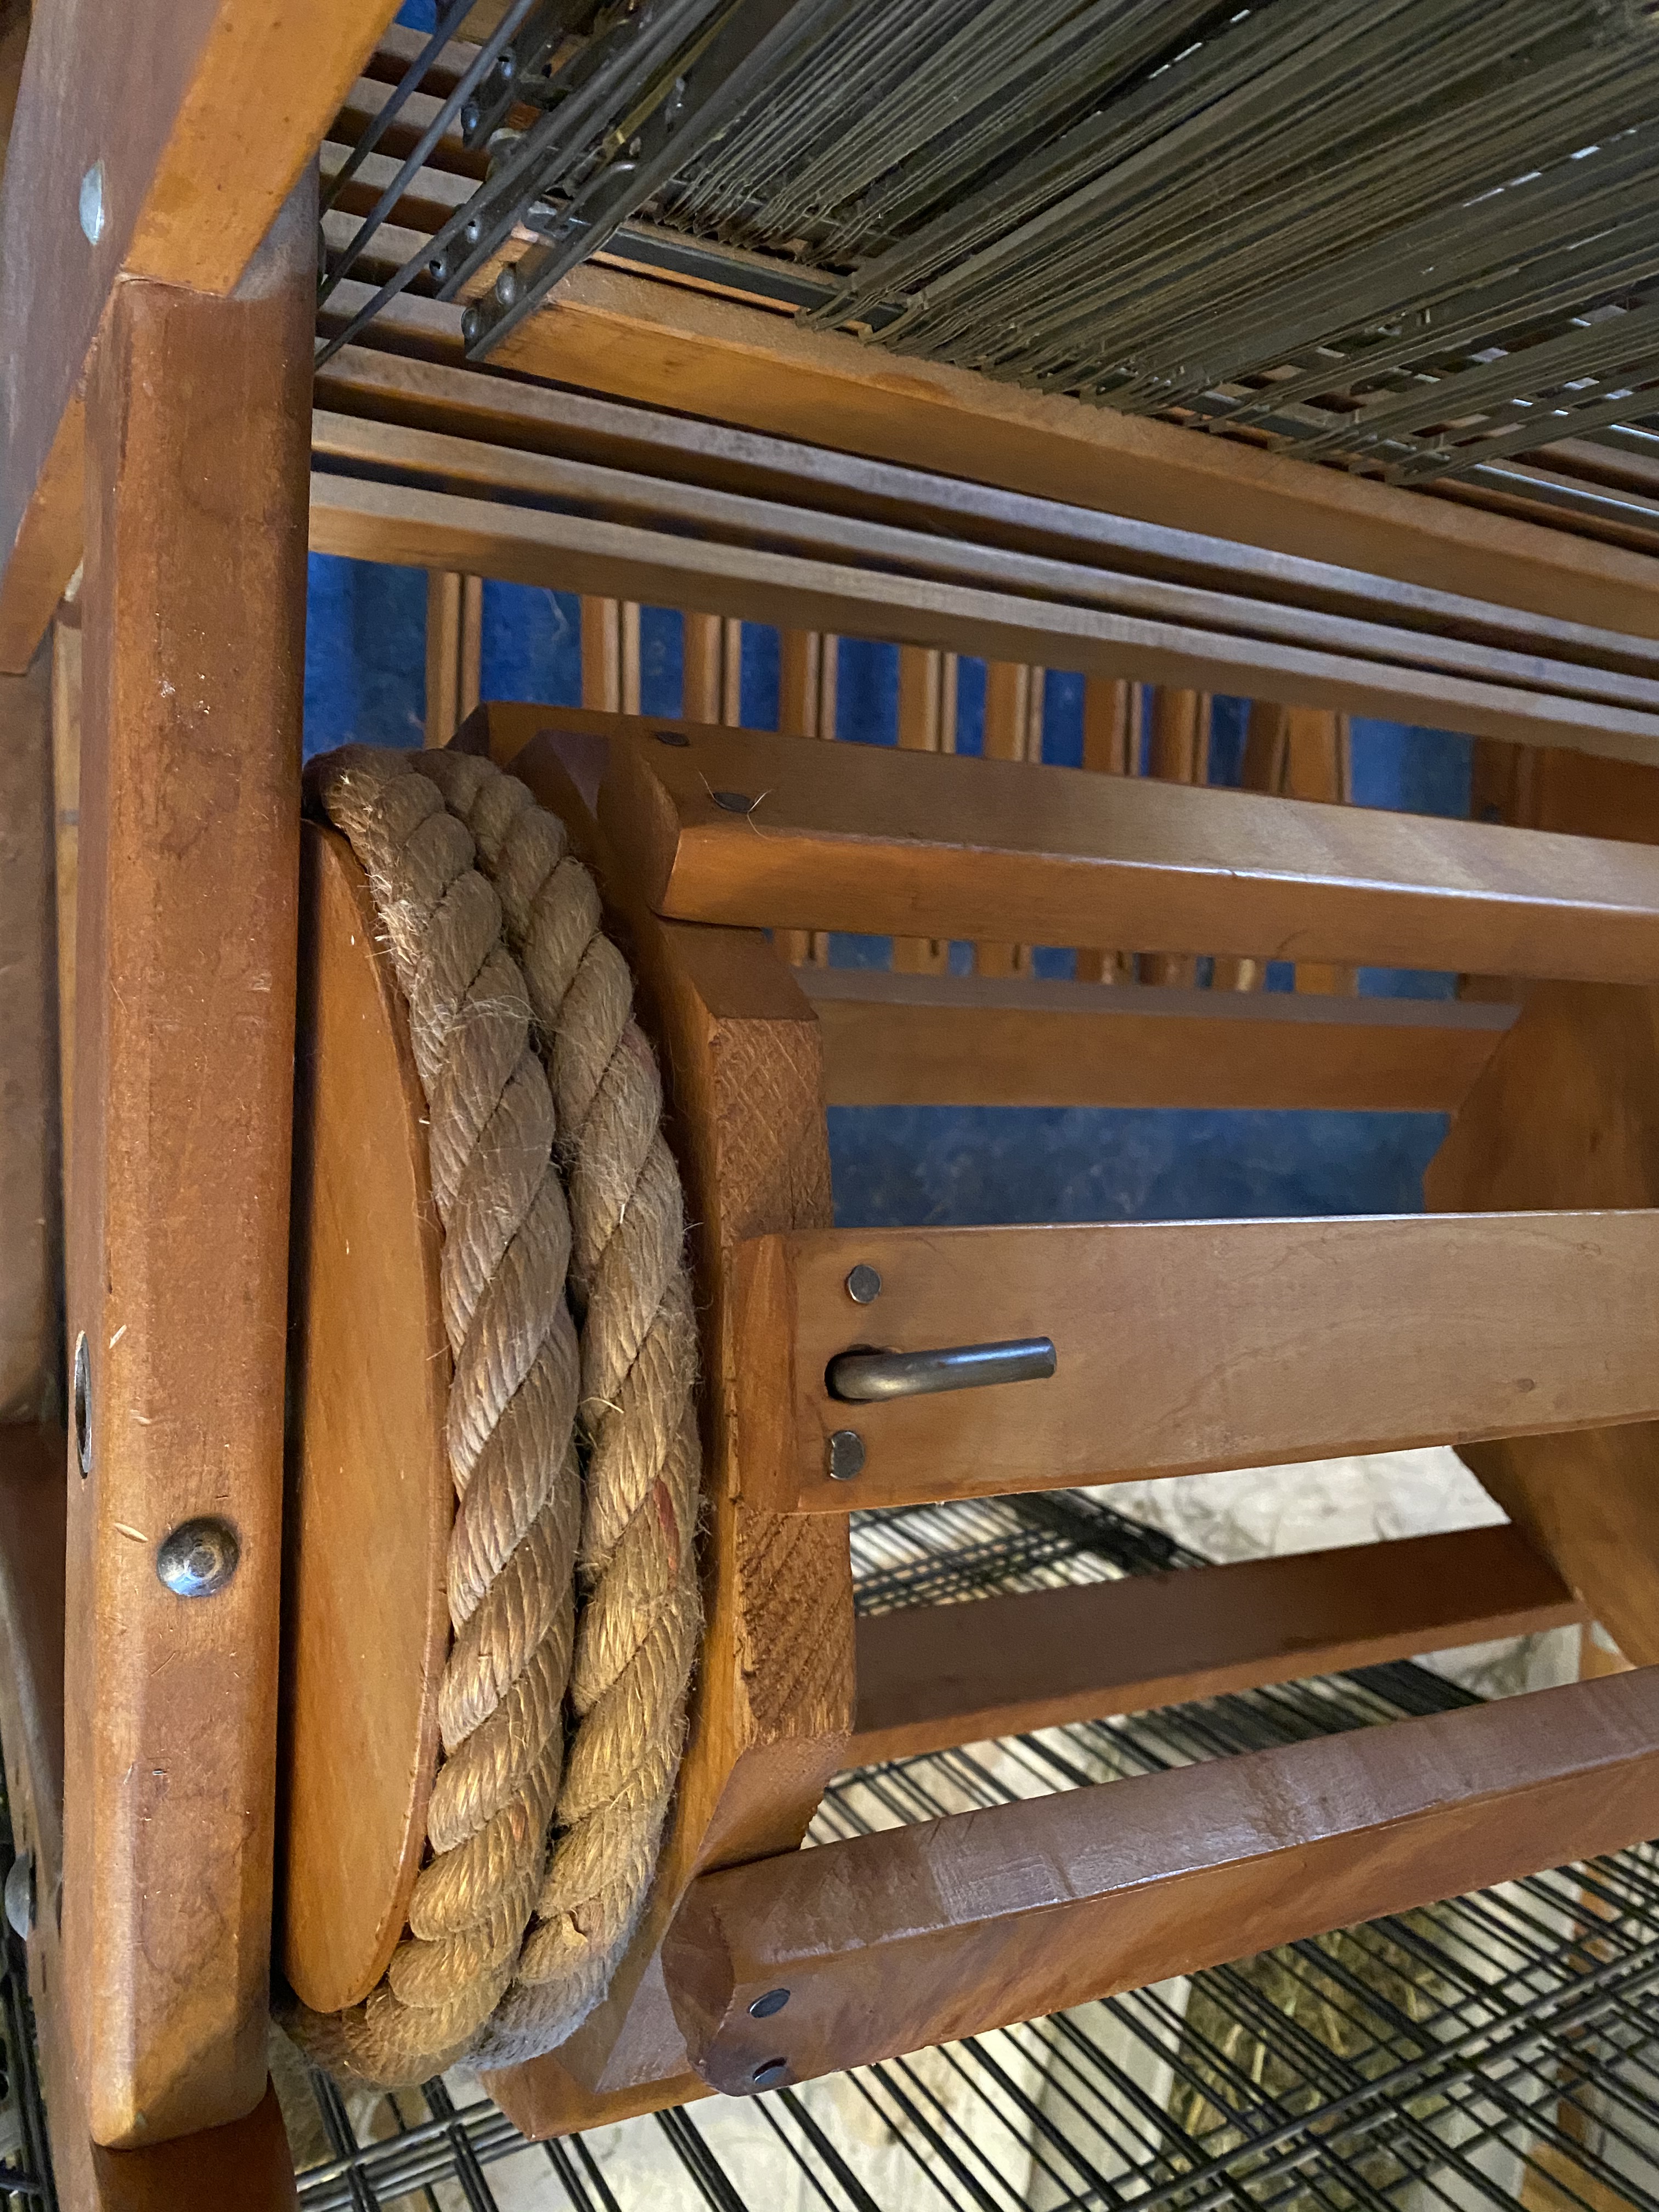
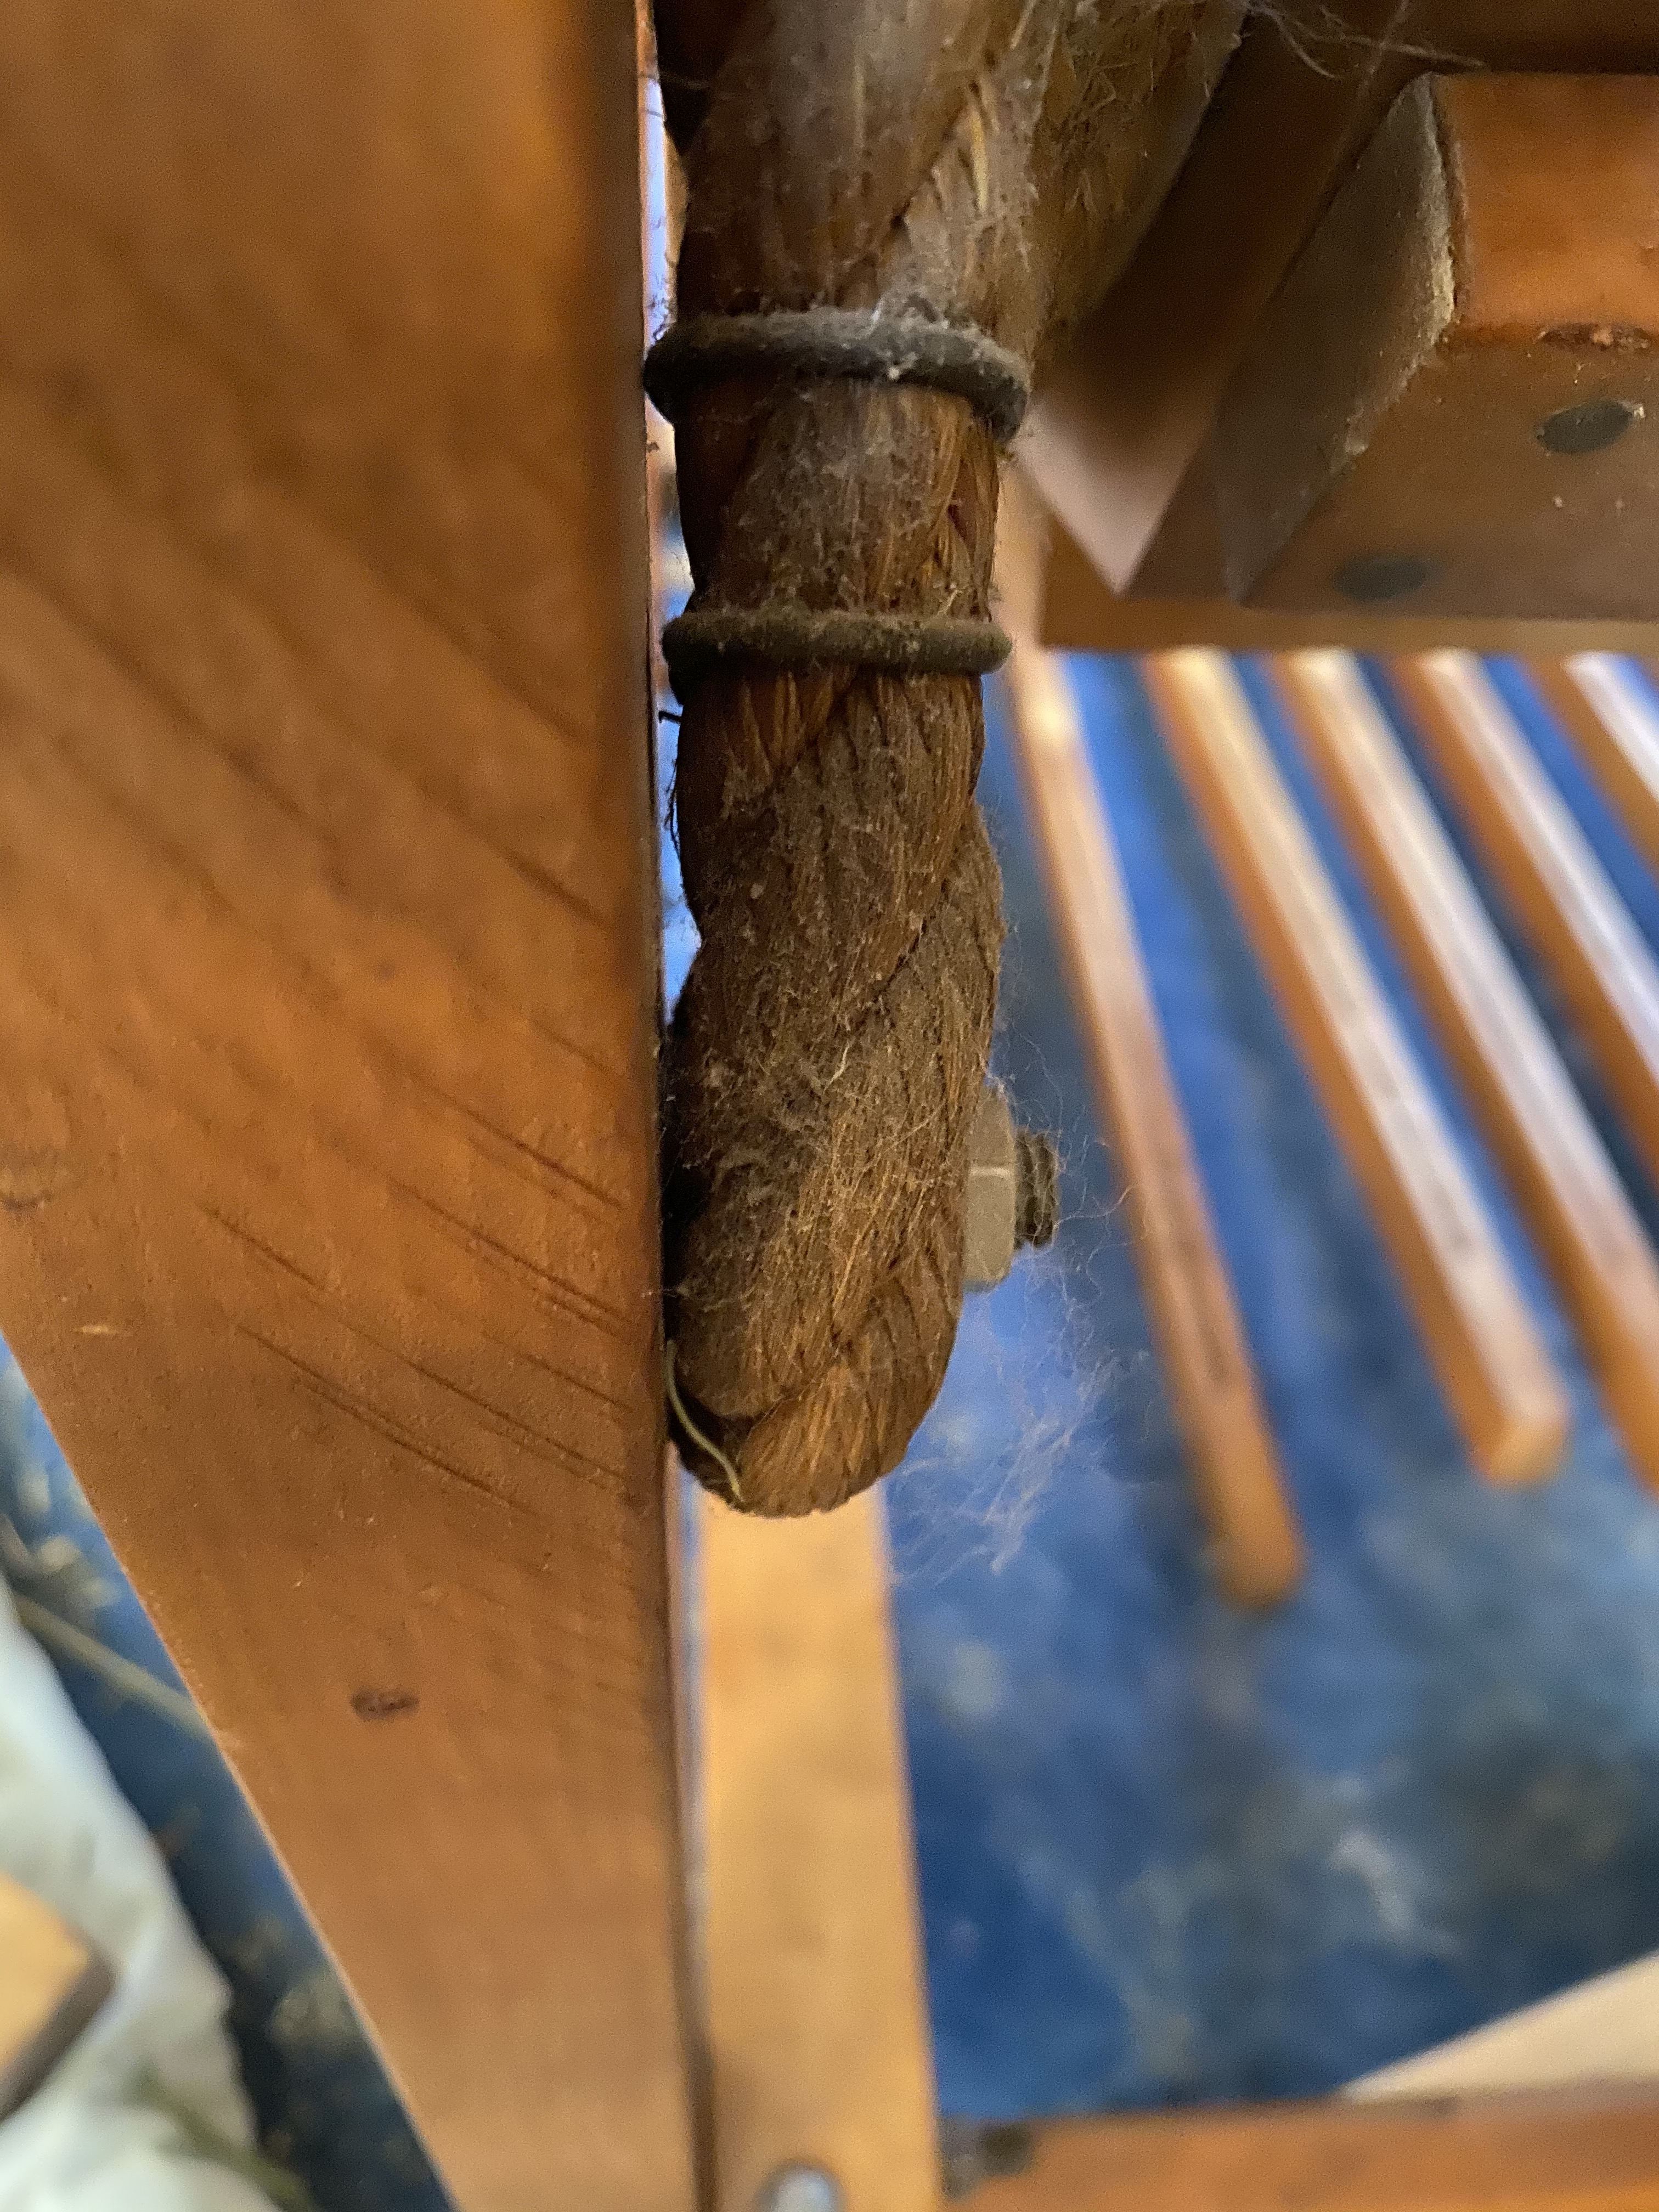
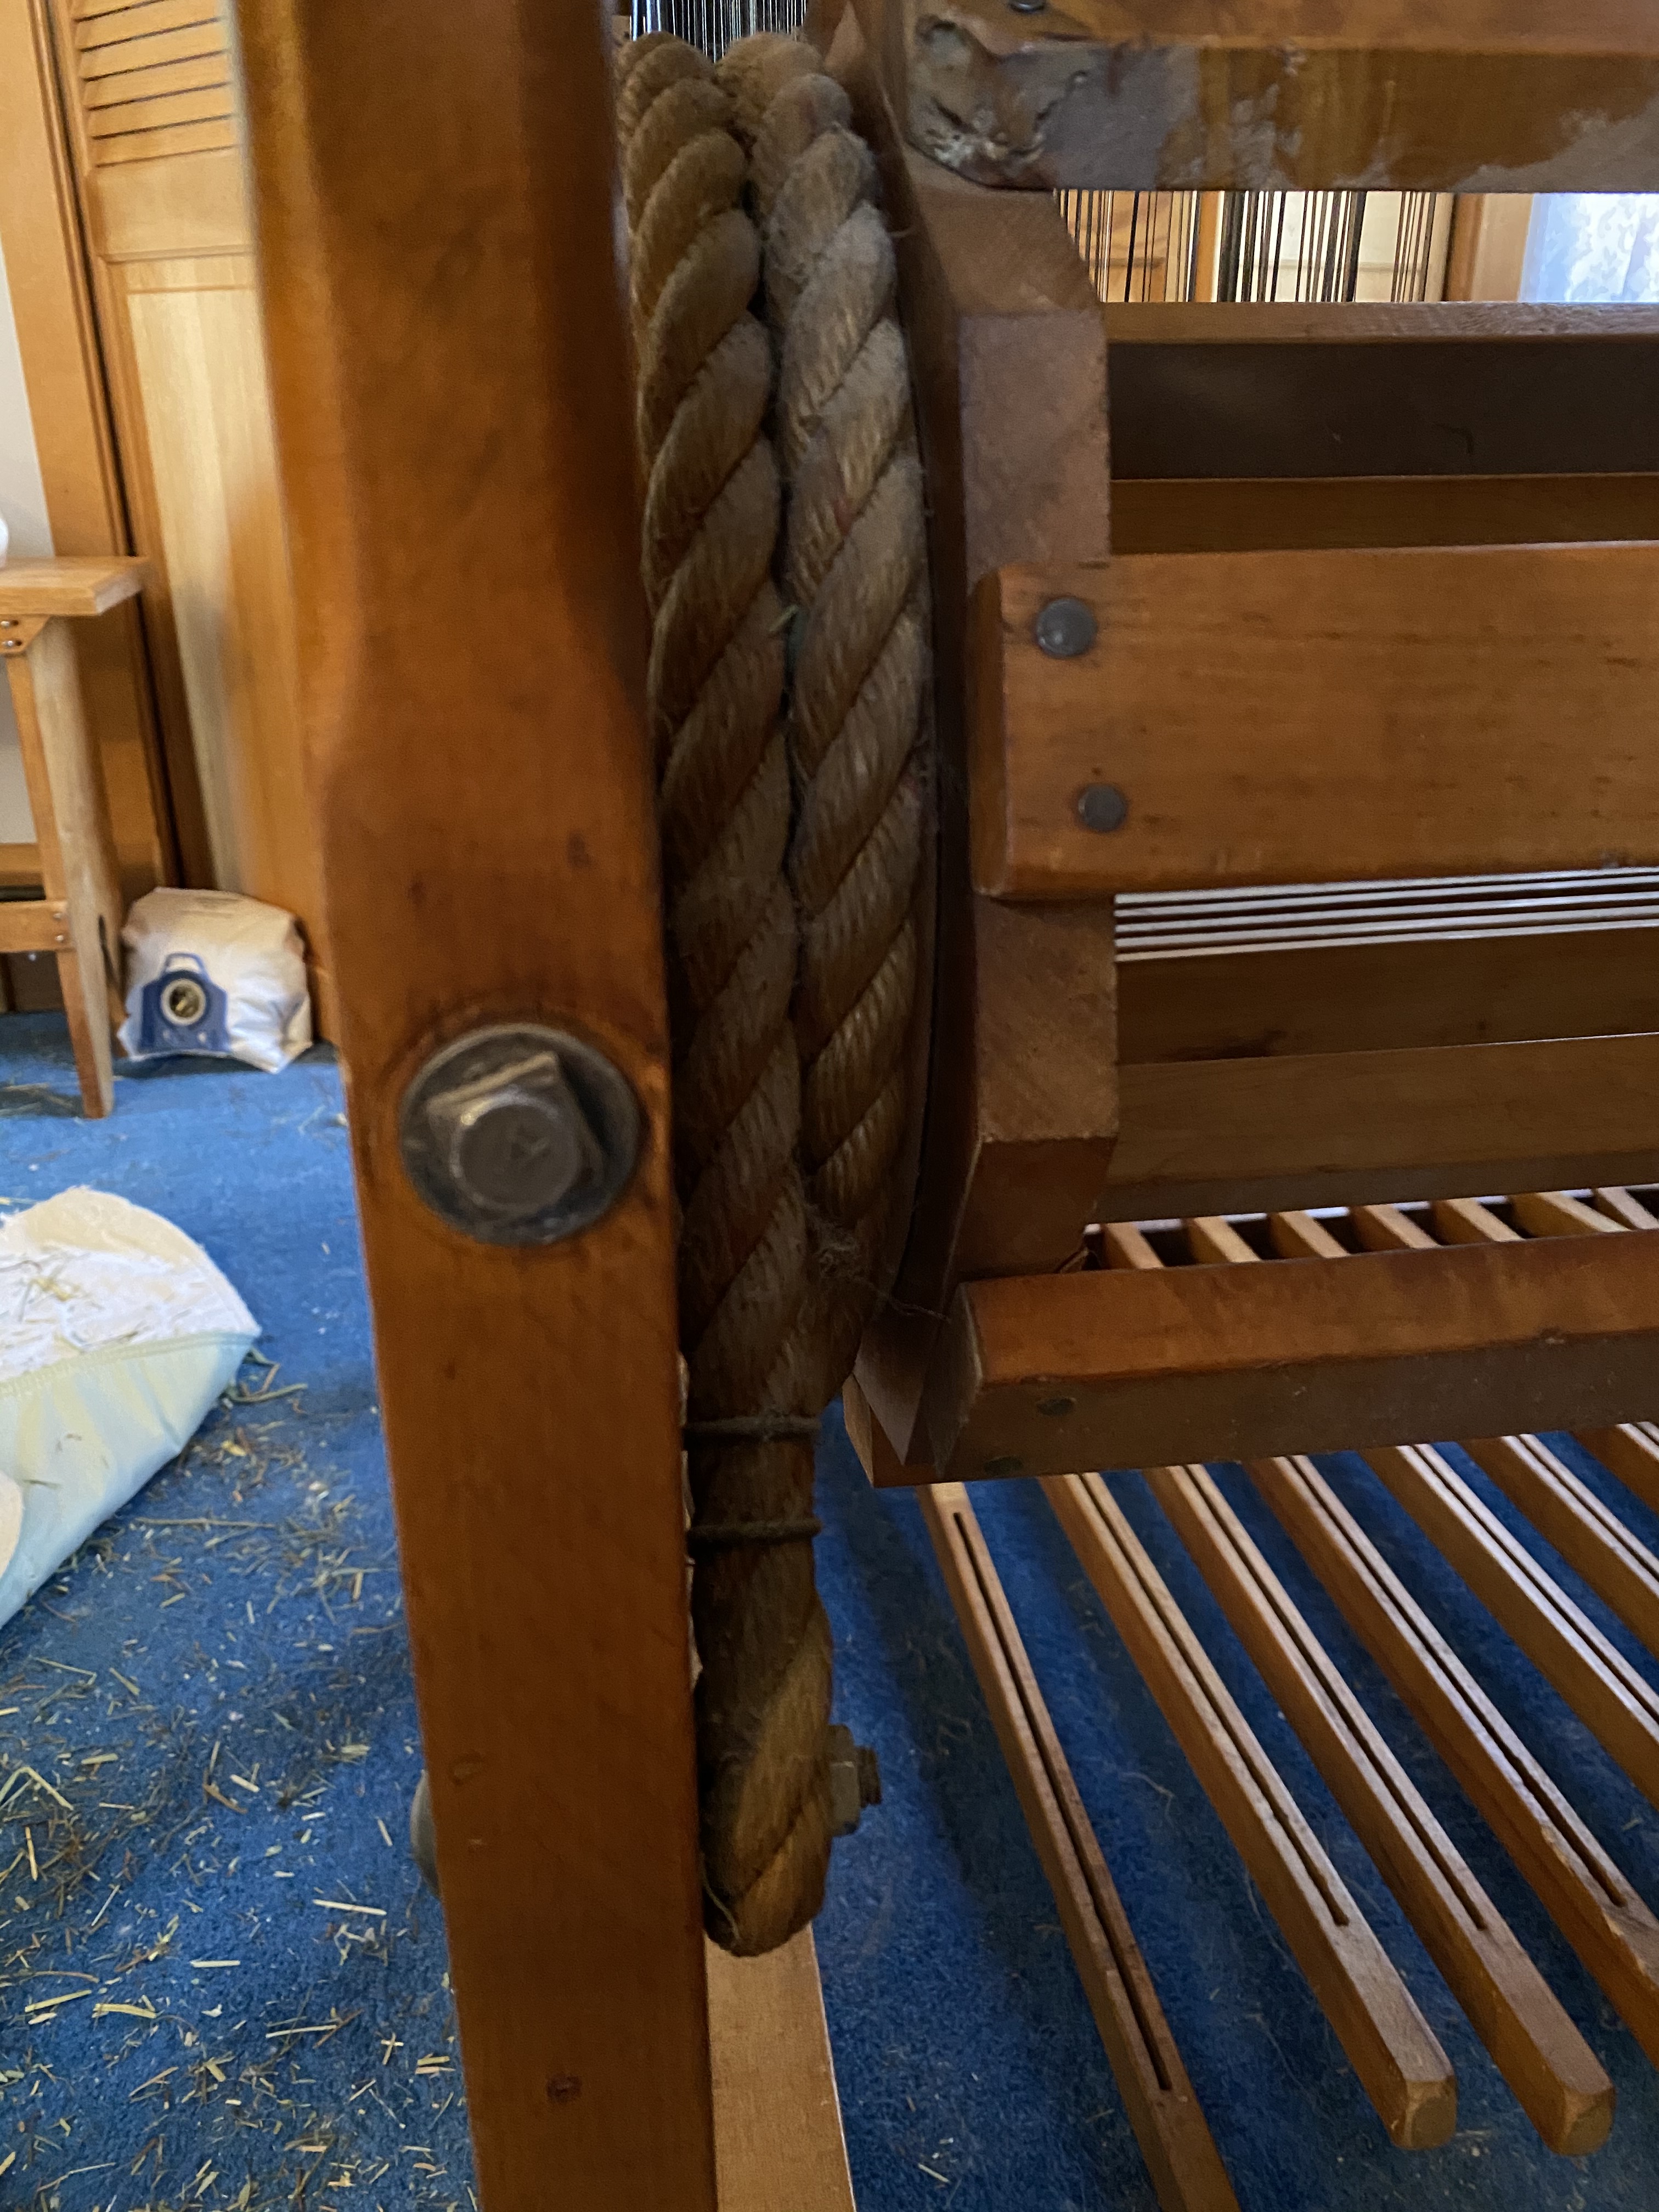


Here are the photos you requested. I hope these help. If you need more detail or detail of other parts of the loom, do let me know!
