It took a bit of time, but the loom is finally put together. I started by stabilizing the castle so it would stand on its own.
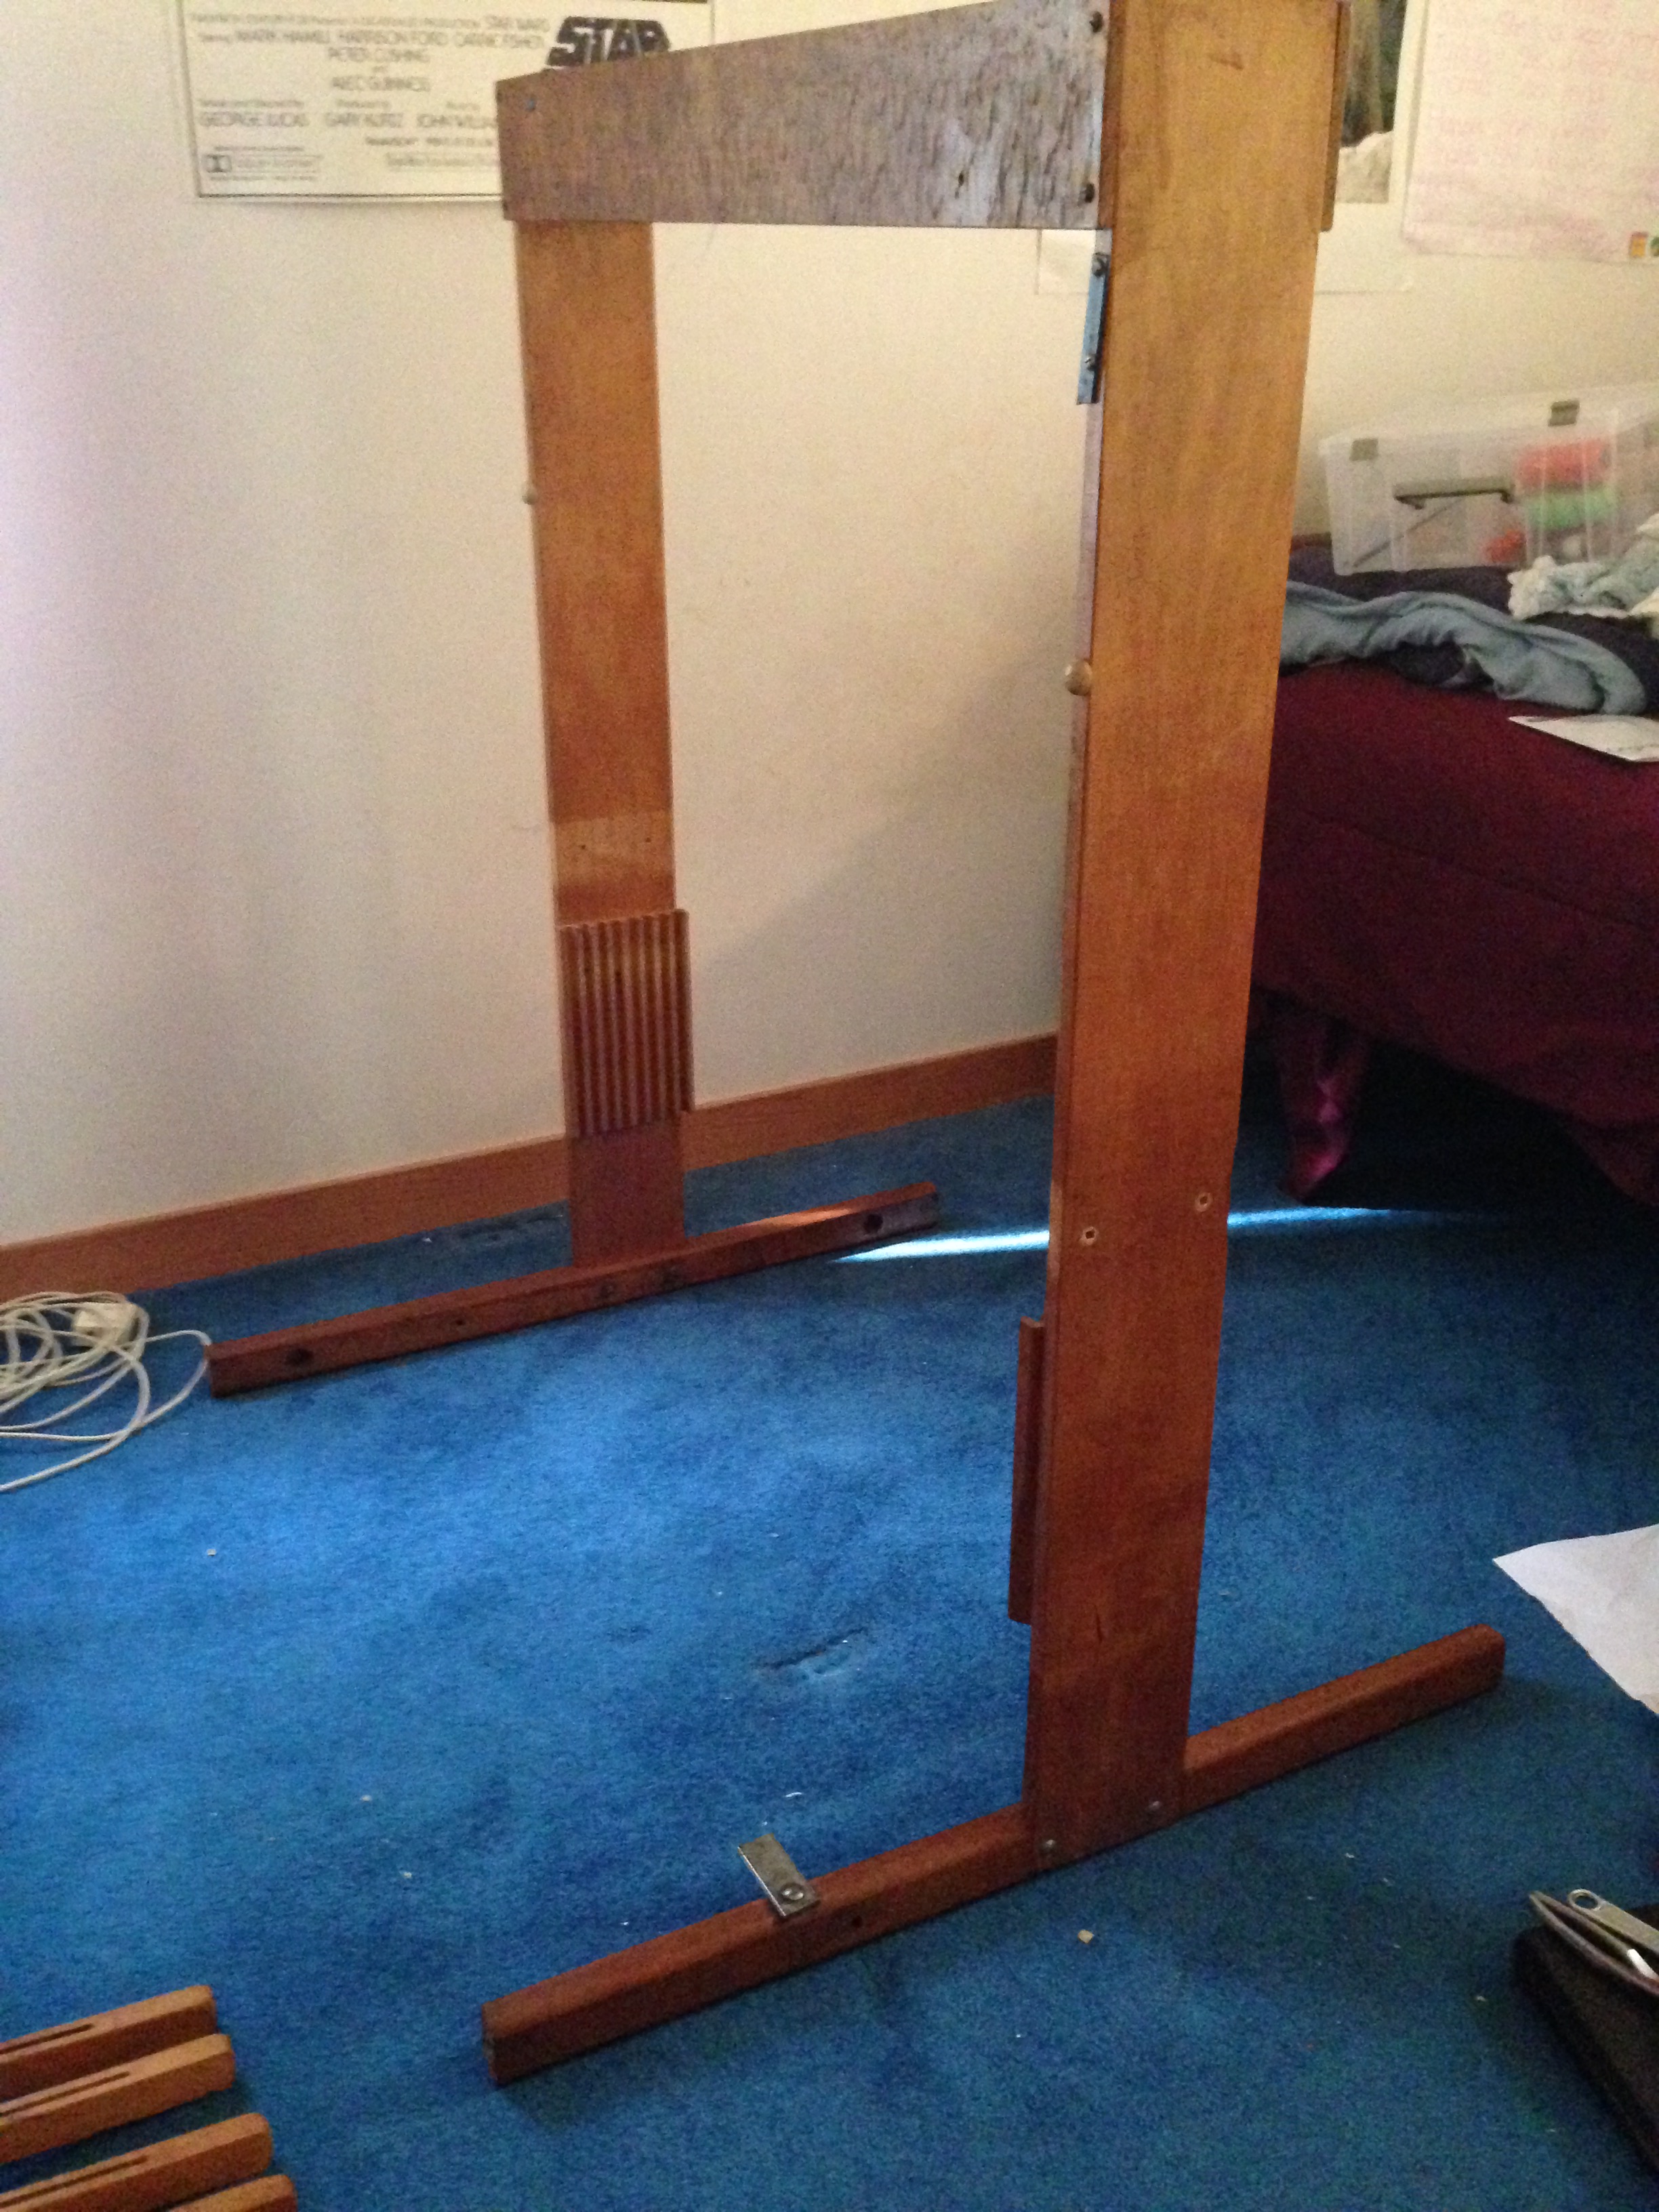
The castle is stabilized
Then I re-inserted the jacks. They’re held in place with two long bolts going from the front of the castle through holes in the jacks and fastened at the back of the castle. It took some time to make sure I had them configured correctly before I put them in. I turned them back and forth in as many directions as possible until I realize there was only one possibly way they would fit and have the hooks hanging in the right places.
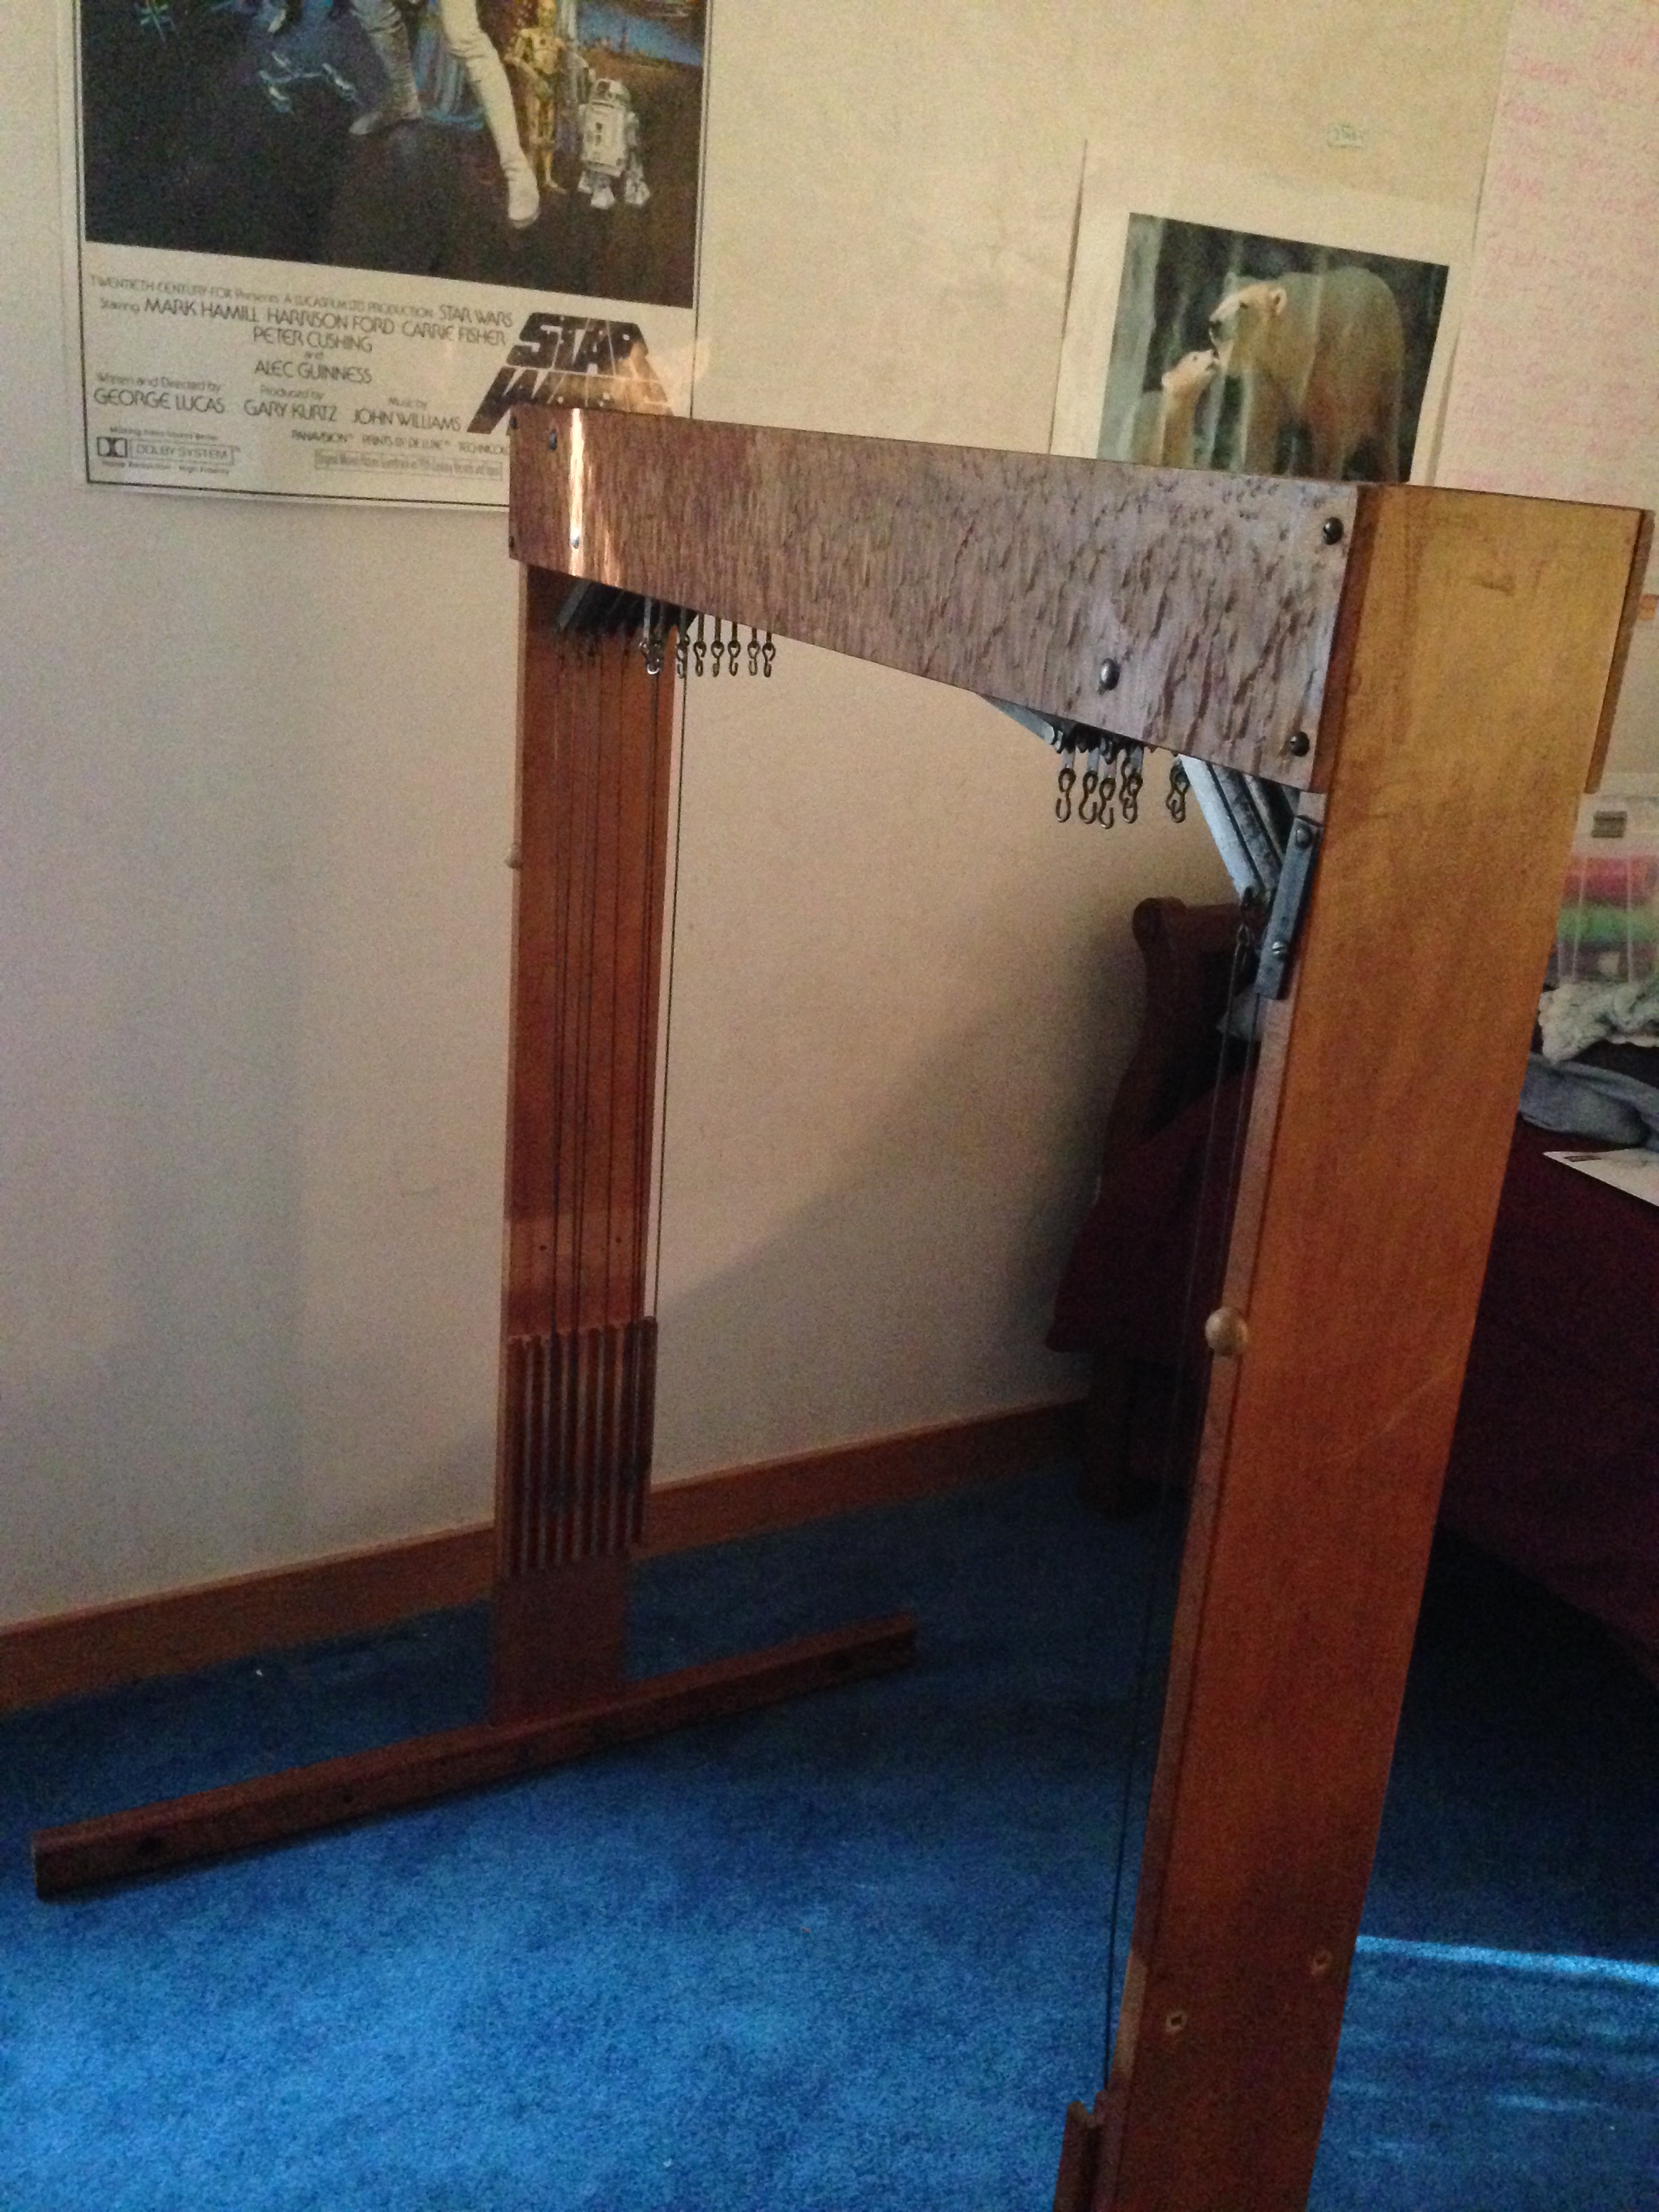
The jacks have been installed in the castle.
Once that was done I could add the side pieces and the cloth beam. The metal piece hanging from the cloth beam is part of the pawl and ratchet brake. I also installed the lower warp beam at this point (it is not in the picture).
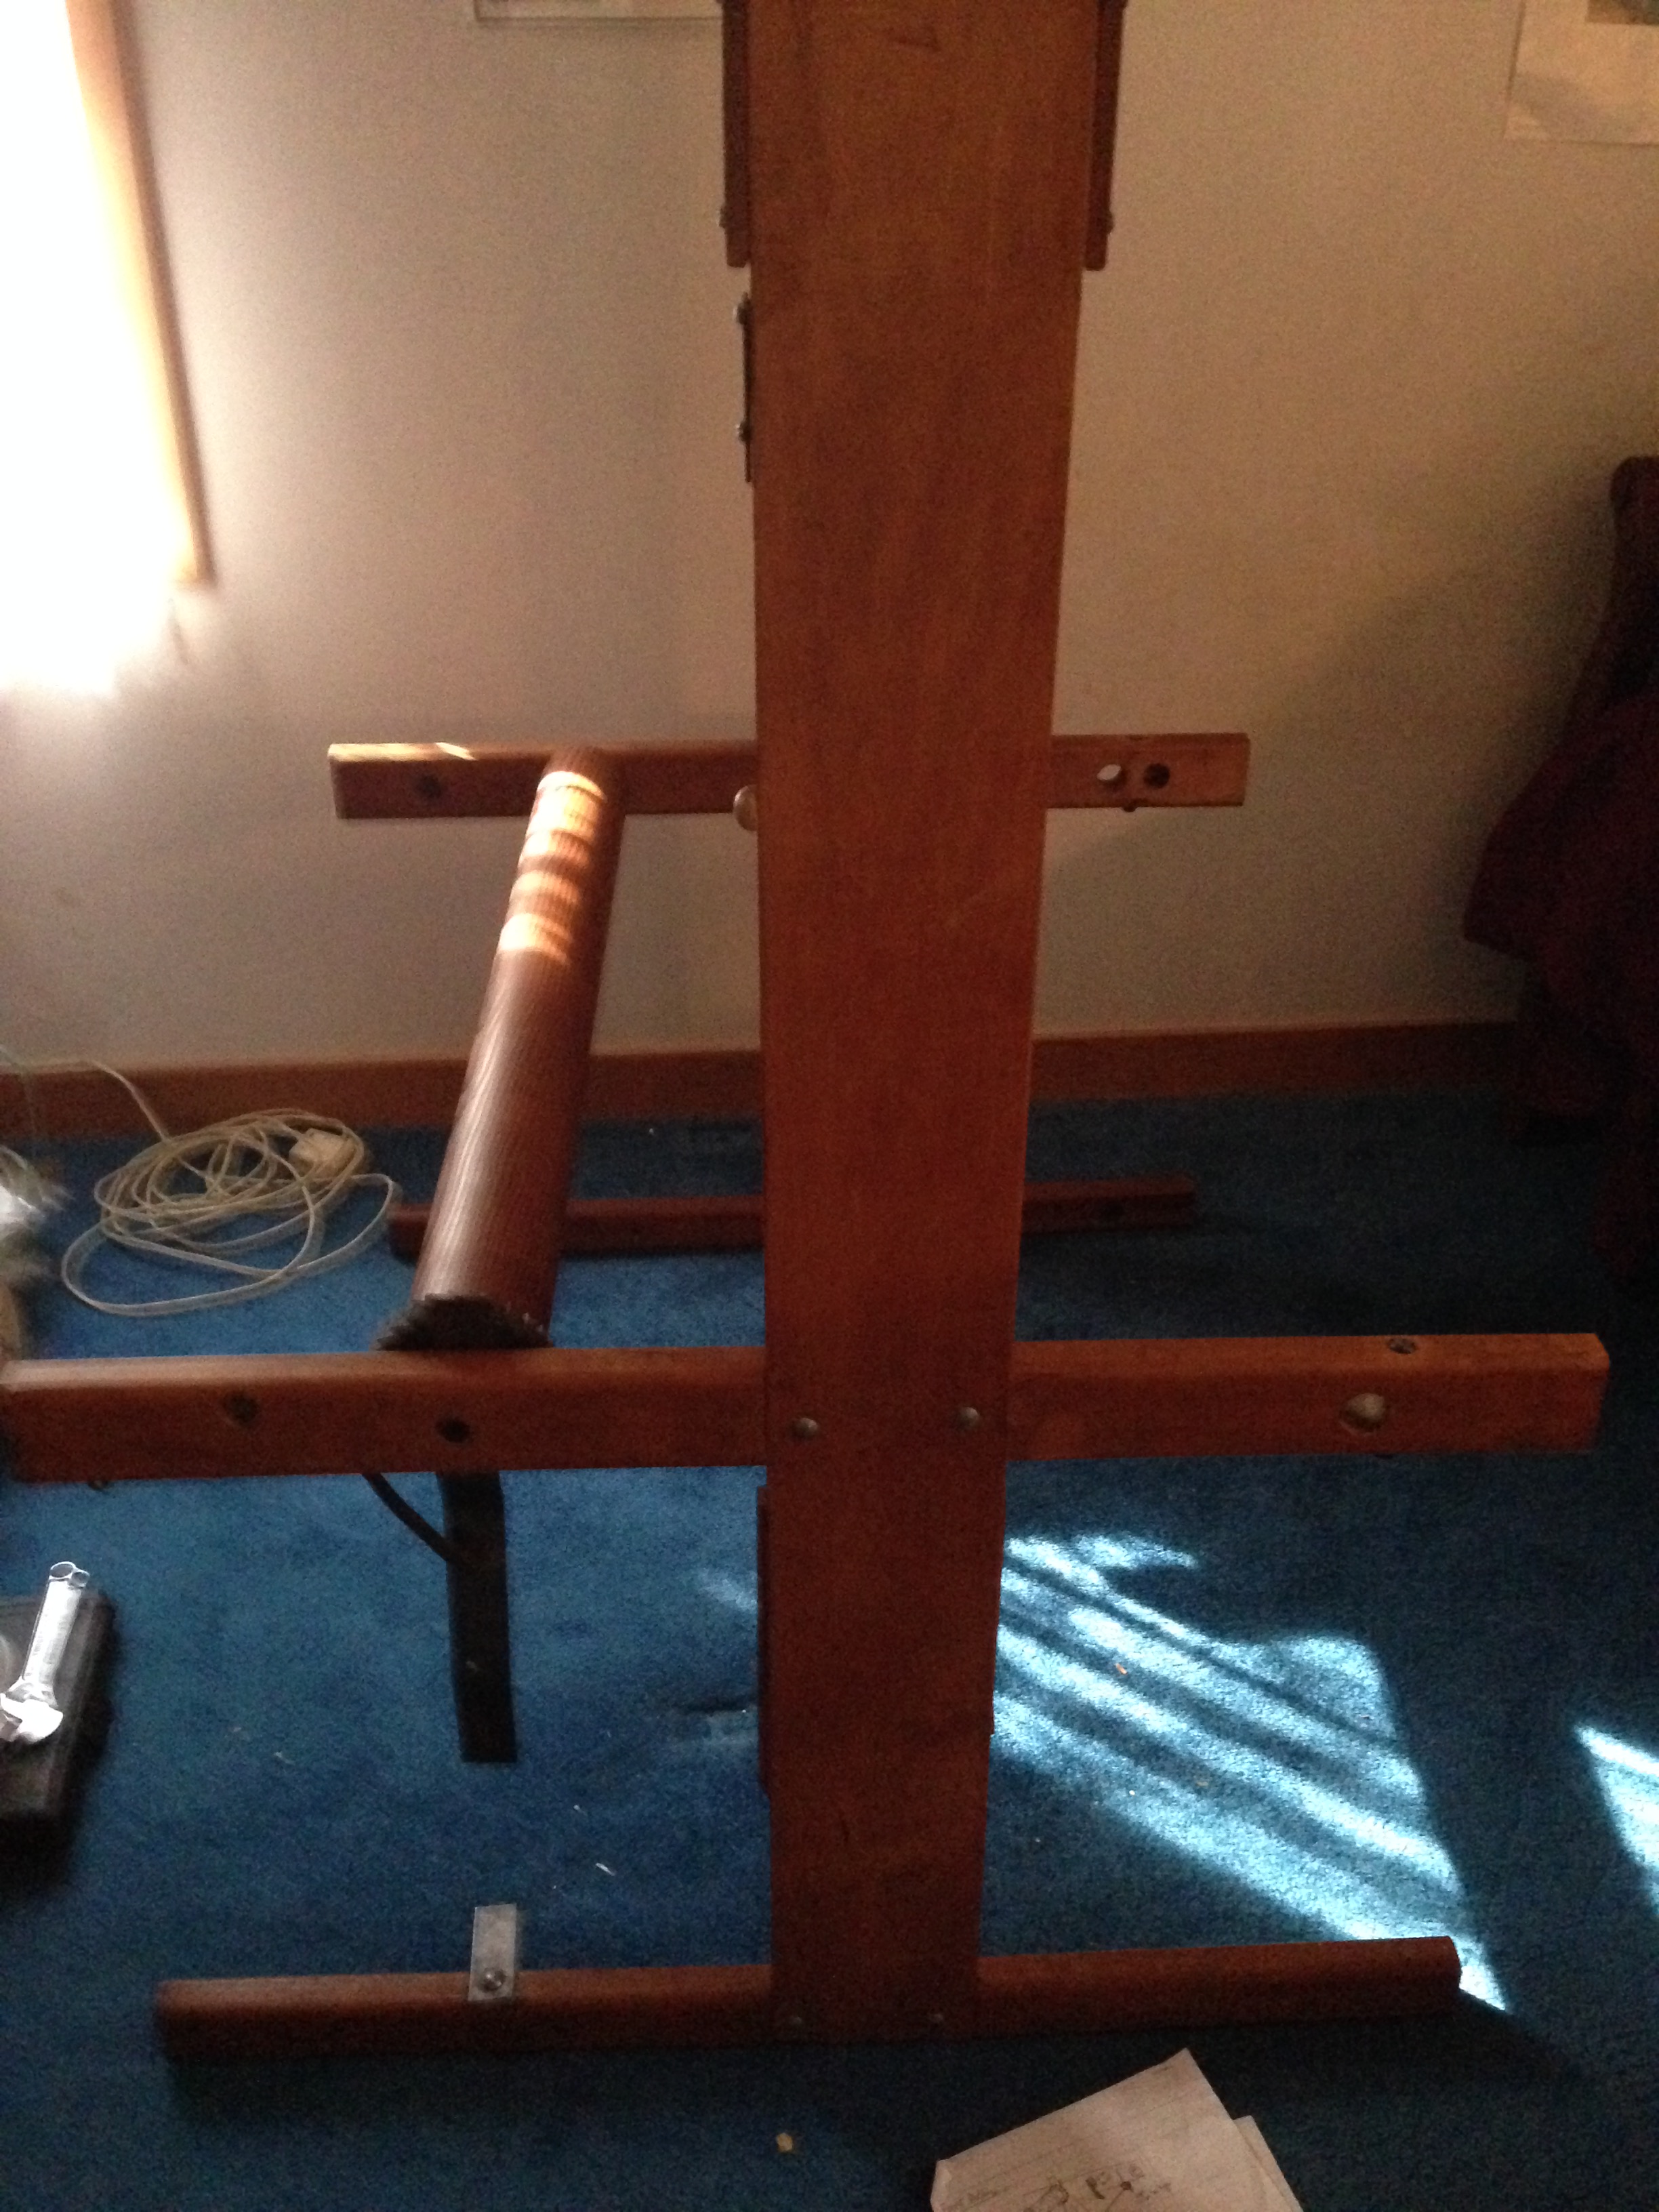
The cloth beam is in.
I put the treadles back onto the front piece, and then could install the breast beam and rear beam. Once I was ready to put the front and rear pieces on I realized that I would have to lift the loom an inch or two to fasten them, since the lower side piece is actually off the floor in the finished loom. I took the warp beam that I had installed off again to make the loom a little lighter and easier to lift.
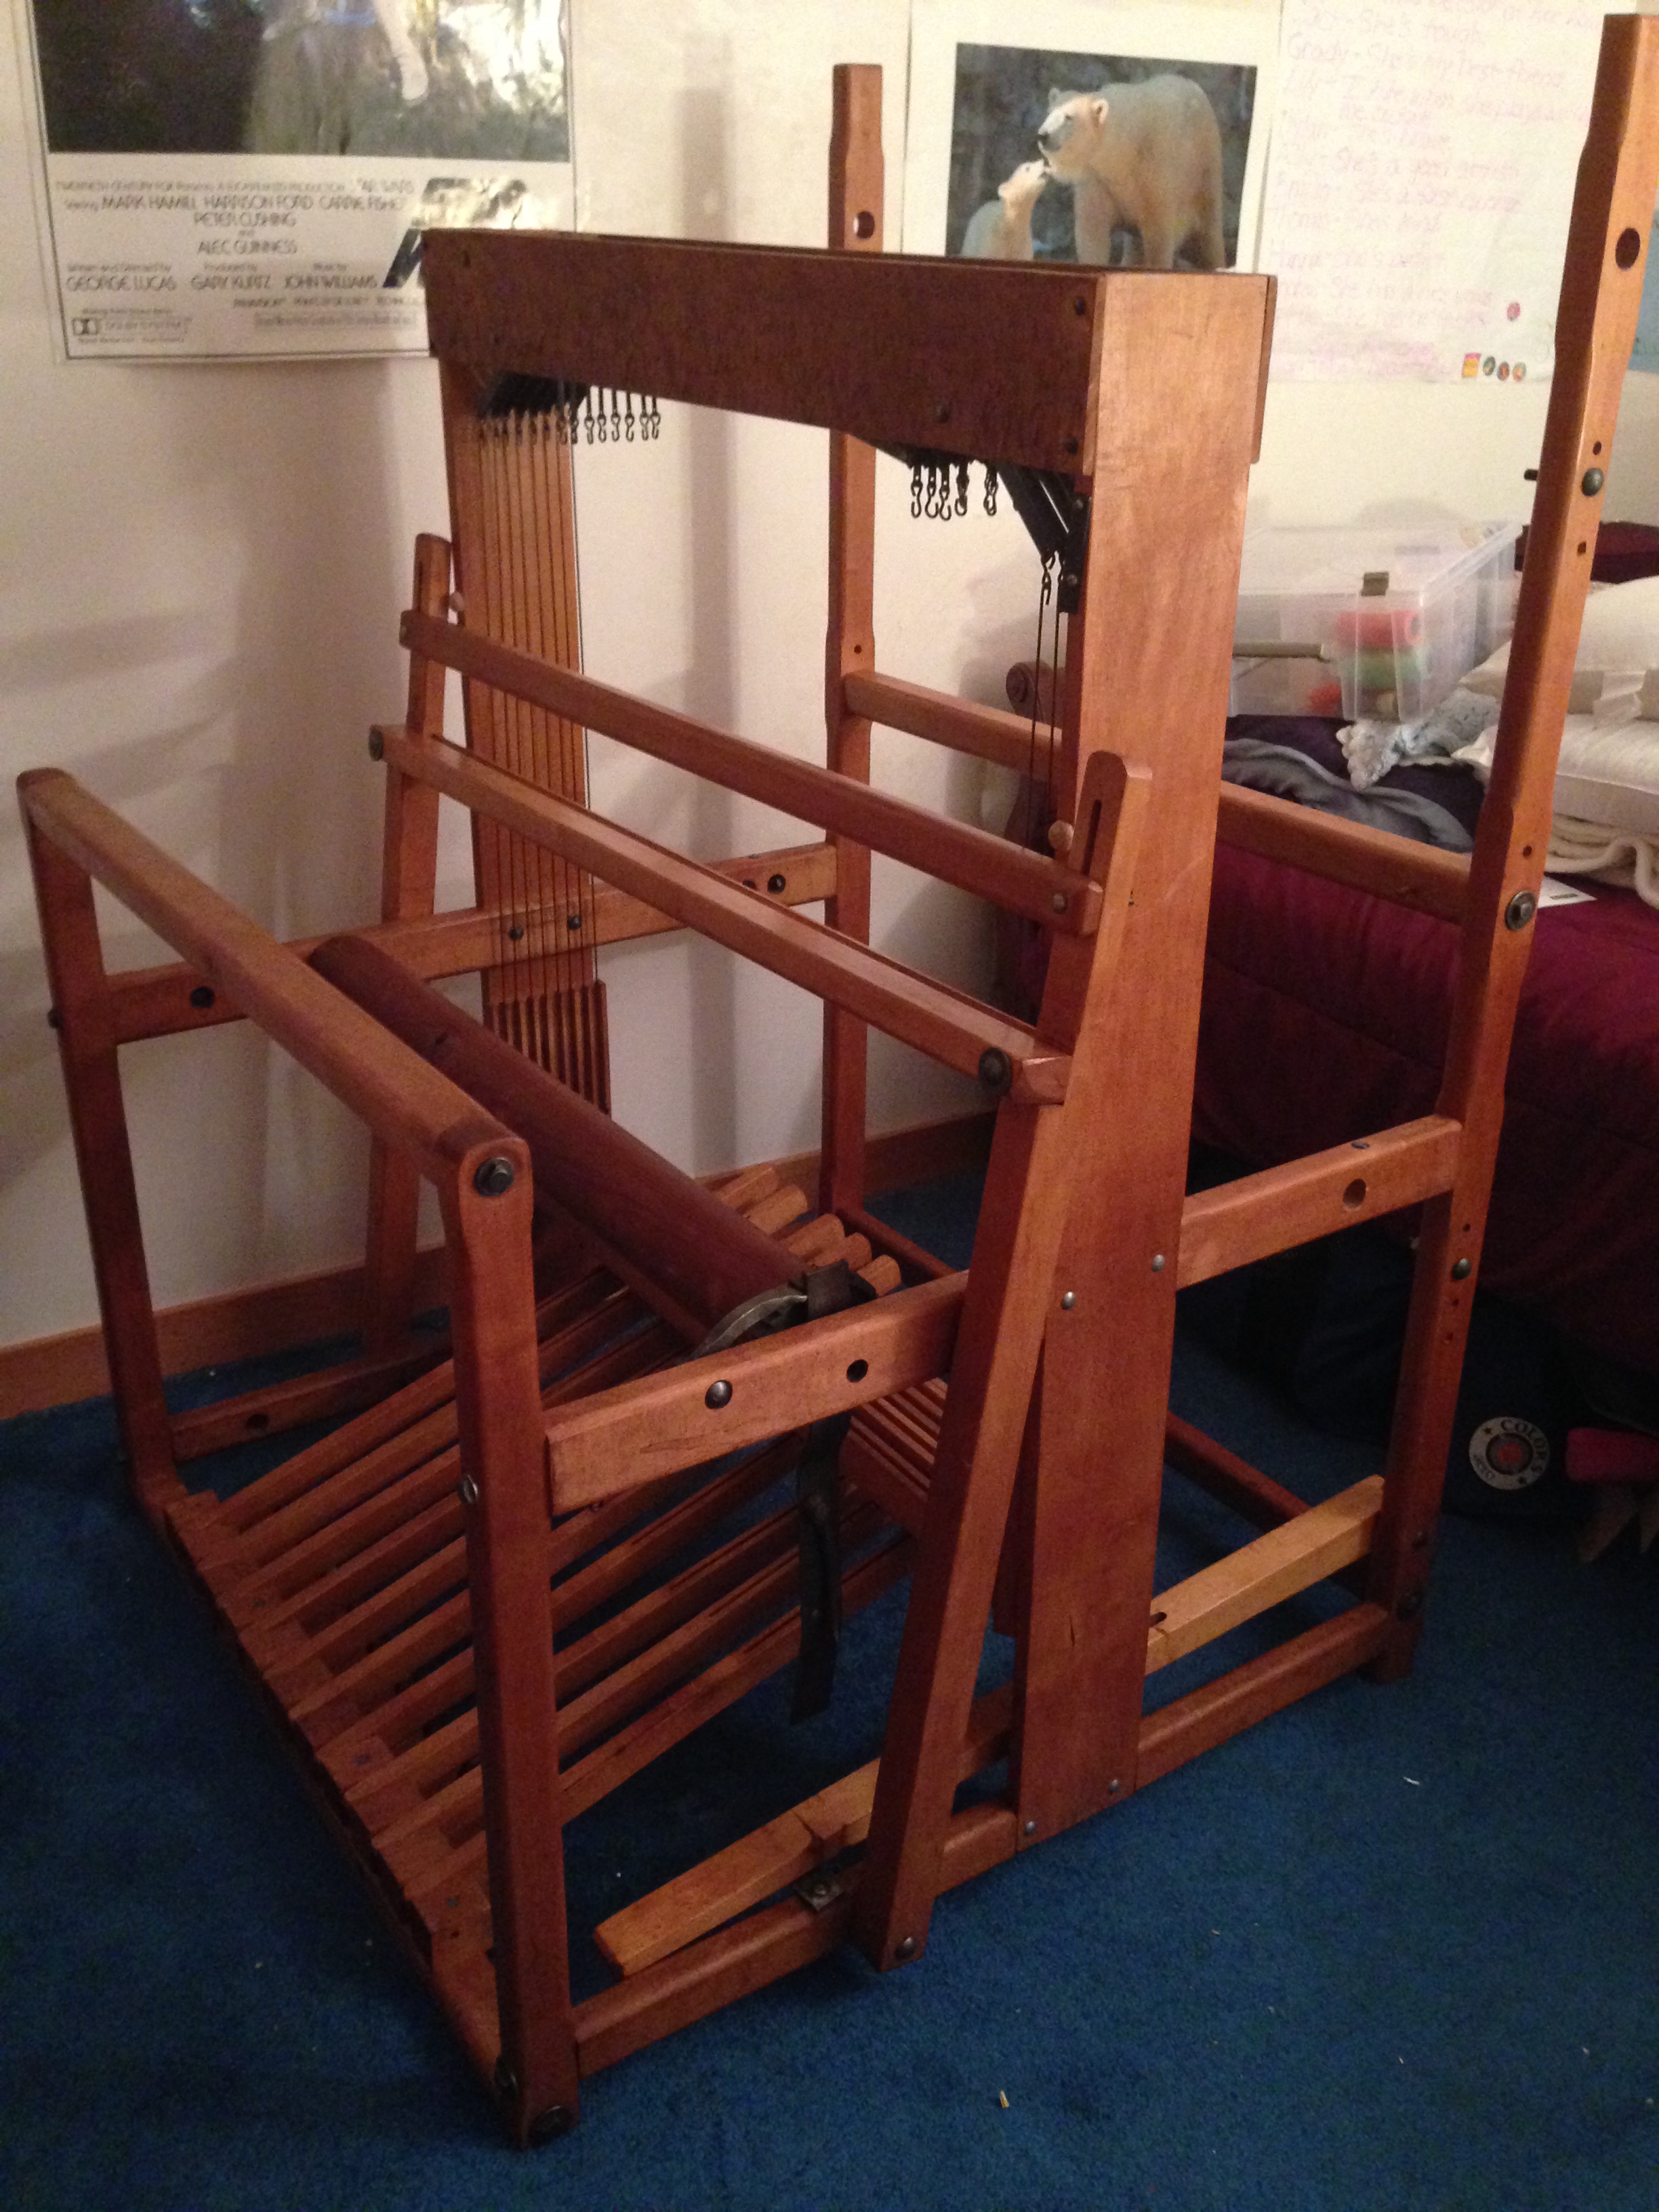
The breast beam, treadles, rear beam and beater are attached.
Finally I put the warp beams on, and set up the friction brakes. It was a little tricky to balance each warp beam with one arm while trying to thread the iron pipe through it with the other, but not impossible to do. Once I was done, though, I discovered a couple pieces of metal (rods with a 90 degree bend at one end and a tapered end at the other). As I was thinking about what they might be for, my husband asked me what would keep the pipes from being jostled out of place during the weaving. Together we discovered holes at one end of the warp beams that corresponded to holes in the pipes. The rods fit through perfectly to hold the beams and pipes in place. The 90 degree bend in the rod nestles against the warp beam, so these are not visible in pictures.
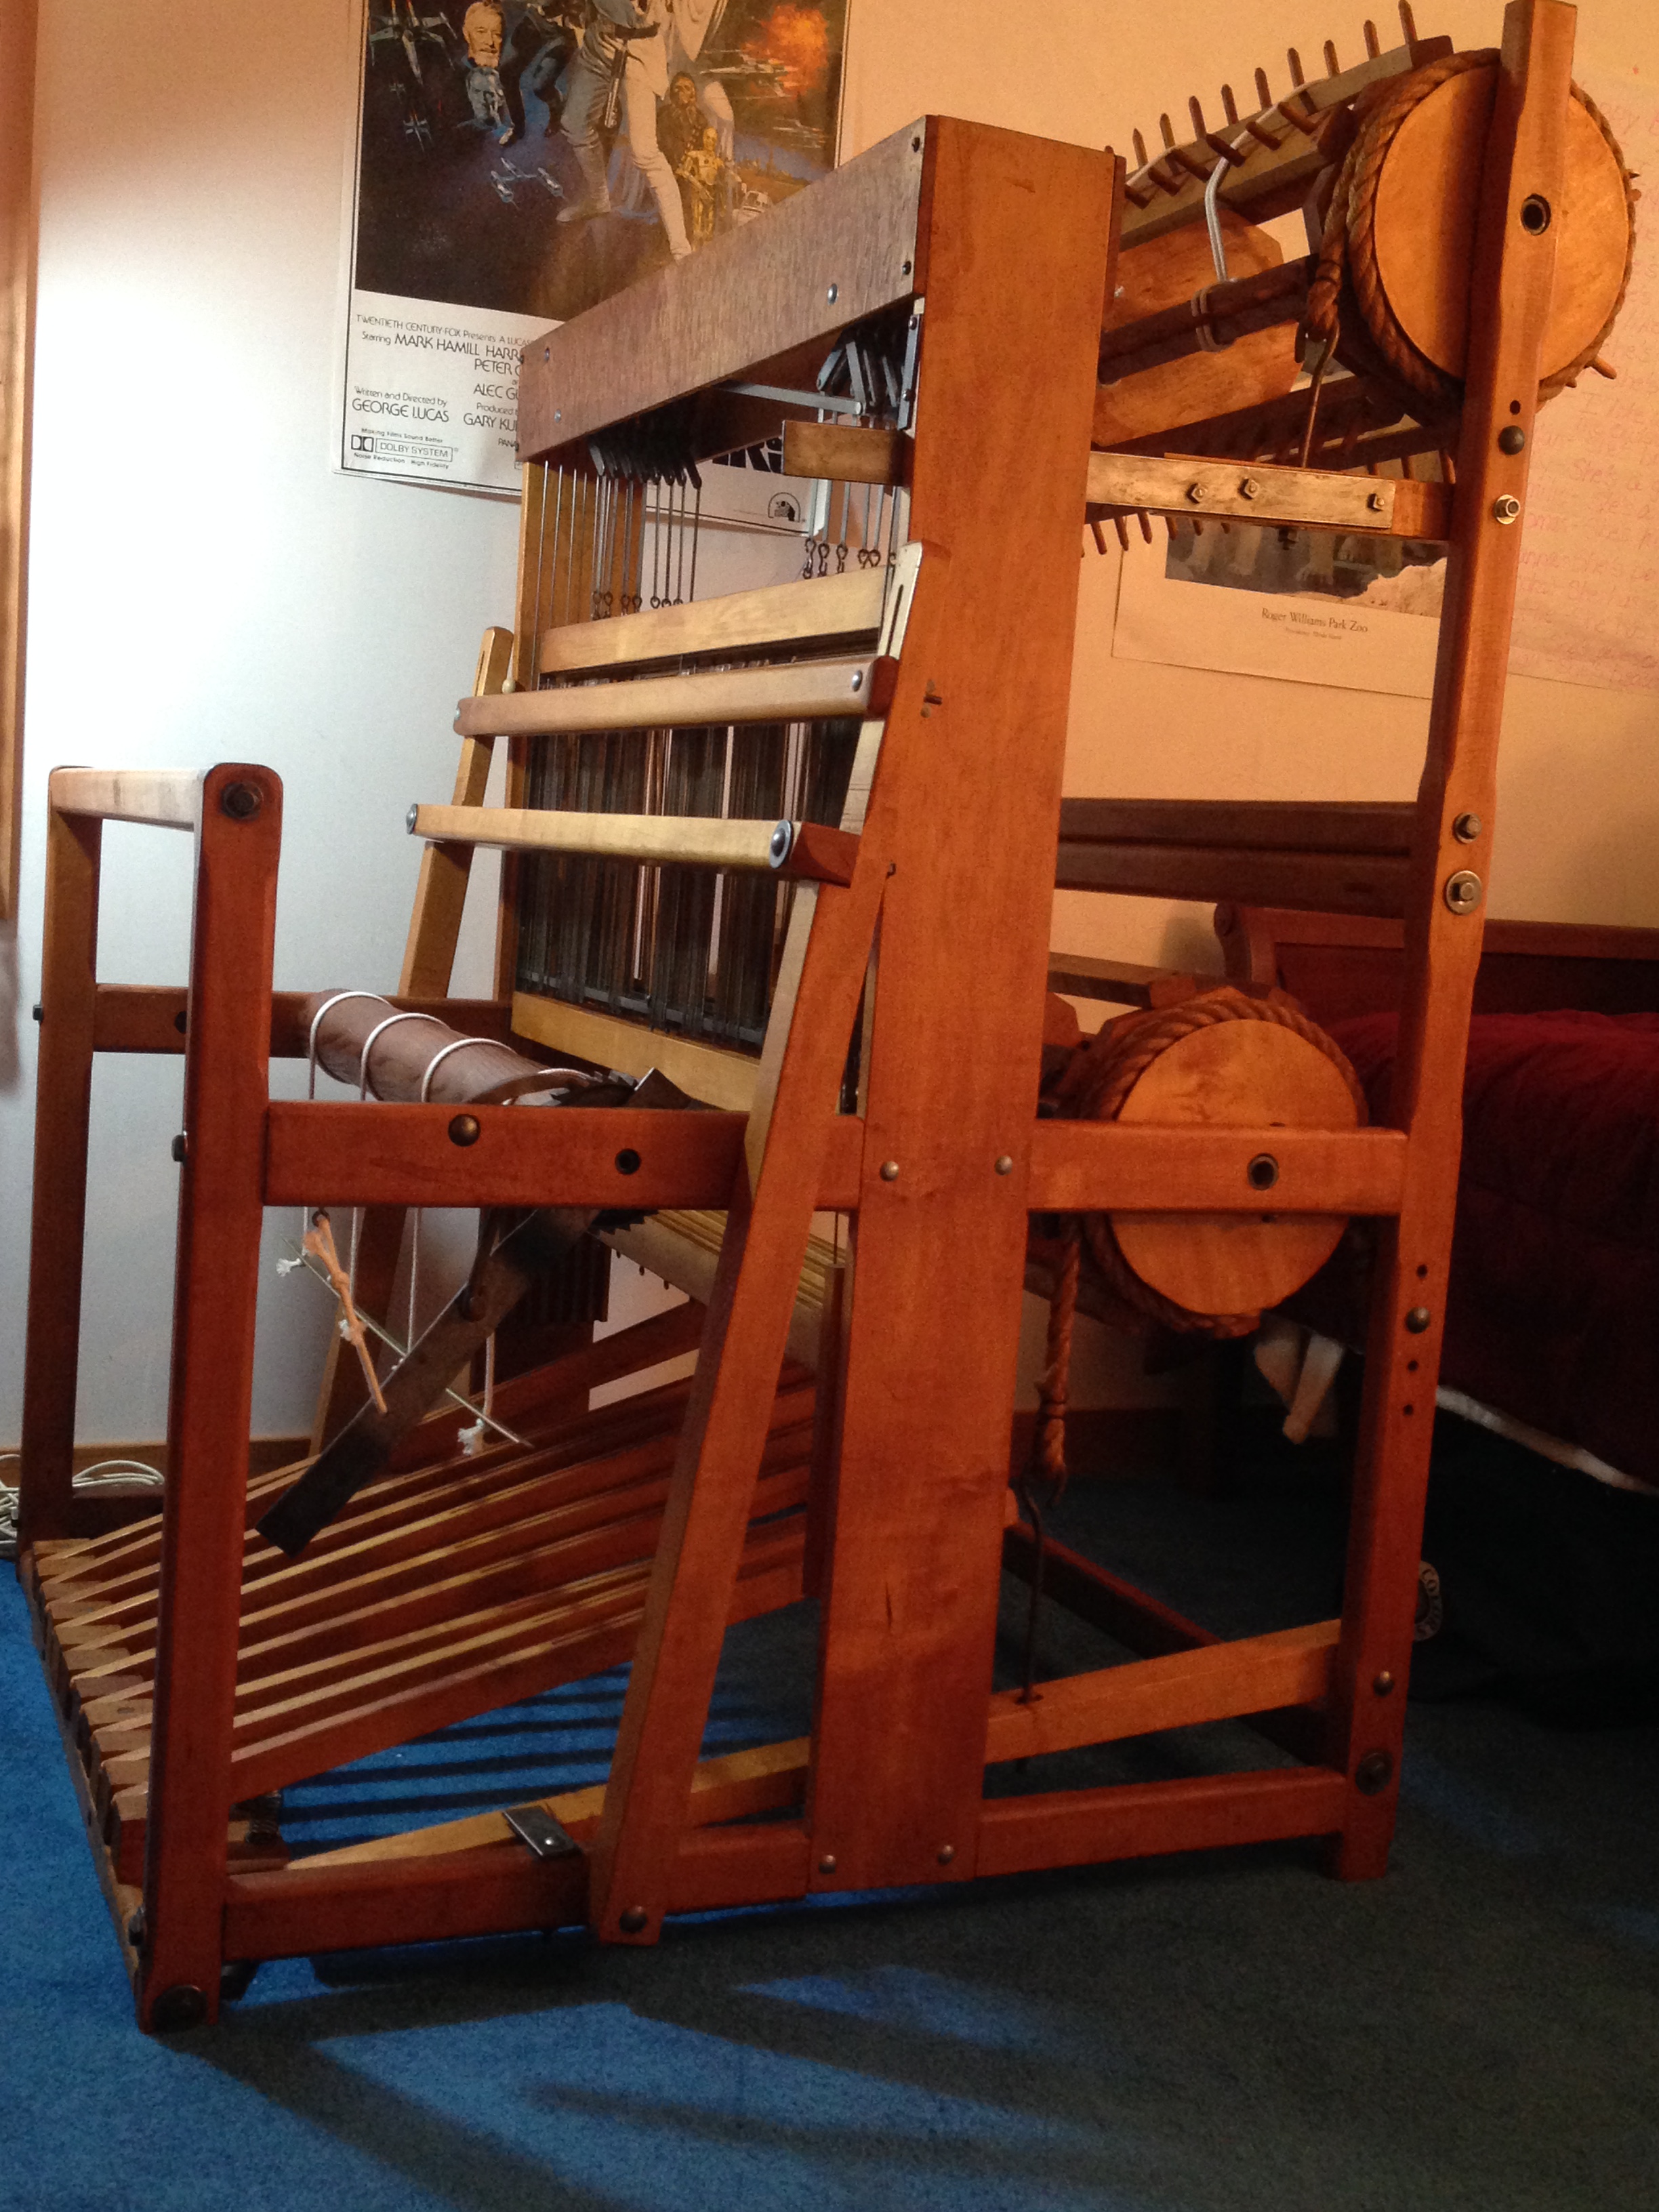
Both warp beams are attached, and the friction brakes are set up. Ta da!
The friction brakes have release handles. When the brake is on the handle is held in place by a metal plate (the lower plate is visible in the picture, just in front of the beater). To release tension on the brake one slides the handle out from under the plate. It was a little tricky to figure out how the upper handle was held in place, when installed with the “pretty” side out the handle wasn’t near the metal plate. It worked once we turned the handle around, though.
Now to see if everything really works! I’m getting a warp prepared and hope to have it on the loom this weekend.

Susan, congratulations! Your Binder is beautiful. I have to say “hello” and job well done. I have a Binder (only one warp beam, thankfully), bought here in Pasadena in about 1971 from likely original owner. A 1950 Pasadena phone book lists W.H. Binder, Binder Loom Mfrs., at an Altadena address (25 E. Palm, adjacent to Pasadena, to the north) and his residence in Pasadena (321 Grant). My Binder is 48″, 8-harness, 10 treadles (is my terminology out of date?). I’ve moved it ten times (including round-trip California to New Haven), but never taking it down as far as yours was. Still, when I moved it, it looked like kindling. I wish I had encountered your account at the beginning of your work, for I could have sent you photos of the parts that especially challenged you. Mine has its fair share of rust and dust; your cleaning work is outstanding. I should “re-home” mine but am reluctant to let it go. The local history museum (Pasadena Museum of History) will have a weaving show soon, which may give me the opportunity to learn if they already have a Binder, and if not… A lot of ancillary equipment came along with my purchase, including one small iron “thing” I’ve never understood. It’s good to know another Binder is restored and being used. These days, mine enhances my living room and provides a perch for a cat in the castle.
LikeLike
Thank you so much for your comment, Brenda, and for the information on Binder looms. I’ve been using my loom and it works fairly well. It’s a little clattery, but everything works and it makes cloth, which is all I’m asking for.
LikeLike
I wish I had seen your blog months ago. I rescued a Binder loom from the local animal shelter thrift store a couple 4 years ago. We had no idea what it was and it had spent years in a garage or barn. It was filthy and rusted. I scrubbed it and refinished the wood. I removed rust from the major metal parts, but did not take apart the treadle assembly to do the springs. I just finished this project and hope to find it a new home. It has 8 harnesses, 12 treadles and a single back beam. The widest possible weaving width is probably 43 inches, though it only has a 36 inch reed. With the wood refinished it is a beautiful loom.
LikeLike